A flat tyre on an Australian road or trail can go from minor inconvenience to a long walk home very quickly, especially when you are kilometres from the nearest town and the chip-seal has just claimed another tube. Knowing how to use tyre levers and a patch kit properly is one of the most practical skills any cyclist can have.
By the end of this article you will be able to choose the right levers, apply a patch that actually holds, and make smart decisions about when to patch and when to just swap tubes. Whether you are a road rider dodging bindii on the bike path or an MTB rider pulling grass seeds out of your sidewall, this guide has you covered.
Note for Australia:
- Bindii (jo-jo weed) and dry grass seeds are among the most common puncture culprits on Australian bike paths and trails, especially in summer.
- Rough chip-seal surfaces, common on regional Australian roads, increase the chance of sidewall cuts and slow leaks.
- Gum nuts and sharp gravel on bush trails add to the puncture risk for MTB and gravel riders across the country.
At a glance:
- Plastic tyre levers are the right choice for most riders. Avoid metal on carbon rims.
- Vulcanising (glued) patches give a more permanent repair than glueless patches.
- Glueless patches are a roadside fix. Replace the tube properly when you get home.
- Always check the inside of the tyre casing before reinstalling the tube, or you will get another flat immediately.
Key takeaways:
- A good roadside repair takes the right tools, correct technique, and about ten minutes if you have practised.
- Carry at least one spare tube as well as a patch kit. Patching takes time. Swapping takes less.
- Tubeless setups change the repair process but you still need to know this if you run tubes or carry a tube as backup.
Why Every Australian Cyclist Should Master Tyre Repairs
Depending on where you ride in Australia, help can be a very long way away. A ride that goes flat near a coffee strip is one thing. A flat on a fire trail outside of Bright, or on a long stretch of tarmac in the Barossa, is another. Self-sufficiency is not optional, it is part of riding here.
Cycling Australia emphasises rider self-sufficiency as a core part of being prepared for Australian roads and trails. Knowing how to fix a flat is right at the top of that list. Even if you run tubeless, understanding tube repair is worth your time because tubeless setups can still fail, and carrying a tube as backup is standard practice on longer rides.
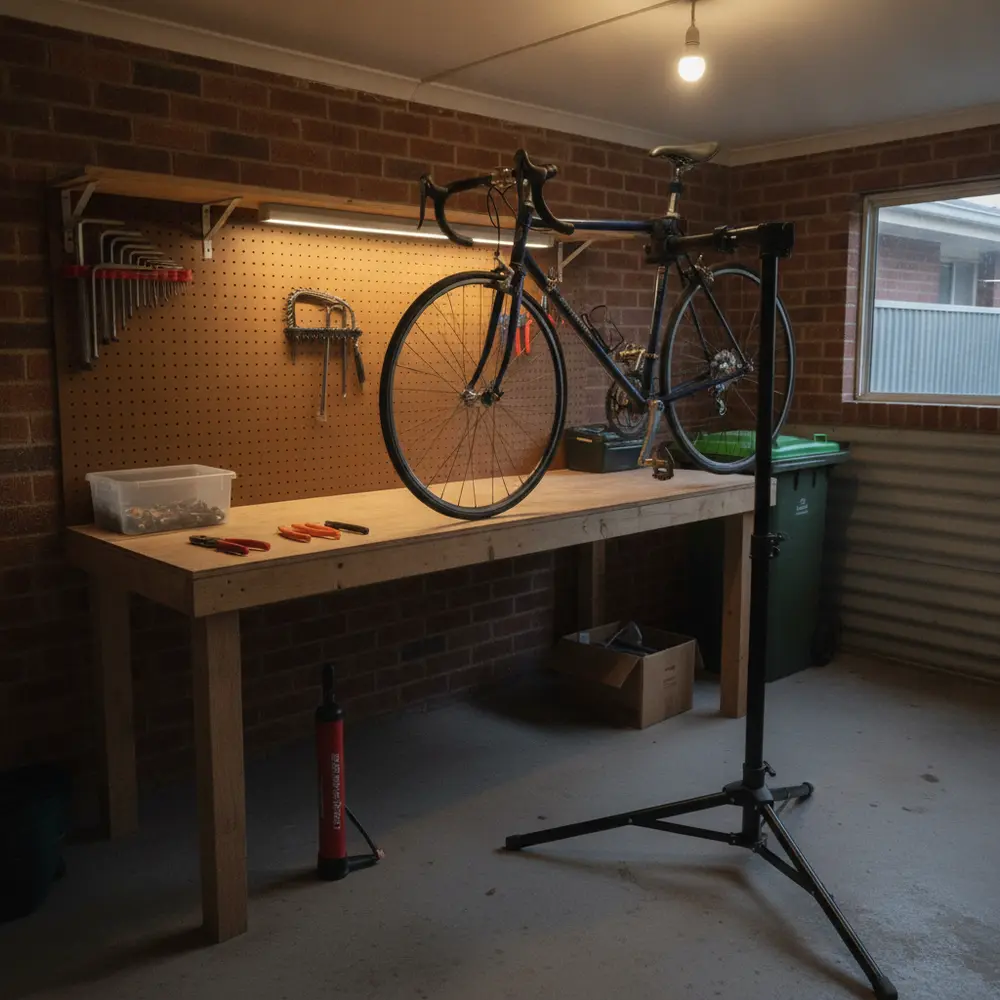
If you want to build out your full on-bike toolkit, check out our guide on essential cycling tools every rider should carry for a broader look at what belongs in your kit.
Understanding Tyre Levers - Types, Materials and What to Look For
Tyre levers are simple tools but choosing the wrong one or using it badly can damage your tube, your rim, or both. There are really only two material choices worth knowing about: plastic and metal.
Plastic vs Metal Tyre Levers - Which Should You Choose?
For the vast majority of riders, plastic tyre levers are the correct choice. They are less likely to pinch the tube, they will not scratch an alloy rim, and they will not damage a carbon rim if used carefully. Metal levers offer extra strength for very tight tyres, but they carry a real risk of denting or cracking carbon rims and they are harder on tubes. Pedro's tyre lever guidance specifically warns against metal levers on lightweight or carbon rims.
| Lever Type | Best For | Watch Out For |
|---|---|---|
| Plastic | Most road, gravel, and MTB setups. Safe on carbon and alloy rims. | Can snap under extreme force on very tight tyres. |
| Metal | Very tight tyre-rim combos where plastic levers keep breaking. | Risk of rim damage, especially on carbon. Can pinch the tube more easily. |
Features That Make a Good Tyre Lever
Not all plastic levers are equal. Here is what to look for when picking a set:
- Hook end: A good hook clips securely onto a spoke so you can hold the bead off the rim without a third hand.
- Thin but stiff tip: Thin enough to slide under the bead easily, stiff enough not to flex and slip out mid-use.
- Rounded edges: Reduces the chance of pinching or slicing the tube.
- Sold in sets of three: You will sometimes need two or three levers for a tight tyre, so always carry at least two.
Understanding Patch Kits - Vulcanising Patches vs Glueless Patches
There are two main patch types available at every Australian bike shop: vulcanising patches (used with rubber cement) and glueless patches (self-adhesive). They are not equally suited to every situation.
Vulcanising patches chemically bond with the tube material when the cement cures, creating a strong, lasting repair. Glueless patches use a pressure-sensitive adhesive and are faster to apply but are generally considered a temporary fix. Sheldon Brown's technical guide on tyre punctures explains why vulcanising patches outperform glueless patches under sustained pressure over time.
When to Use a Patch vs When to Replace the Tube
This is a practical decision, not a technical one. Here is how to think about it:
- Use a glueless patch roadside when you want to get moving quickly and you have run out of spare tubes.
- Use a vulcanising patch at home or in the workshop when you want a proper repair that will last.
- Replace the tube outright if the puncture is near the valve, if the tube has multiple holes, or if the cut or tear is too large to patch reliably.
- Always carry at least one spare tube alongside your patch kit. Swapping a tube on the road is faster than patching every time.
As a rule of thumb, treat any glueless patch as a "get home" fix. Replace the tube or apply a proper vulcanising patch once you are back at the workbench. For more on what to pack, our on-bike repair kit essentials guide covers everything worth carrying on Australian rides.
Step-by-Step - How to Remove a Tyre and Fix a Puncture
This is the process used by mechanics and experienced riders worldwide. Follow these steps and you will avoid the most common errors. Park Tool's flat tyre repair guide covers this workflow in detail if you want to cross-reference the technique.
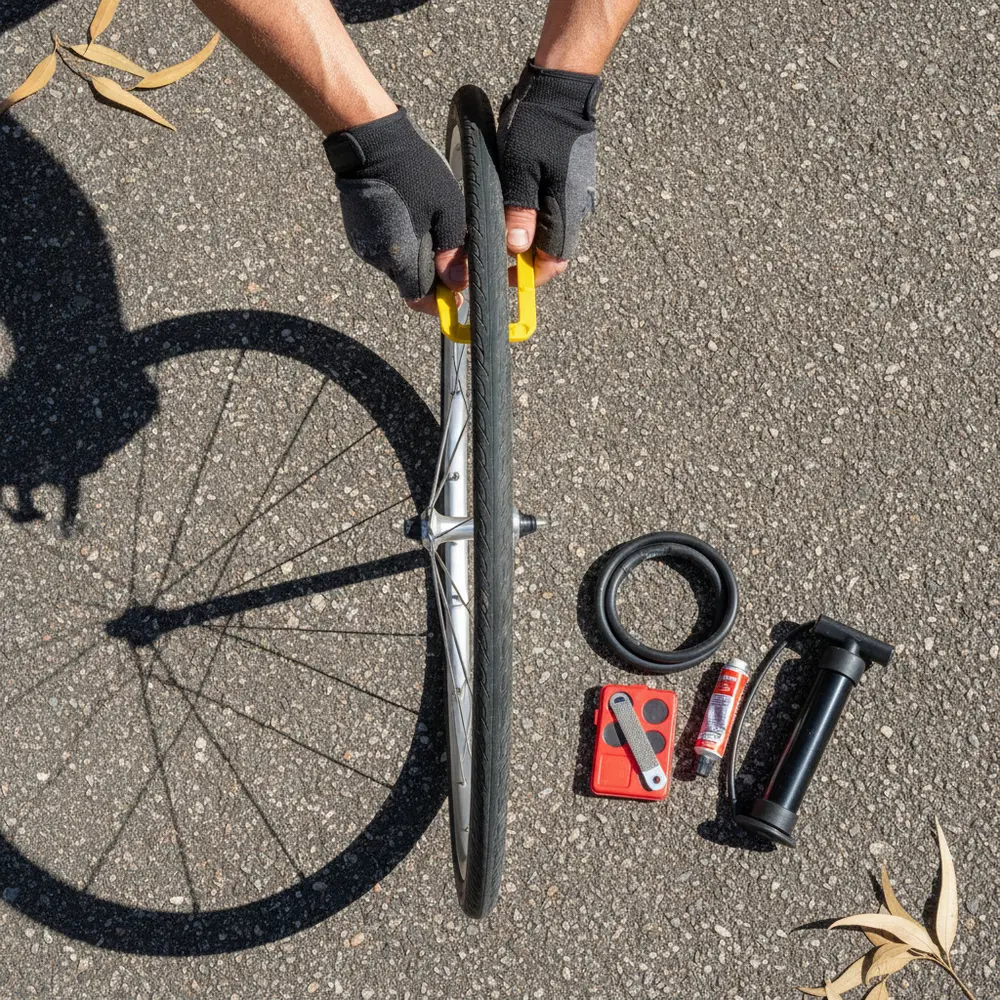
- Release all remaining pressure. Open the valve fully and press out any air left in the tube before you try to remove the tyre. This makes the bead easier to move and reduces the risk of a pinch flat during removal.
- Unseat the bead using tyre levers. Insert the flat end of a lever under the bead at a point away from the valve. Hook the lever onto a spoke. Insert a second lever a few centimetres further around the rim and work the bead off. Once one side of the tyre is off, you can usually pull the rest off by hand. Do not dig the lever too deep or you will catch the tube.
- Remove the tube carefully. Pull the tube out starting at the valve. Once the tube is out, note roughly where on the circumference it came from.
- Find the puncture. Inflate the tube slightly and listen for the hiss. If you cannot hear it, submerge the tube in water and look for bubbles. Note the location and make a small mark with a pen or tyre chalk. Bicycling Australia's mechanic advice recommends this water method as the most reliable way to find a slow leak.
- Check the tyre casing. Run your fingers slowly around the inside of the tyre at the point corresponding to the puncture location. You are feeling for thorns, glass, bindii spines, or sharp grit still embedded in the casing. If the cause is still in the tyre, you will get another flat immediately after reinstalling.
- Apply the patch. For a vulcanising patch: roughen the area around the hole with the sandpaper from your kit, apply a thin layer of rubber cement, and allow it to become tacky before applying the patch. Press firmly from the centre outward and hold for a full minute. Allow the cement to cure before inflating, as rushing this step is a leading cause of patch failure. For a glueless patch: roughen the surface, peel and press the patch firmly, and hold for at least 30 seconds.
- Reinstall the tube. Add just enough air to give the tube shape. Insert the valve first, then tuck the tube evenly inside the tyre all the way around before seating the bead.
Seating the Tyre Back On Without Pinching the Tube
This is where most people cause a second flat. The key is to keep the tube tucked inside the tyre as you push the bead back onto the rim, working from the valve outward in both directions. Use your thumbs to roll the bead on rather than pulling or prying. Save the last few centimetres for the end and try to push the final section on by hand without a lever. If you do use a lever for the final section, be slow and check the tube is not caught between the lever and the rim.
- Check around the full circumference that the tube is not visible between the bead and the rim.
- Inflate to a low pressure first (around 20 to 30 psi) and check the tyre is sitting evenly on both sides.
- Then inflate to your normal riding pressure and inspect again before riding.
Road vs MTB note: Road tyres tend to have a tighter bead and may require more effort to reseat. MTB tyres are generally easier to work with by hand. If you are running tubeless and using a tube as a backup, BikeExchange's flat tyre guide for Australian riders has specific notes on this scenario.
Common Mistakes and How to Avoid Them
Most repeat flats after a repair come down to one of these errors:
- Not finding the cause in the tyre casing. The thing that caused the flat is often still embedded in the tyre. Always check before reinstalling the tube.
- Rushing the glue cure time. Applying a vulcanising patch before the cement is tacky is the single biggest reason patches fail. Give it time.
- Pinching the tube with the lever during reinstallation. Work slowly on the final section of bead and try to use your hands rather than a lever.
- Using metal levers on carbon rims. Carbon rims can be damaged more easily than you think. Use plastic levers and be gentle.
- Overinflating immediately after a glueless patch. Glueless patches need time to set. Inflate to a moderate pressure and check the patch before going to full pressure.
- Fitting the tyre back on before checking the tube position. A tube that is twisted or kinked inside the tyre will blow out almost immediately.
New to Tyre Repairs? Start Here
If you have not done a tyre repair before, keep this list in mind before your first roadside attempt:
- Practise at home on a spare tube before you need to do it on the road. It will take twice as long the first time.
- Carry two tyre levers minimum. One lever alone is much harder to work with.
- A spare tube is your best friend. Patch kits are backup. On the road, swap first if you have a spare.
- Keep your patch kit fresh. Old glue in a patch kit dries out and stops working. Check it at the start of each season.
- Learn what bindii looks like. It is a small, hard, spiky seed and it loves Australian bike paths in late summer.
Already Comfortable with the Basics?
If you have done a few repairs before, here is where to level up:
- Learn to do the final tyre bead section by hand every time. It is a skill worth having for carbon rim situations.
- Switch to vulcanising patches for your at-home repairs. They genuinely last longer than glueless patches under repeated pressure cycles.
- Carry a boot (a small piece of tyre casing material) for sidewall cuts that a patch alone will not seal from inside the tyre.
- If you ride tubeless, carry a tube and know how to convert back to tubed in the field. Sealant alone does not fix every puncture.
- Check the Trails WA MTB repair kit checklist if you are heading out on longer off-road rides in Australia. It covers tubeless plug kits as well as traditional repair gear.
Building Your Go-To Cycling Repair Kit for Australian Rides
The goal is a kit that covers the most likely scenarios without weighing you down. Here is a practical baseline for most Australian rides:
- Two tyre levers (plastic).
- One or two spare tubes in the correct size for your bike.
- A patch kit with vulcanising patches and fresh cement, or a reliable glueless patch set as backup.
- A mini pump or CO2 inflator. A pump is more reliable on long rides. CO2 is faster but you only get one shot.
- A tyre boot for sidewall damage if you ride in areas with lots of debris.
- Valve core tool if you run tubeless, as a failed valve core can mimic a puncture.
For a full breakdown of what belongs in a well-rounded kit beyond just flats, see our guide on the best cycling tools for Australian riders. If you are not sure which tools suit your riding style, get in touch with us and we can point you in the right direction.
Frequently asked questions
Are glueless patches good enough for a permanent repair?
Not really. Glueless patches are reliable enough to get you home, but they are not considered a permanent fix. The adhesive can lift over time under repeated pressure cycles. If the tube is worth keeping, apply a vulcanising patch or swap to a new tube when you get back.
How long should I wait after applying a vulcanising patch before inflating?
Wait until the rubber cement has gone from wet to tacky before applying the patch. After pressing the patch on firmly, give it a couple of minutes before any inflation. Rushing this step is the most common reason a properly applied patch still fails. When in doubt, wait a little longer.
Can I use metal tyre levers on carbon rims?
It is best avoided. Metal levers can scratch, dent, or crack carbon rim surfaces, especially on lightweight road or gravel rims. Good quality plastic levers are strong enough for almost every situation. Save the metal levers for old steel or aluminium rims if you use them at all.
What is the fastest way to find a small puncture hole?
Inflate the tube slightly, then submerge it in water and rotate it slowly. Even a very small puncture will produce a steady stream of bubbles. On the roadside without water, hold the inflated tube close to your lips or cheek and feel for the air movement. Mark the hole before deflating again or you will lose the spot.
Do I still need tyre levers and a patch kit if I run tubeless tyres?
Yes. Tubeless setups can self-seal small punctures with sealant, but larger cuts, valve failures, or sealant that has dried out can leave you stranded. Carrying a spare tube and levers as a backup lets you convert back to a tubed setup on the trail if needed. It is good insurance on any ride far from support.
Wrapping up
- Plastic tyre levers are the right choice for most riders. Metal levers are for specific situations only.
- Vulcanising patches give a proper, lasting repair. Glueless patches are roadside-only fixes.
- Always check the inside of the tyre casing for the cause of the puncture before reinstalling the tube.
- Carry a spare tube as well as a patch kit. Swapping is faster than patching when you are on the side of the road.
- Practise at home before you need to do it for real. Ten minutes in the garage saves an hour on the road.
This is educational content, not financial advice.