Every dollar you spend at a bike shop on a job you could have done yourself is a dollar that could have gone toward your next upgrade, your next event entry, or just a decent coffee at the end of a ride. Setting up a home workshop is one of the smartest investments a cyclist can make, and you do not need to spend a fortune to make it work.
By the end of this guide, you will know exactly which cycling tools to buy first, where to source them in Australia, and how to build a workshop that handles the majority of everyday maintenance jobs. We will also be straight with you about what a home setup cannot replace.
Note for Australia:
- All prices in this article are approximate AUD and will shift with stock and retailer promotions. Always check current pricing before purchasing.
- Australian Consumer Law protects you when buying from Australian retailers, including online stores. Your rights under Australian Consumer Law include repair, replacement or refund if a product is faulty.
- Overseas sellers shipping to Australia may offer lower prices but provide fewer protections if something goes wrong. Buying from an Australian retailer is the safer play, especially for higher-cost items like repair stands.
At a glance:
- A functional home workshop is achievable for under $300 AUD if you prioritise correctly.
- Hex keys, a floor pump and tyre levers are your non-negotiable starting points.
- A repair stand is worth considering but will absorb a big chunk of the budget.
- Some jobs still need a professional mechanic, and knowing which ones is just as important as knowing which tools to buy.
Key takeaways:
- Buy quality on the tools you use most often. Cheap hex keys will strip bolts and cost you more in the long run.
- Sourcing second-hand tools via Facebook Marketplace or Gumtree is a legitimate way to stretch your budget further.
- Organise your workspace from day one. A cluttered bench slows you down and creates safety hazards.
Why Set Up a Home Bike Workshop?
The honest answer is convenience and cost. A basic service at a bike shop is money well spent when you need it, but if you are paying a mechanic to swap a tube, adjust your brakes or lube your chain every few weeks, those costs stack up fast across a season.
Beyond the dollars, doing your own maintenance builds a genuine understanding of how your bike works. That understanding pays off on the road and on the trail. When something feels off mid-ride, you are far better placed to diagnose it, deal with it, or at least know whether to push on or turn back.
What You Save in the Long Run
Even a modest home setup will handle tube changes, brake and derailleur adjustments, chain cleaning and replacement, cable swaps and general cleaning. That covers the bulk of what most recreational and club riders need done regularly. Factor in a few shop visits avoided per year and your tools pay for themselves quickly.
The $300 Budget Breakdown - What to Prioritise
Three hundred dollars is a real constraint, not a loose guide. It is enough to build a solid foundation, but it means making deliberate choices. The table below gives you a clear picture of where the money goes across three tiers.
| Tier | Budget Range | What It Covers | Priority |
|---|---|---|---|
| Tier 1 - Must Haves | $0 to $150 | Hex keys, floor pump, tyre levers, patch kit, chain checker, chain tool | Buy these first |
| Tier 2 - Strong Upgrades | $150 to $250 | Repair stand, cable cutters, screwdriver set, spare cables and housing | Add when budget allows |
| Tier 3 - Nice to Have | $250 to $300 | Torque wrench (carbon frames), cassette tool, bottom bracket tool | Only if you need them |
If a repair stand is a priority for you, it will absorb roughly $80 to $150 of the budget on its own, based on current pricing at Australian retailers like Pushys Australia. That pushes some Tier 1 tools into a second purchase. Be honest about that trade-off before you buy.
The Essential Cycling Tools Every Home Workshop Needs
These are the tools that earn their place because you will reach for them constantly. Not every ride, but often enough that not having them quickly becomes frustrating.
Hex Keys, Spanners and Screwdrivers
A quality hex key set is the single most important purchase in your workshop. The vast majority of bolts on a modern bike, from stem bolts to brake caliper mounts to derailleur limit screws, use hex (Allen) fittings in sizes from 2mm to 8mm. Cheap hex keys from general hardware stores can work, but poorly machined tips will round off bolt heads if they are not a precise fit. It is worth spending a little more to get a set with well-machined tips and a comfortable handle.
A set of flat-head and cross-head screwdrivers covers derailleur limit screws, cable pinch bolts on some older bikes and a handful of other tasks. These you can source from Bunnings without hesitation. A small adjustable spanner is handy for pedal removal if you do not have the correct pedal spanner.
Tyre Levers, Patch Kits and a Quality Floor Pump
Tyre levers are cheap and essential. Buy a set of three plastic levers and keep them in your workshop and your kit bag. A good patch kit is worth having even if you mostly run with spare tubes, because there will be a day when you run out of spares.
A quality floor pump is one of the best investments in this list. A pump with an accurate gauge lets you consistently hit your target tyre pressure, which makes a real difference to both ride feel and tyre wear. Look for a pump that handles both Presta and Schrader valves and has a maximum rating that covers road tyres. Entry-level floor pumps from dedicated cycling retailers start at around $40 to $50 AUD and are a significant step up from a hardware store option. For more on why tyre pressure matters, have a look at our tyre pressure guide for Australian conditions.
Chain Checker and Chain Tool
A chain checker is a small, inexpensive tool that measures chain wear. It is one of the most valuable preventive maintenance tools you can own. Replacing a chain before it is fully worn protects your cassette and chainrings from accelerated wear, which saves you money. Park Tool's repair guides explain clearly how to read a chain checker and what the wear readings mean.
A chain tool lets you size and connect a new chain at home. Both tools together typically cost under $40 AUD and are worth every cent. This is not a job where borrowing a mate's tool cuts it. Own these.
Cable Cutters and Housing Cutter
A dedicated bike cable cutter is not the same as a standard wire cutter from the hardware store. Bike-specific cable cutters are designed to make a clean, square cut on both inner cables and outer housing without fraying. A frayed cable end is hard to thread, looks untidy and can cause friction in the housing. A frayed housing end can create braking or shifting problems. The difference between a clean cut and a ragged one matters. Budget around $25 to $40 AUD for a decent pair from a cycling retailer.
Should You Buy a Repair Stand?
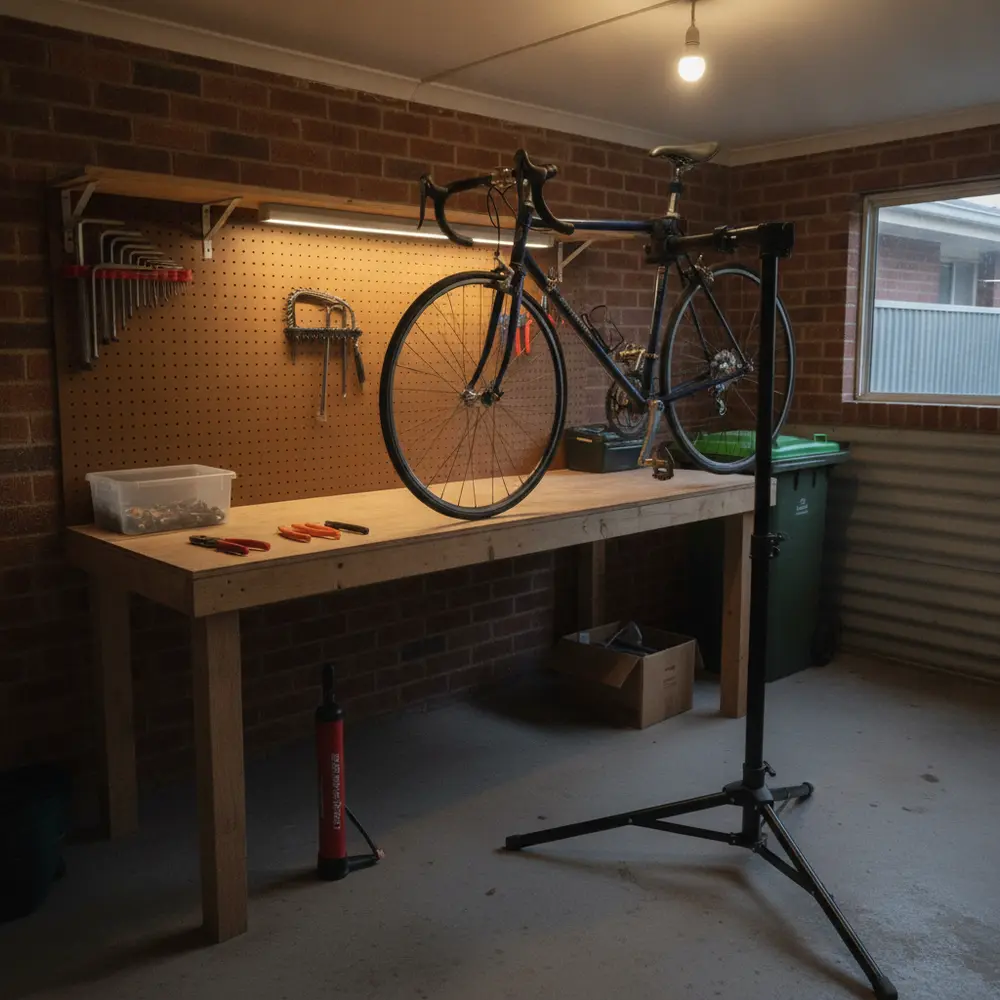
Honest answer: yes, if the budget allows, and no, if it means skipping essential tools. A repair stand holds your bike at a comfortable working height, lets you spin the cranks freely, and makes almost every job faster and easier. It is not strictly necessary for basic maintenance, but once you have used one you will not want to go back to working on a bike leaning against a wall.
Entry-level repair stands from Australian retailers sit in the $80 to $150 AUD range. If that pushes you over budget, look at Facebook Marketplace or Gumtree. Second-hand repair stands come up regularly and are one of the best budget finds available. A stand from a local rider who upgraded is often in perfectly good condition and can be had for well under retail.
Where to Buy Cycling Tools in Australia
You have a few solid options depending on what you are after.
- Pushys, Wiggle AU, Torpedo7: Good range of cycling-specific tools at competitive online prices. Check for sales and bundle deals.
- Your local bike shop: Staff advice is genuinely valuable here, especially when selecting a pump or stand. You pay a little more but you get guidance and you support local businesses.
- Bunnings: Legitimate source for screwdrivers, adjustable spanners, hex key sets (for non-critical use), cleaning brushes and cable ties. Not for precision bike tools.
- Facebook Marketplace and Gumtree: Great for repair stands, torque wrenches and full tool kits from riders who are upgrading or getting out of the sport.
When buying online from Australian retailers, your purchases are covered by Australian Consumer Law guarantees, which include the right to a remedy if a product is faulty. This does not automatically apply to overseas sellers, so factor that risk into any decision to import tools.
What to Skip for Now (and What to Upgrade to Later)
Not everything a professional mechanic owns belongs in a beginner-to-intermediate home workshop. Buying tools you will rarely use is a fast way to blow the budget on things that gather dust.
Skip for now:
- Torque wrench - essential for carbon frames and components, not necessary for aluminium or steel at the intermediate level. Add it if and when you move to carbon.
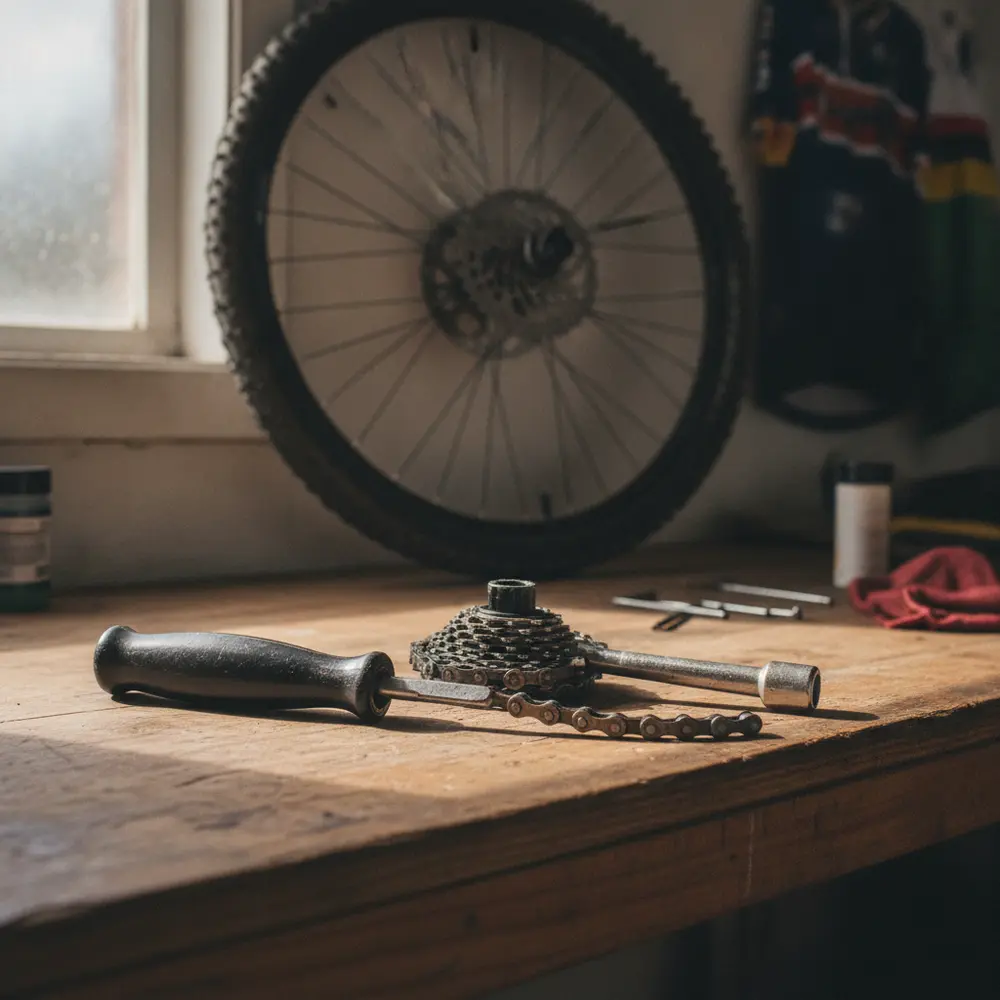
- Cassette lockring tool and chain whip - useful, but only if you are pulling the cassette off regularly. Most riders do not need to do this often.
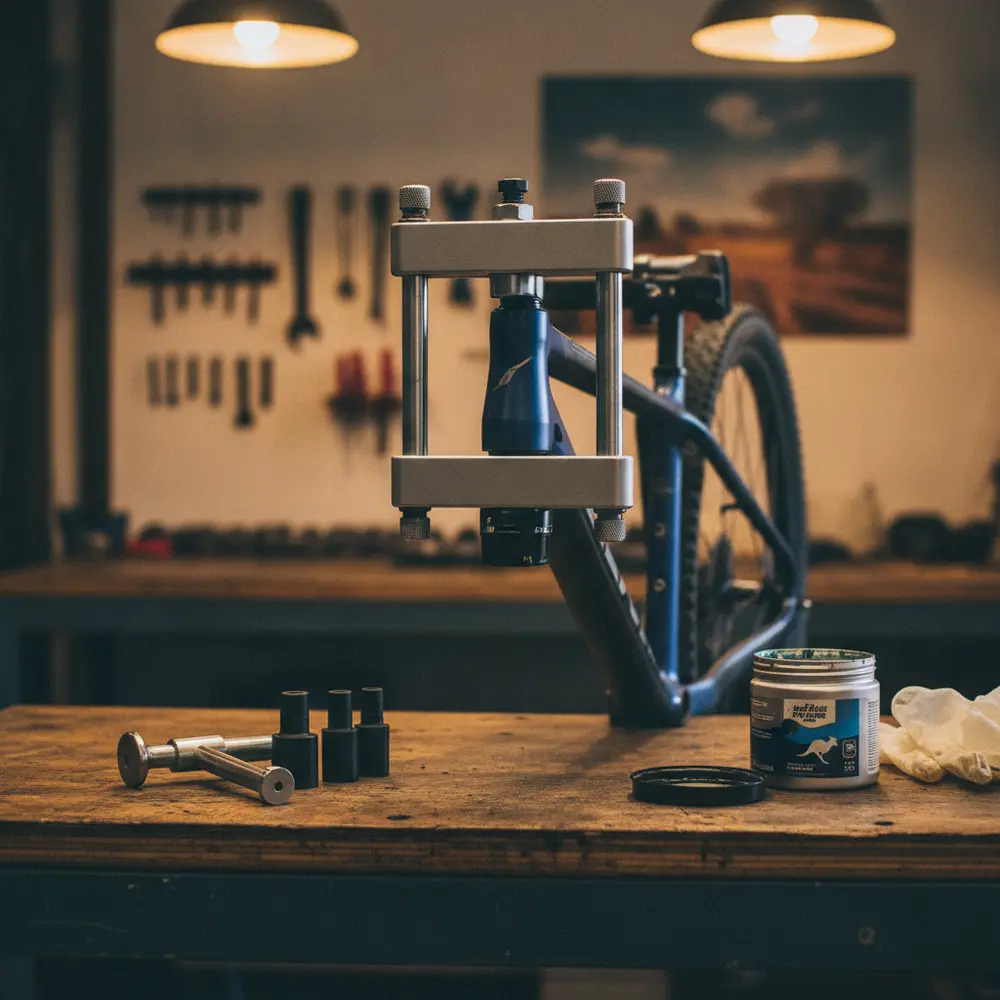
- Bottom bracket tools - there are many standards (BSA, PF30, T47) and the wrong tool is useless. Let the shop handle this one until you know your specific standard and need it regularly.
- Spoke wrench - wheel truing is a skill that takes practice. A cheap spoke wrench in inexperienced hands can make a wheel worse, not better. Leave this for later.
Upgrade to later:
- Torque wrench, once you add carbon components
- A full hex key set with T-handle options for better leverage
- Cassette and freehub tools once you are servicing the drivetrain at home
Common Mistakes When Setting Up a Home Workshop
- Buying cheap hex keys first: Poorly machined hex keys round off bolt heads. A stripped bolt on a stem or brake caliper is a frustrating and avoidable problem. Spend a little more here.
- Using a wire cutter instead of a cable cutter: The result is a frayed cable end that creates problems during installation and affects shifting or braking over time.
- Skipping the chain checker: Running a worn chain is one of the most common ways riders unknowingly destroy expensive cassettes and chainrings. A chain checker costs very little and prevents a lot of damage.
- No dedicated storage or organisation: Loose tools on a cluttered bench slow you down and create the risk of damage to your bike or yourself. Even a basic pegboard or a small toolbox makes a meaningful difference.
- Over-buying specialist tools early: Tools for tasks you will rarely do represent wasted budget. Build the core kit first and add specialist tools when a specific need arises.
- Ignoring the workspace itself: Good lighting, a clean floor surface and enough room to walk around the bike all matter. As noted by Bicycling Australia's home workshop guide, a dedicated, organised space improves both efficiency and safety.
If You Are New to Home Bike Maintenance
- Start with the Tier 1 tools only. Master the basics before you buy more.
- Learn to clean and lube your chain, check and inflate tyres, and adjust brakes before attempting anything more complex.
- Use free resources like Park Tool's repair guides to understand what each tool does and how to use it correctly before you pick it up.
- Do not attempt tasks that require precision you have not yet developed, such as wheel truing or headset adjustment. A shop visit for those jobs is the right call.
- Ask at your local bike shop. Most mechanics are happy to give advice and many shops run basic maintenance classes.
If You Have Done Basic Maintenance Before
- Focus on completing the Tier 2 additions, particularly a repair stand and cable cutters, if you have not already.
- Start tracking chain wear with a chain checker. If you have not been doing this, check your chain today. You may be overdue.
- Consider whether your current pump has an accurate gauge. An inaccurate gauge is surprisingly common and leads to inconsistent tyre pressure.
- Look at your storage setup. If tools are scattered, now is a good time to invest in a pegboard or wall rack before your kit grows further.
- Review our article on building a regular bike maintenance schedule to make the most of your home workshop.
Putting It All Together - Your $300 Shopping List
This is a practical, tiered checklist you can take shopping. Prices are approximate AUD based on current Australian market conditions and will vary by retailer and availability.
| Tool | Est. AUD | Job It Covers | Where to Source |
|---|---|---|---|
| Hex key set (quality, 2mm to 8mm) | $20 to $35 | Stem, saddle, brake, derailleur bolts | Bike shop or online retailer |
| Floor pump with gauge | $40 to $60 | Tyre inflation to correct pressure | Bike shop or online retailer |
| Tyre levers (set of 3) | $5 to $10 | Tyre removal for tube changes | Bike shop, Bunnings, online |
| Patch kit | $5 to $10 | Emergency tube repair | Bike shop, Bunnings, online |
| Chain checker | $10 to $20 | Measure chain wear before it damages cassette | Bike shop or online retailer |
| Chain tool | $15 to $25 | Size and connect a new chain | Bike shop or online retailer |
| Screwdriver set (flat and cross-head) | $10 to $20 | Derailleur limit screws, misc bolts | Bunnings |
| Bike cable cutter | $25 to $40 | Clean cuts on inner cables and housing | Bike shop or online retailer |
| Repair stand | $80 to $150 | Holds bike at working height for all tasks | Bike shop, online, or second-hand |
| Adjustable spanner | $10 to $20 | Pedal removal and misc bolts | Bunnings |
Total range: approximately $220 to $390 AUD depending on choices. To stay under $300, skip the repair stand initially or source it second-hand. Every other item on this list fits comfortably within the remaining budget.
For more on choosing the right tools for your riding discipline, see our road bike vs MTB maintenance guide, and if you want to check out current tool ranges and pricing, Pushys tools and workshop is a reliable starting point for Australian riders.
Frequently asked questions
Can I actually set up a functional home workshop for under $300 AUD?
Yes, with deliberate choices. The Tier 1 tools, hex keys, a floor pump, tyre levers, a patch kit, a chain checker and a chain tool, can all be sourced for well under $150. A repair stand is the big variable. Source it second-hand and the whole kit lands comfortably under $300.
Are hex keys from Bunnings good enough for bike work?
Some are fine for low-torque applications like seat clamp bolts, but cheaper sets with poorly machined tips risk rounding off bolt heads on tighter fasteners. For the tools you use most, it is worth buying from a cycling retailer or choosing a quality general hardware brand with precision-machined tips.
Do I need a torque wrench for a home workshop?
Not at the intermediate level if you are working on an aluminium or steel bike. A torque wrench becomes important when you are working with carbon frames and components, where over-tightening can cause damage that is not always immediately visible. Add one when you need it, not before.
Is a repair stand worth the cost for a beginner?
Yes, eventually. It makes every job faster, more comfortable and more accurate. But it is not strictly necessary to start. Most basic maintenance can be done with the bike resting against a wall or on the ground. Start with the essential tools and add the stand when budget allows, or find one second-hand.
Where is the best place to buy cycling tools in Australia?
Online retailers like Pushys and Wiggle AU offer competitive pricing and a wide range. Your local bike shop is worth visiting for higher-value purchases like a pump or stand where you want to see the product before buying. For non-precision tools like screwdrivers and spanners, Bunnings is a perfectly reasonable option. For second-hand gear, check Facebook Marketplace and Gumtree regularly.
To Wrap Up
- A functional home workshop under $300 AUD is achievable. Prioritise quality on the tools you use most.
- Start with hex keys, a floor pump and tyre levers. Add a chain checker and chain tool before anything else.
- A repair stand is worth having but is not the first purchase if budget is tight. Second-hand is a smart option.
- Do not use cheap wire cutters on bike cables. A dedicated cable cutter is worth the extra spend.
- Know the limits of your home setup. Some jobs belong at the shop, and recognising which ones saves you from making expensive mistakes.
This is educational content, not financial advice.