A dirty bike is not just an eyesore. Grit embedded in your drivetrain can wear out a chain and cassette far faster than normal use ever would, costing you real money in parts and labour.
By the end of this article you will know exactly which brushes to buy, how to use them properly, and how to build a detail kit that handles everything from a muddy winter ride in Melbourne to a dusty gravel session in the outback. You will be able to run a full wash and detail in your garage without guesswork.
Note for Australian cyclists:
- Water restrictions apply in parts of Queensland, South Australia and regional NSW. Waterless and low-water bike cleaners are a practical option worth keeping on the shelf.
- Coastal riders from Sydney to Perth deal with salt air year-round. Rinsing salt deposits off your frame and drivetrain after every coastal ride slows corrosion significantly.
- Most of the brush kits and cleaning products mentioned here are stocked by Australian retailers like Pushys, so you are not waiting on international shipping.
At a glance:
- You need at minimum three brush types: soft frame brush, stiff drivetrain brush, and a narrow detail brush.
- Start with the drivetrain before washing the frame to avoid spreading grease onto clean surfaces.
- Pressure washers can damage bearing seals. A low-pressure hose or a bucket is safer.
- Biodegradable bike-specific degreasers are the safest choice for drivetrains and bearing-adjacent areas.
Key takeaways:
- A proper cleaning kit is a functional cycling tool, not a cosmetic luxury.
- Brush stiffness matters. The wrong bristle on a carbon frame risks scratching the clear coat.
- You can build a solid kit from a mix of branded cycling brushes and inexpensive hardware store picks.
Why a Proper Cleaning Kit Is a Cycling Tool, Not a Luxury
Most riders think of a cleaning kit as something you pull out when the bike looks embarrassing. The mechanics see it differently. Every wash is a chance to spot a cracked frame, a fraying cable, a worn tyre, or a loose bolt before it becomes a roadside problem.
As Bicycle Network Australia notes, regular cleaning is part of a broader maintenance habit. A clean bike makes pre-ride safety checks faster and more reliable. You simply cannot see what you need to see through a layer of dried mud and chain grease.
The right brushes also protect your investment. Carbon frames, anodised aluminium components, and ceramic bearings all have surfaces that can be damaged by the wrong cleaning approach. Treating your brush kit as a genuine set of cycling tools, with the same respect you give your multi-tool or tyre levers, is the right mindset.
The Core Brushes Every Cyclist Should Own
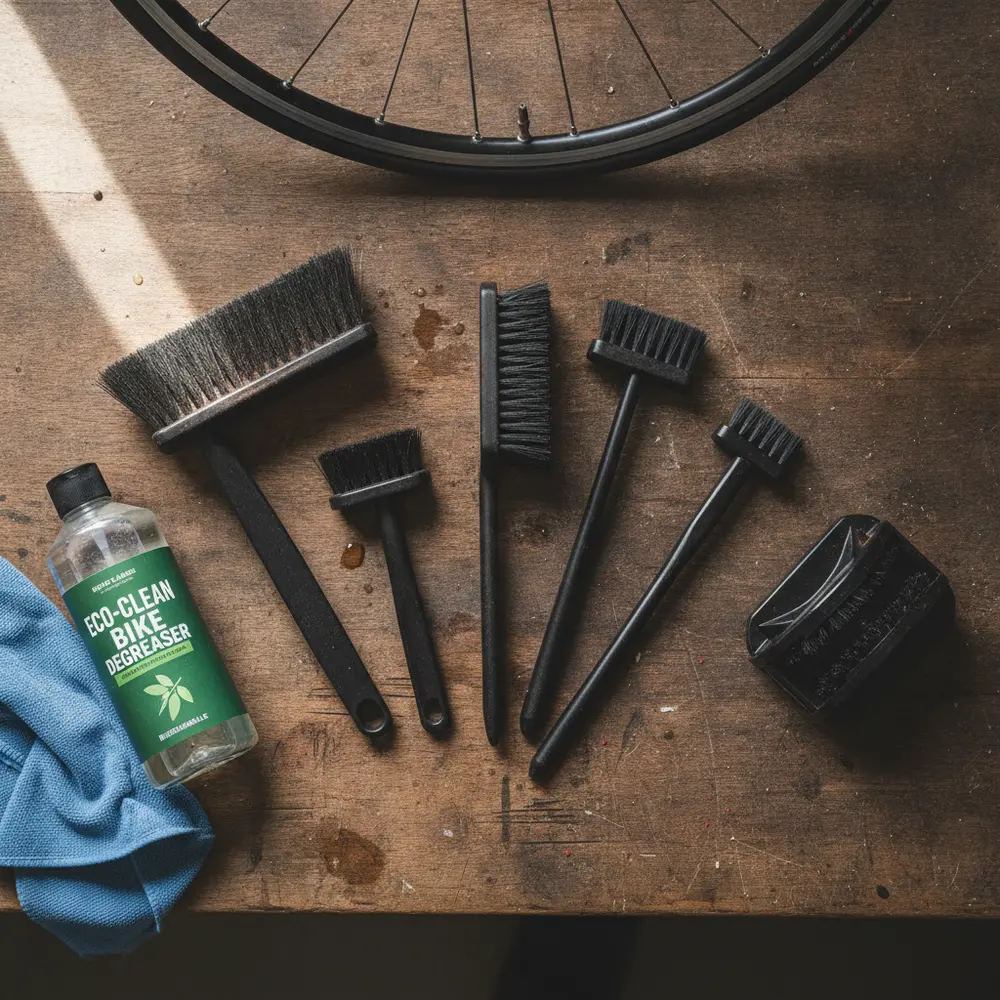
You do not need a dozen brushes. You need the right three or four, and you need to know which one to reach for on each part of the bike. Here is what actually earns its keep in the workshop.
Frame and Fork Brushes - Soft Bristles for Painted and Carbon Surfaces
A large, soft-bristle brush is your main frame brush. It handles the big surface areas: the top tube, down tube, seat stays, fork legs, and the inside of the frame triangle. Soft nylon bristles will not scratch clear coat on carbon or painted aluminium.
A second, medium-sized soft brush with a slightly firmer head is useful for wheel rims and tyre sidewalls, where you want a bit more scrubbing action without risking the rim surface. Using a stiff drivetrain brush on a carbon frame is genuinely risky. The bristles can scratch the clear coat and, over time, compromise the finish that protects the fibre underneath.
Drivetrain Brushes - Stiff Bristles Where It Counts
Your chain, cassette, chainrings, and derailleur jockey wheels need a stiffer bristle to shift compacted grime. A stiff-bristle brush shaped like a toothbrush is the workhorse here. It gets between cassette sprockets and along chainring teeth without you having to force it.
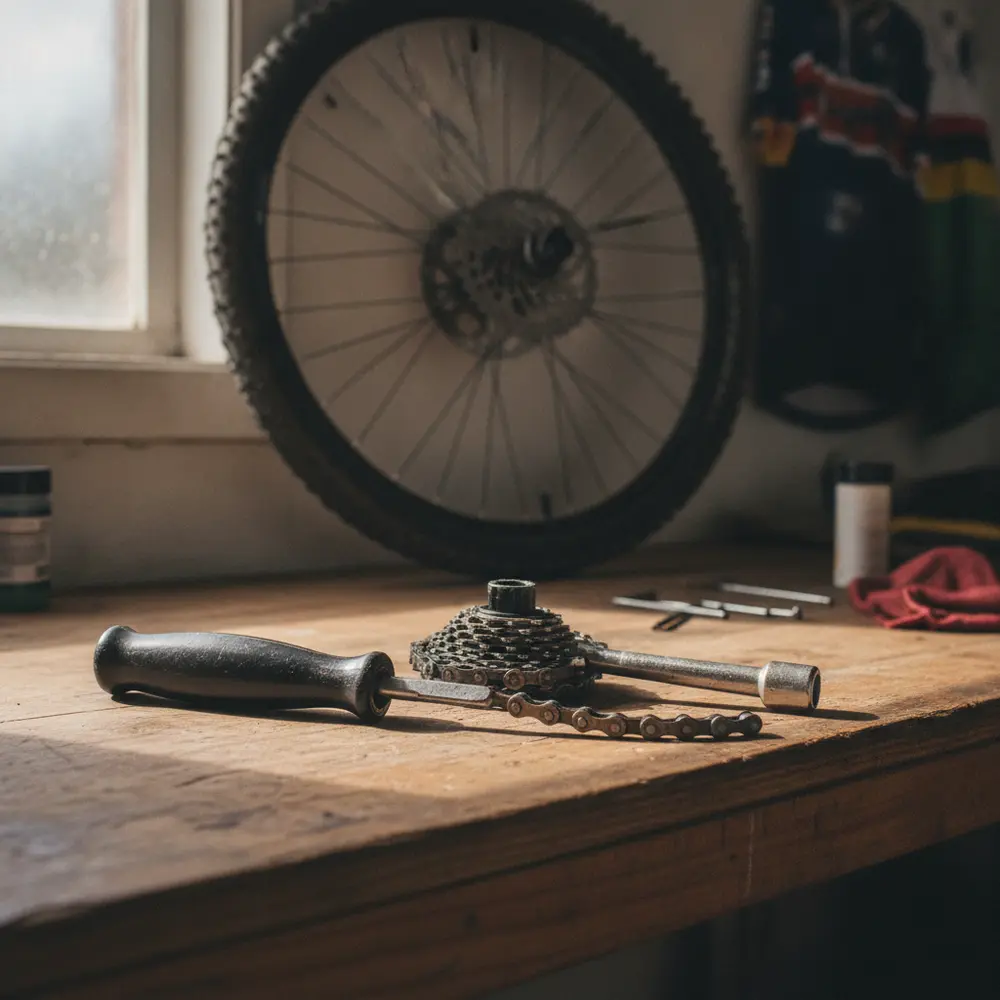
For the chain specifically, a dedicated chain cleaning device (a plastic box with rotating brushes that clips onto the chain) does a more thorough job than manual scrubbing alone on a heavily soiled chain. Park Tool's chain cleaning guide recommends exactly this approach for best results. That said, a good stiff brush and degreaser gets the job done well enough on a chain that you clean regularly.
Keep your drivetrain brushes completely separate from your frame brushes. Grease contamination from a drivetrain brush onto a soft frame brush will smear black residue across your frame every time you use it.
Spoke and Detail Brushes for the Tight Spots
A narrow, pointed detail brush is the one most people skip and later wish they had. It reaches into the tight gaps around derailleur cage plates, pivot points, brake caliper arms, and between cassette sprockets where a toothbrush cannot fit cleanly.
Some riders use cheap artist's paintbrushes or small automotive detailing brushes for this role. They work well and cost very little. Cycling-specific detail brushes from brands like Park Tool or Muc-Off are well-made, but a hardware store equivalent does the same job at a fraction of the price. Be honest with yourself about where the money is well spent.
Brush Comparison at a Glance
| Brush Type | Bristle Stiffness | Best Used On | Budget Option? |
|---|---|---|---|
| Large soft frame brush | Soft | Frame tubes, fork, stays | Yes, hardware store |
| Medium wheel brush | Medium | Rims, tyre sidewalls | Yes, automotive section |
| Stiff drivetrain brush | Stiff | Chain, cassette, chainrings | Yes, old toothbrush works |
| Narrow detail brush | Medium-stiff | Derailleur, pivots, tight gaps | Yes, artist brush |
| Chain scrubber device | Rotating brushes | Chain deep clean | Park Tool CM-5.3 is worth it |
Building Your Detail Kit - What Else Goes Alongside the Brushes
Brushes alone are only half the kit. You need a few supporting items to do the job properly without making a mess or damaging anything.
- Two buckets: one for soapy wash water, one for clean rinse water. Keeps grit from recycling back onto the bike.
- Microfibre cloths: for drying and for applying finishing products. Old cotton rags work but leave more lint.
- Biodegradable bike degreaser: applied to the drivetrain before the wash, not to the whole bike.
- Bike-specific wash or cleaner: diluted in your wash bucket for the frame and wheels.
- Chain lube: wet or dry depending on your conditions. Applied only after the chain is fully dry.
- Frame protectant or finishing spray: optional but adds some protection against UV and surface contamination, and makes the next wash easier.
Cleaning Solutions, Degreasers and Lubes to Pair with Your Kit
Biodegradable bike-specific degreasers are the safest choice for cassettes, chains, and chainrings. As BikeRadar's cleaning guide explains, some automotive degreasers can strip bearing grease if over-applied near hubs and bottom brackets. Stick to products designed for bicycle use in those areas.
Muc-Off's Nano Tech Cleaner is biodegradable and is marketed as safe on carbon, anodised aluminium, and painted surfaces. Finish Line's EcoTech2 degreaser is another solid option available through Australian retailers. Both are stocked locally, so no waiting on overseas orders.
A note on household degreasers: diluted dish soap is fine for frame washing. Undiluted solvent-based products, or anything labelled for heavy industrial use, carry a risk of degrading rubber seals and anodised finishes on your components. When in doubt, use a dedicated bike product.
If you are under water restrictions or cleaning at a trailhead, waterless bike cleaners are a genuinely useful option. Bicycling Australia covers waterless cleaning options as a practical choice for Australian conditions. They are spray-on, wipe-off products that handle light to moderate dirt without a hose.
How to Use Your Cleaning Kit - Step-by-Step Wash and Detail
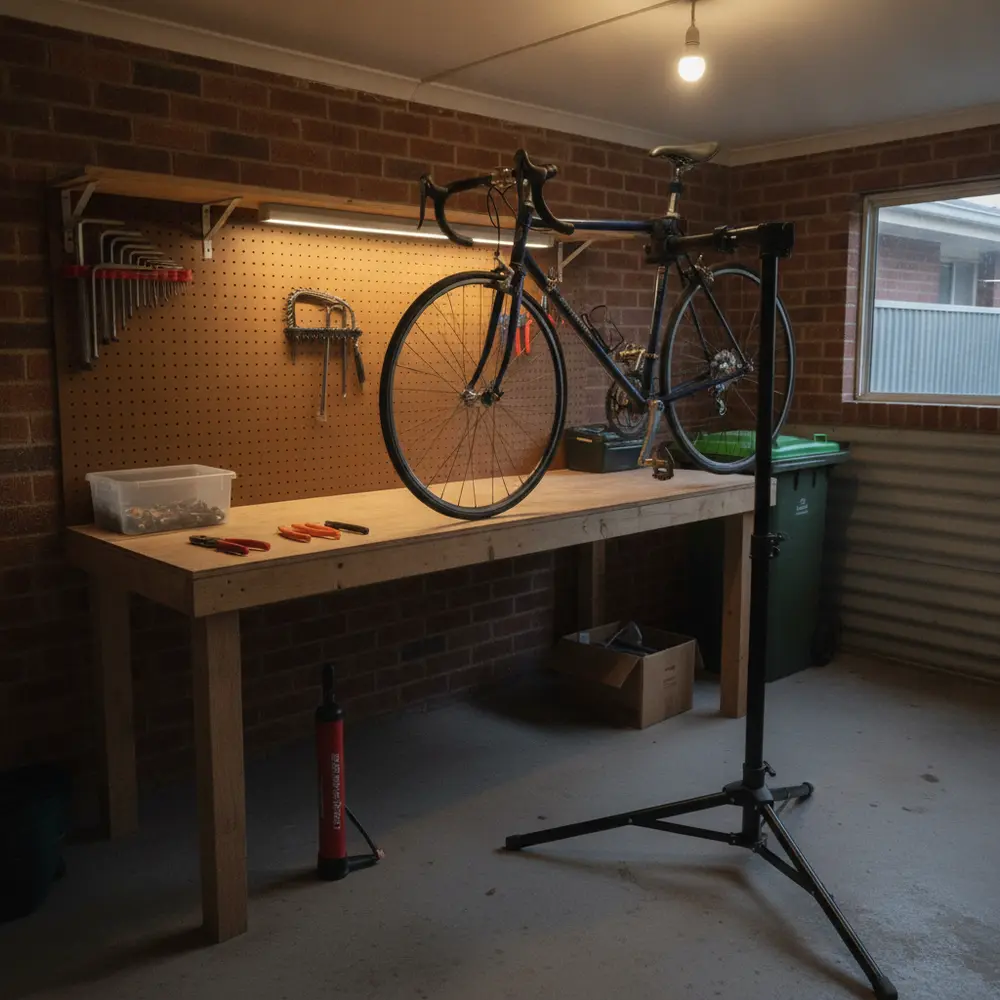
This is the process to follow when you have the bike on a stand and time to do it properly. Work through it in order and it will take around 20 to 30 minutes once you have done it a few times.
- Pre-rinse the whole bike with a low-pressure hose or a wet cloth to knock off loose dirt. Avoid directing water pressure at the headset, bottom bracket, wheel hubs, or suspension pivots.
- Apply degreaser to the drivetrain only: chain, cassette, chainrings, and jockey wheels. Leave it to dwell for the time the product recommends, usually one to three minutes. Keep it away from braking surfaces and tyres.
- Scrub the drivetrain with your stiff brush and, if you have one, run the chain through the chain scrubber device. Work the cassette sprockets individually with the narrow detail brush. Backpedal through the brush to work the full length of the chain.
- Wash the frame, fork, and bars using your large soft brush and soapy water. Work from top to bottom. Do not use the drivetrain brush here. Clean the wheels and tyre sidewalls with the medium wheel brush.
- Rinse everything with clean water, again keeping the hose away from bearing points. Use a second bucket of clean water if you are not using a hose.
- Dry the bike thoroughly with microfibre cloths. Pay attention to areas where water pools: the bottom bracket shell, inside the frame triangle, around cable ports. Damp components corrode faster.
- Lubricate the chain once it is fully dry. Apply lube link by link, then backpedal and wipe off the excess with a clean cloth. Do not lube a wet chain.
- Apply finishing spray or frame protectant to the frame and fork if you are using one. Avoid braking surfaces and tyres. Buff lightly with a clean microfibre cloth.
For a detailed reference on the full brush kit steps from Muc-Off, their official road bike cleaning guide walks through each stage with product-specific notes.
Common Mistakes That Damage Your Bike During Cleaning
These are the errors that show up repeatedly when people are new to a proper detail routine. Avoid these and your bike will thank you.
- Using a pressure washer: High-pressure water forces its way past bearing seals in hubs, the bottom bracket, and headset. The damage is not always immediate, but it adds up. A low-pressure hose or a bucket is safer.
- Using the drivetrain brush on the frame: Grease from a stiff brush transfers to the frame surface and is difficult to remove cleanly. Keep your brushes assigned to their zones.
- Applying degreaser broadly: As Finish Line's drivetrain cleaning guide warns, degreaser sprayed broadly can migrate into hubs and bottom brackets. Apply it precisely to drivetrain components only.
- Lubricating a wet chain: Water and lube do not mix well. Always dry the chain fully before applying lubricant, or you dilute the lube immediately and it does not penetrate the chain links properly.
- Skipping the rinse after degreaser: Degreaser residue left on components can continue to break down lubricants on nearby surfaces. Rinse it off completely.
- Using the same cloth for frame and drivetrain: Cross-contamination. Keep separate cloths for each zone, just like the brushes.
If You Are New to Cleaning Your Bike
- Start with just three items: a soft brush, a stiff brush, and a bottle of bike-specific cleaner. You do not need to buy everything at once.
- Do a quick wipe-down after every ride and save the full detail for every third or fourth ride, or after any wet or muddy session.
- A clean bike is easier to inspect. Use wash time to check tyre condition, cable ends, and whether any bolts look like they are working loose.
- Diluted dish soap in a bucket is a perfectly acceptable frame cleaner when you are just starting out. Upgrade to a dedicated product when the budget allows.
- You can find a solid beginner-friendly cleaning guide at Bicycles.net.au if you want to see the basics laid out step by step.
If You Have Cleaned Your Bike Before and Want to Level Up
- Add a chain scrubber device to your kit if you are running wet lube in winter. It makes a real difference on heavily contaminated chains.
- Invest in a proper detail brush for derailleur cage plates and jockey wheel assemblies. It is the area most riders neglect and it accumulates a surprising amount of grime.
- Switch to a finishing spray or frame protectant after washes. It adds a slick surface that repels dust and makes the next clean noticeably faster.
- Consider a waterless cleaner for post-ride touch-ups between full washes. It is particularly useful for dusty Australian conditions without running a full wash every time.
- Match your chain lube to the season: dry lube for summer and dry conditions, wet lube for winter and wet roads. Clean the chain more frequently when running wet lube as it attracts more grime.
Recommended Cleaning Kits and Brushes Available in Australia
The good news for Australian cyclists is that most of the reliable kits are stocked locally. You can browse the full range of bike cleaning kits available in Australia at Pushys, which carries Park Tool, Muc-Off, Finish Line, and several other brands with local shipping.
A few options worth considering:
- Park Tool GSC-1 or BCB-4.2 brush sets: Well-made, component-specific brushes from the brand most professional mechanics trust. The BCB-4.2 is a good all-in-one starter set.
- Muc-Off 5-piece brush kit: Covers all the main zones and pairs naturally with Muc-Off's cleaning products. Widely stocked in Australian bike shops.
- Hardware store soft brushes: For large frame surfaces, a soft-bristle household brush or a wheel brush from an automotive section does the job. Save the budget for a quality drivetrain brush and a detail brush.
- Automotive detailing brushes: Small, soft automotive brushes designed for painted car surfaces are generally safe on bike frames and are sold in multi-packs cheaply. Check bristle stiffness before using on carbon.
Building your kit progressively is the sensible approach. Start with the essentials and add pieces as you identify what your specific riding demands. A mountain biker in the Red Centre needs a different kit emphasis to a road cyclist in coastal Sydney.
Frequently asked questions
Can I use a pressure washer to clean my bike?
It is not recommended. High-pressure water can force past bearing seals in your hubs, bottom bracket, and headset, washing out the grease that protects those components. A low-pressure hose, a sponge, or a bucket of water does the same cleaning job without the risk. If you do use a hose, keep the pressure low and angle it away from bearing points.
Is it safe to use automotive degreasers on my bike cassette and chain?
Some are fine in small amounts, but the risk is that strong solvent-based automotive degreasers can migrate into nearby bearings and strip out the grease inside hubs and bottom brackets. Biodegradable bike-specific degreasers like Finish Line EcoTech2 or Muc-Off Bio Degreaser are a safer choice and are widely available in Australia.
How often should I do a full bike detail versus a quick wipe-down?
A quick wipe-down of the chain and frame after every ride is good practice, especially after wet or muddy sessions. A full detail wash every three to five rides, or after any heavy conditions, is a reasonable interval for most riders. If you ride coastal routes or dusty gravel regularly, clean more frequently to stay ahead of salt and abrasive grit buildup.
Do I need a cycling-specific brush kit, or will hardware store brushes work?
A mix of both is the practical answer. For large frame surfaces, soft hardware store brushes or automotive detailing brushes work well and cost far less. For drivetrain-specific work, a cycling-branded brush set from Park Tool or Muc-Off is worth it because the shapes are designed for cassette sprockets, jockey wheels, and chain links specifically. Buy where it makes the most difference.
What is the best way to clean a bike in a water-restricted area?
Waterless bike cleaners are a practical solution. They are spray-on, wipe-off products that handle light to moderate grime without a hose. For heavier dirt, a single bucket of water used carefully can get the job done. Biodegradable products are a good choice here. If you ride in regional Australia where water is limited, keeping a small spray bottle of waterless cleaner in your kit is a smart habit.
Summary
- Your cleaning brushes are genuine cycling tools, not optional extras. The right brushes protect your bike and extend the life of drivetrain components.
- Use soft bristles on carbon and painted frames, stiff bristles on the drivetrain, and a narrow detail brush for tight spaces around derailleurs and pivots.
- Always degrease the drivetrain first, then wash the frame. Dry fully before lubricating the chain.
- Avoid pressure washers near bearing points and keep degreaser application targeted to drivetrain components only.
- A mix of cycling-specific and hardware store brushes is a smart way to build a capable kit without overspending. Most branded kits are available through Australian retailers without international shipping.
This is educational content, not financial advice.