A flat tyre 40 kilometres from home has a way of making you wish you had packed a better pump. Choosing the right pump, or the right combination of pumps, is one of those small decisions that saves you from a very long walk.
By the end of this guide you will know the difference between a floor pump and a mini pump, what to look for when buying each one, and exactly which setup suits your riding style and budget. We will keep it straight and practical, the same way a mate with a well-stocked workshop would explain it.
Note for Australia:
- Brands like Topeak, Lezyne, SKS and Silca are widely stocked at Australian bike shops and major online retailers such as Pushys and BikeExchange.
- Budget floor pumps start around AUD $40 to $60, mid-range models sit around AUD $80 to $120, and premium options run from AUD $150 upwards.
- A reliable entry-level mini pump will cost around AUD $30 to $50, with quality mid-range options from AUD $60 to $100.
At a glance:
- A floor pump is your best tool for pre-ride inflation at home. It is fast, accurate, and works for all tyre types.
- A mini pump is your emergency roadside solution. It gets you home, but it is not a replacement for a floor pump.
- Most riders genuinely need both, and together they do not cost much.
- Valve type (Presta or Schrader) must match your pump head before you buy.
Key takeaways:
- Floor pumps can reach 160 PSI or more. Most mini pumps top out around 100 to 120 PSI with real effort.
- Road tyres run 80 to 110 PSI, MTB tyres run 25 to 40 PSI, and gravel sits between 35 and 60 PSI.
- If you ride tubeless on an MTB or gravel bike, check that your floor pump is compatible with tubeless seating before you buy.
Why Every Cyclist Needs at Least One Good Pump
Most beginners buy a bike, put it together, and assume the tyres will stay inflated. They will not. Tyres lose pressure gradually even without a puncture, and riding on under-inflated tyres increases your risk of pinch flats and affects handling. Getting into the habit of checking pressure before every ride makes a real difference.
The problem is that many new riders do not realise there are two very different tools for the job. A floor pump lives in your garage and does the heavy lifting before you roll out the door. A mini pump lives in your jersey pocket or on your frame and saves you when something goes wrong out on the road or trail. They are not interchangeable, and understanding that is the first step to making a smart purchase.
For a broader look at the essential tools every cyclist should own, check out our guide to must-have cycling tools for Australian riders.
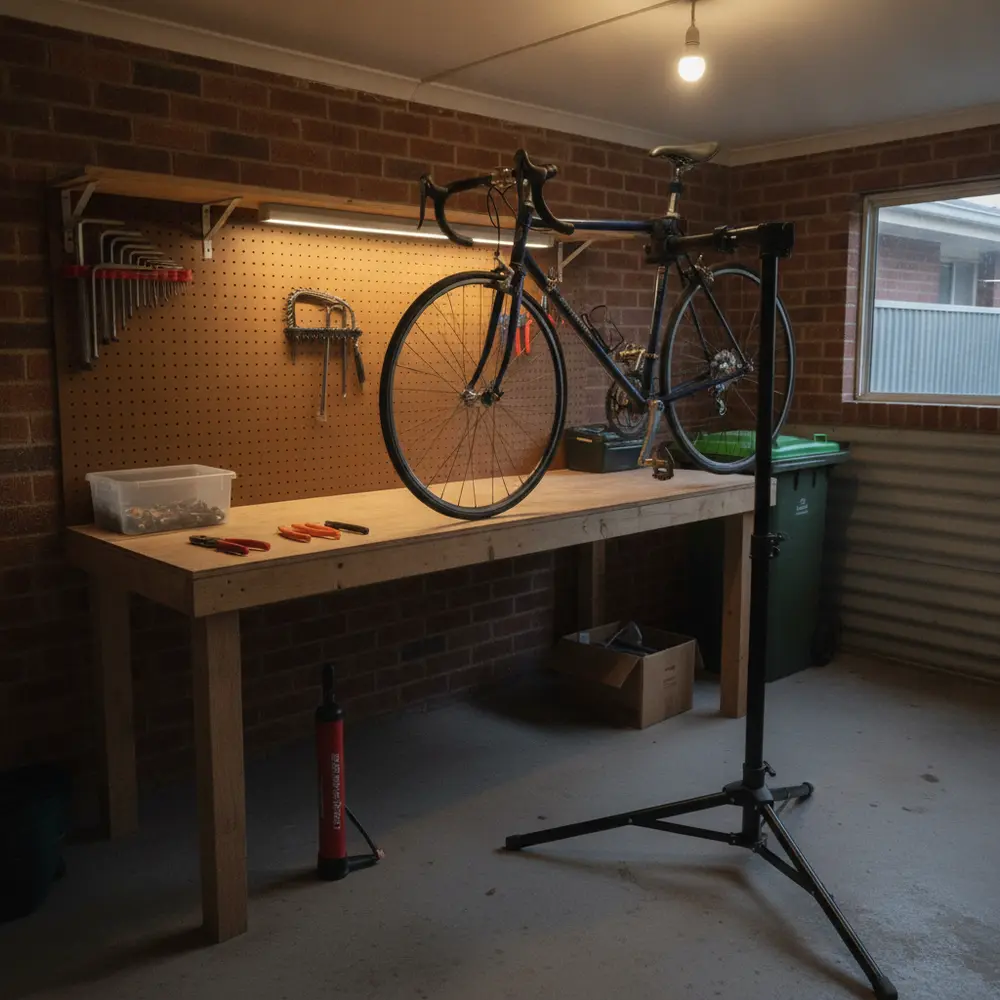
What Is a Floor Pump?
A floor pump, also called a track pump, is a tall, upright pump you operate with both hands while standing on the base. The large barrel moves a high volume of air per stroke, which makes inflating a tyre fast and relatively effortless compared to any portable option. Most quality floor pumps include a pressure gauge so you can hit your target PSI accurately.
Floor pumps are built for repeated home use. They are not designed to be carried on a ride, and their size makes that impractical anyway. Think of a floor pump the same way you think of a good set of tyre levers or a chain tool. It is a workshop essential, not a trail tool.
How a Floor Pump Works and When to Use It
The pump head connects to your tyre valve and locks into place. Each downward stroke on the handle pushes air through the hose and into the tyre. Because the barrel is wide, each stroke moves a lot of air. This means you can inflate a completely flat road tyre to 100 PSI in a reasonable number of strokes without wearing yourself out.
Use your floor pump before every ride. Five minutes checking and correcting tyre pressure at home is worth far more than an hour dealing with a flat on the road. It is also the only practical way to get road tyre pressures consistently accurate, since mini pumps struggle to deliver repeatable readings at high PSI.
- Best for pre-ride inflation at home
- Works well for all tyre types including road, MTB, gravel and commuter
- Essential for tubeless tyre seating (with the right model)
- Provides accurate gauge readings for repeatable pressure
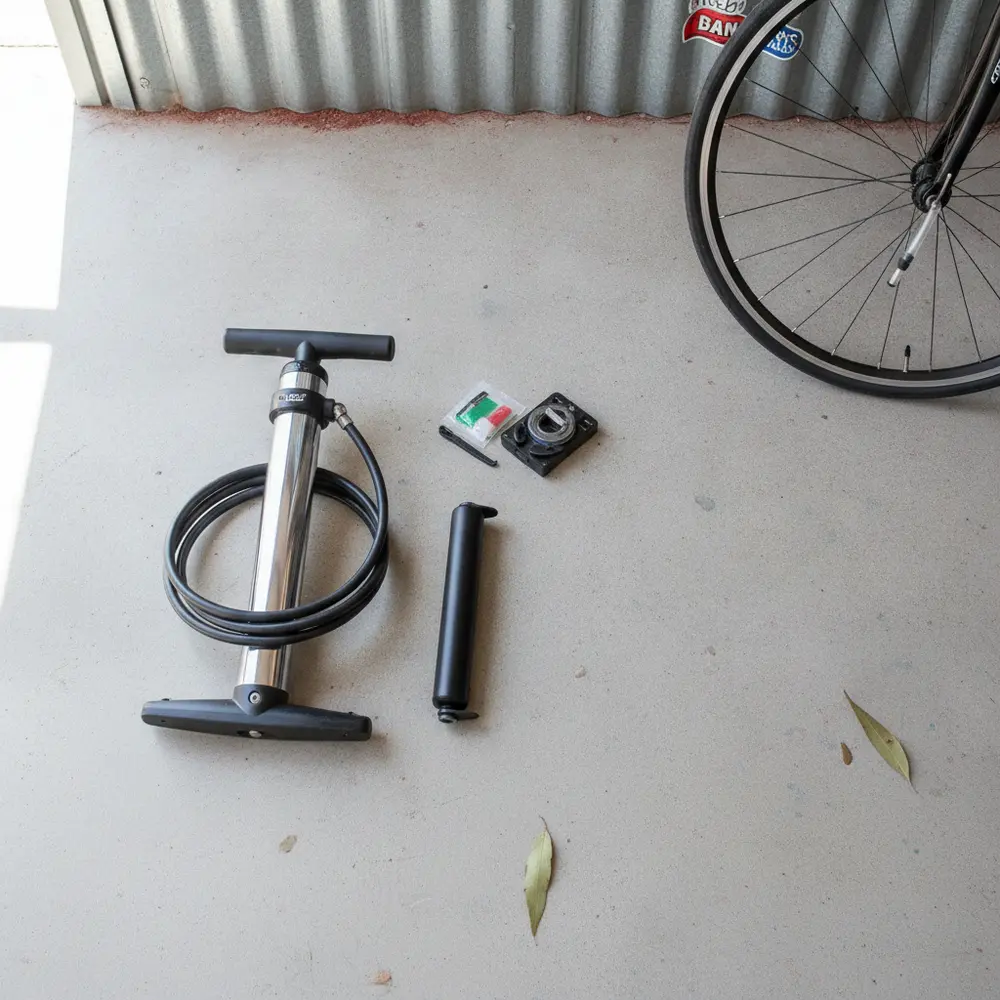
What Is a Mini Pump?
A mini pump is a small, portable pump designed to be carried on your bike or in your kit. It is compact enough to fit in a jersey pocket, a saddlebag, or mounted to your frame with a bracket. The trade-off for that portability is inflation effort and maximum PSI. Mini pumps move less air per stroke, so getting a tyre to a decent pressure takes more work and more strokes.
The good news is that for most emergency situations, you do not need to hit your exact riding pressure. You just need enough air to get home safely without damaging your rim or tyre. A decent mini pump will get you there.
How a Mini Pump Works and When to Use It on the Road
You attach the pump head to the valve, then work the pump back and forth rapidly. Because the barrel is narrow, each stroke moves less air than a floor pump. You compensate by pumping faster and for longer. Some mini pumps include a fold-out handle or a small foot peg to give you better leverage, which makes a real difference when you are trying to push past 80 PSI.
Twin-piston mini pumps inflate faster and require noticeably less effort than single-piston models at equivalent pressures. If you ride a road bike and need to reach higher pressures in an emergency, a twin-piston design is worth the small extra cost. For MTB riders targeting 25 to 40 PSI, a standard single-piston mini pump is usually fine.
- Best used for roadside emergency inflation after a puncture
- Carry it in your jersey pocket, saddlebag, or on your frame
- Most will get you to a rideable pressure, not necessarily your ideal pressure
- Valve head quality matters. A poor head loses air every time you connect and disconnect
Floor Pump vs Mini Pump: Key Differences at a Glance
| Feature | Floor Pump | Mini Pump |
|---|---|---|
| Max PSI (typical) | 160 PSI or more | 100 to 120 PSI with effort |
| Inflation speed | Fast. High volume per stroke. | Slow. Low volume per stroke. |
| Gauge accuracy | Good to excellent on quality models | Basic or no gauge on most models |
| Portability | Home use only | Pocket, saddlebag, or frame mount |
| Effort required | Low to moderate | Moderate to high at road pressures |
| Best use | Pre-ride at home | Emergency roadside fix |
| Entry-level price (AUD) | $40 to $60 | $30 to $50 |
| Tubeless compatible | Some models, check before buying | Not suitable for tubeless seating |
What to Look for When Buying a Floor Pump
Not all floor pumps are equal. The cheapest options cut corners on gauge accuracy and build materials, both of which matter more than most beginners expect. Here is what to prioritise.
- Gauge accuracy. Budget floor pumps often have gauges that read several PSI off target. For road cyclists dialling in precise pressures, this matters. Mid-range and premium models from brands like Lezyne and Topeak are consistently more accurate.
- Barrel material. Metal barrels (aluminium or steel) last significantly longer than plastic. If you are buying a pump to use for years, spend a little more for a metal barrel.
- Base stability. A wide, non-slip base means the pump stays put when you are pushing hard at high pressure. It sounds obvious but many cheaper pumps wobble, which is frustrating and tiring.
- Valve head compatibility. Look for a pump head that handles both Presta and Schrader valves without needing adaptors. Most mid-range and above floor pumps include this.
- Hose length. A longer hose makes it easier to reach both wheels without moving the pump. Short hoses are a common annoyance on budget models.
- Tubeless compatibility. If you ride tubeless on an MTB or gravel bike, look for a floor pump with a dedicated high-volume air chamber, sometimes called a booster or blast function. Not all floor pumps can seat a tubeless tyre. SKS offers dedicated tubeless models worth looking at.
For a deeper look at what separates quality pump construction from budget options, the Lezyne pump guide covers materials and build quality in plain terms.
What to Look for When Buying a Mini Pump
The key with a mini pump is reliability under pressure, literally. It is no good carrying a pump that fails to seal properly or cannot reach a rideable pressure when you actually need it.
- Maximum rated PSI. Check the spec. Some mini pumps are only rated to 60 or 80 PSI, which is not enough for a road bike. Aim for at least 100 PSI rated output if you ride a road or gravel bike.
- Valve head quality. The head is the most common failure point on a mini pump. Look for a design that locks firmly onto the valve and minimises air loss on disconnect. Lezyne's ABS valve heads are a good example of a well-engineered solution.
- Single vs twin piston. Twin-piston pumps inflate faster with less effort. Worth the extra cost for road riders. For MTB riders at lower pressures, single-piston is usually fine.
- Fold-out handle or foot peg. These small features make a real difference when you are trying to push past 90 PSI on the side of a road. Check if the pump includes one.
- Size and carry method. Make sure it fits how you want to carry it. Frame mounts are convenient but not all pumps come with a compatible bracket.
The Bicycles Network Australia pump buying guide covers the most commonly stocked mini pump options in the local market and is worth a read before you buy.
Presta vs Schrader Valves: What You Need to Know Before You Buy
This trips up a lot of beginners. Your pump head must match your tyre valve, and there are two common types used on bikes in Australia.
Presta valves are narrow and have a small threaded locknut at the top. They are standard on most road bikes, many gravel bikes, and higher-end MTBs. To inflate, you unscrew the locknut first, then attach the pump head.
Schrader valves look the same as a car tyre valve. They are wider and have a spring-loaded pin in the centre. They are common on commuter bikes, entry-level MTBs, and kids bikes.
- Check your valve type before buying any pump
- Most mid-range and premium floor pumps include a dual-head that fits both types
- Many mini pumps also handle both, but double-check before purchasing
- If your pump only fits one type, you can buy a separate adaptor for a few dollars
For more detail on tyre setup and pressure recommendations by bike type, Bicycling Australia's tyre pressure guide is a solid reference written with Australian riding conditions in mind.
Do You Need Both? Our Honest Recommendation
Yes. For most Australian cyclists, the right answer is one floor pump at home and one mini pump on the bike. The combined cost of an entry-level setup across both is around AUD $70 to $110, which is a small price compared to cutting a long ride short because you had no way to fix a flat.
If you are purely a casual commuter riding short distances close to home, you might get away with just a floor pump for a while. But the moment you start riding further, heading out on trails, or doing any kind of road riding, you want a mini pump within reach.
Quick Decision Guide: Which Pump Setup Do You Need?
- What type of riding do you do?
- Road cycling (80 to 110 PSI): You need a floor pump with an accurate gauge and a high-PSI mini pump (rated 100 PSI minimum) for the road.
- MTB (25 to 40 PSI): A floor pump is essential, especially if you run tubeless. A standard mini pump is fine for trailside emergencies at these lower pressures.
- Gravel (35 to 60 PSI): Same as MTB. Tubeless is common in Australian gravel riding, so check your floor pump handles tubeless seating.
- Commuting: A floor pump at home is the priority. A mini pump or even a small CO2 inflator gives you backup on the commute.
- How far from home do you usually ride?
- Under 10km: Floor pump at home is fine. A mini pump is a bonus.
- 10km to 40km: Carry a mini pump. Always.
- 40km or more: Carry a mini pump and consider a CO2 inflator as a backup for a fast fix. Note that CO2 cartridges are single-use and cost more per inflation than a pump, so they complement rather than replace a mini pump.
- Do you already own a pump?
- I have a floor pump only: Buy a mini pump next. This is the gap most likely to leave you stranded.
- I have a mini pump only: Buy a floor pump. You cannot reliably hit target pressures with a mini pump at home.
- I have neither: Start with the floor pump, then add a mini pump before your first long ride.
Common Mistakes When Buying a Bike Pump
- Buying a floor pump without checking valve compatibility, then discovering it does not fit your Presta valve
- Assuming a mini pump is enough for pre-ride inflation at home. It is not, especially for road tyres
- Choosing the cheapest floor pump available and finding the gauge reads 10 to 15 PSI off target
- Not checking whether the floor pump supports tubeless tyre seating before buying, especially relevant for MTB and gravel riders
- Forgetting to carry the mini pump on the ride because it has never been needed before. It will be needed eventually
- Buying a mini pump rated to only 60 or 80 PSI for a road bike that needs 100 PSI to ride safely
If You Are New to Buying a Bike Pump
- Start with one quality floor pump. It will be the most-used tool in your cycling kit
- Check your valve type before you buy anything. Presta is narrow and has a locknut. Schrader looks like a car tyre valve
- A mid-range floor pump from a brand like Topeak or SKS in the AUD $60 to $90 range is a solid starting point
- Add a mini pump before your first ride longer than 15 kilometres
- Ask your local bike shop to show you how to attach the pump head correctly. It takes 30 seconds and avoids a lot of frustration
If you have more questions about getting your kit sorted, feel free to get in touch with our team and we will point you in the right direction.
If You Have Used a Basic Pump Before
- Upgrade your floor pump gauge accuracy. A mid-range or premium model pays for itself in consistency, especially for road riders fine-tuning tyre pressure
- Consider a twin-piston mini pump if you ride a road bike. The difference in effort at high pressures is noticeable
- If you have moved to tubeless, verify your current floor pump can seat a tubeless tyre. Most standard floor pumps cannot do this reliably without a booster function
- Check the condition of your mini pump valve head. Seal degradation is the most common failure mode and the most common reason a roadside pump fails when you need it most
- Think about carrying a CO2 inflator alongside your mini pump on longer rides as a quick-fix backup
For a thorough comparison of floor and mini pump performance across price tiers, the 99 Spokes bike pump guide is a well-structured resource with practical detail on PSI capability and pump mechanics.
Frequently Asked Questions
Can a mini pump get my road tyre to full pressure?
Technically yes, but it is hard work. Most quality mini pumps are rated to 100 to 120 PSI, and road tyres typically run 80 to 110 PSI. You can get there with effort, but inflation effort increases significantly above 100 PSI on most mini pumps. In practice, most riders get their tyre to a safe rideable pressure and then top it up properly with their floor pump when they get home. A mini pump is not a comfortable substitute for a floor pump for daily home inflation.
Do all floor pumps work with both Presta and Schrader valves?
Not all of them, particularly at the budget end. Most mid-range and premium floor pumps include a dual-head that handles both valve types without adaptors. Budget models sometimes only fit one type, or include a reversible insert that requires you to pull apart the head and flip a component. Check the product description before buying, or ask at your local bike shop.
Is a CO2 inflator a good alternative to a mini pump?
CO2 inflators are fast and compact, which makes them popular for road riders who want a quick fix. However, they are single-use per cartridge, they cost more per inflation than pumping, and if something goes wrong (a poor seal, a faulty cartridge) you have no backup. For beginners, a mini pump is a more reliable and forgiving option. Many experienced riders carry both: CO2 for speed and a mini pump as a backup.
Does my floor pump need to be special if I run tubeless tyres?
Yes, for seating a tubeless tyre, you do. Standard floor pumps push air in slowly, and tubeless tyres require a sudden high-volume burst of air to seat the bead on the rim. Some floor pumps include a built-in air chamber that releases all at once, often called a booster or blast function. SKS and a number of other brands offer dedicated tubeless floor pumps. If you are converting to tubeless, check this feature specifically before buying.
What is a realistic budget for a good pump setup in Australia?
For a solid entry-level floor pump, expect to spend AUD $60 to $90 for a reliable model from a known brand. A dependable mini pump will cost AUD $40 to $70 in the mid-range. That puts a practical two-pump setup at around AUD $100 to $160 total, which is reasonable given how much use a good pump gets. Avoid the cheapest no-name options on marketplaces. The gauge and valve head quality tend to be poor, and they often fail at inconvenient moments.
Wrapping Up
Here is the short version for anyone who has scrolled to the bottom:
- Get a floor pump first. It is the most important pump you will own and you will use it before every ride.
- Add a mini pump before your first long ride. The one time you need it, you will be very glad it is there.
- Check your valve type before buying anything, Presta or Schrader, and confirm your pump head matches.
- If you ride tubeless, check for tubeless compatibility in your floor pump. Most standard models do not have it.
- Spend a little more than the cheapest option. Gauge accuracy and valve head quality matter more than most beginners expect.
For more practical guides on getting your cycling kit sorted, browse our useful tools section or check out our beginner cycling guide for more straight-talking advice.
This is educational content, not financial advice.