Your bike is one of the most expensive things in your kit, and a few minutes after every ride is all that stands between a long-lasting machine and a growing repair bill. Skipping post-ride care is one of the most common ways riders unknowingly shorten the life of their drivetrain, tyres, brakes, and frame.
By the end of this article you will have a clear, step-by-step post-ride routine you can do in under ten minutes, plus a checklist you can bookmark or print and use after every ride. You will know exactly what to look for, when to act, and when to leave it for a full service.
Note for Australian cyclists:
- Australia's intense UV, coastal salt air, dusty gravel roads, and sudden downpours all accelerate component wear faster than many other riding environments.
- Rubber components including tyres, brake hoods, and seals degrade more quickly under prolonged UV exposure and high summer temperatures.
- Riders near the coast should pay extra attention to metal components after every ride, as salt air promotes corrosion even on stainless and alloy parts.
At a glance:
- A post-ride routine protects your frame, drivetrain, brakes, and tyres from premature wear.
- Applying lube to a dirty chain makes wear worse, not better. Always clean before you lube.
- Tyre and brake inspection is a safety check, not just a maintenance task.
- Proper storage, especially indoors in Australian conditions, meaningfully extends component life.
Key takeaways:
- Five structured steps cover everything from visual inspection to storage.
- The post-ride checklist at the end of this article is your go-to reference after every ride.
- Catching small issues early saves hundreds of dollars on drivetrain replacements and brake repairs.
Why a Post-Ride Routine Matters for Your Bike
Think of your post-ride routine the same way a tradie treats their tools at the end of the day. A clean, inspected tool works when you need it. A neglected one fails at the worst possible time. The same principle applies to your bike, and the consequences of skipping care are not just inconvenient, they are expensive.
A worn chain left too long will chew through your cassette and chainrings. Contaminated brake pads lose stopping power. Tyres with embedded glass or small cuts fail on your next ride, often at speed. These are not hypotheticals. Any mechanic who has worked in a bike shop for more than a season has seen all of these up close.
The Cost of Skipping Post-Ride Care
To put it in plain terms, a chain costs anywhere from $30 to $100 depending on speed and brand. A cassette replacement can run $80 to $300 or more. Replace both together because of a worn chain that was left too long, and you are looking at a bill that a five-minute routine after every ride would have delayed by months. According to Park Tool's chain wear and replacement guidance, a worn chain accelerates wear on your cassette and chainrings significantly. Catching chain stretch early is one of the highest-value habits in cycling maintenance.
Step 1 - Give Your Bike a Quick Once-Over Before You Pack It Away
Before you grab a cloth or a bottle of lube, spend sixty seconds just looking at the bike. Stand it upright, or lean it against a wall, and scan it from front to back. You are looking for anything that was not there when you set off, or anything that feels different when you squeeze or spin a component.
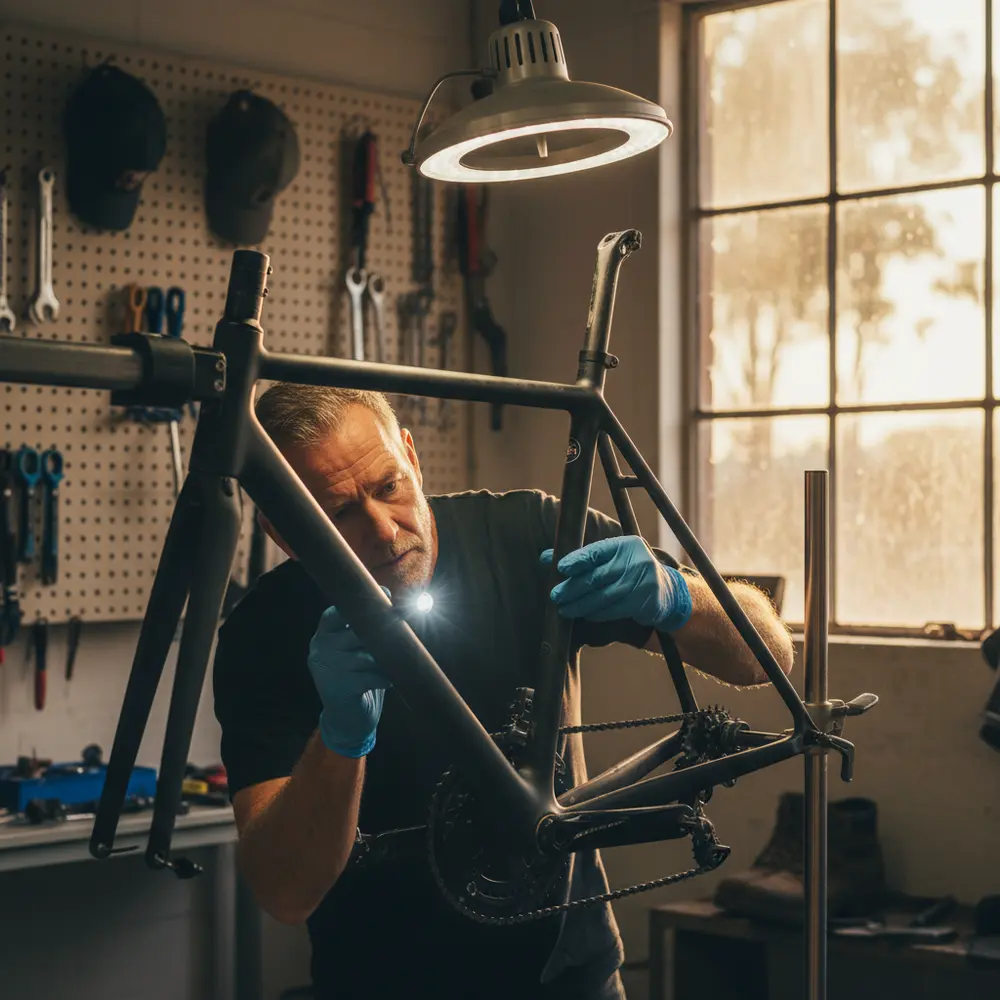
What to Look for on a Visual Inspection
- Frame and fork: Any new cracks, chips, or dents, especially near welds and the head tube area. Carbon frames in particular warrant a close look after any impact or rough terrain.
- Wheels: Spin each wheel and watch for wobble. Check the rim for dents or cracks, and look at the tyre sidewalls for cuts or bulges.
- Handlebars and stem: Give them a firm push and pull to check for any movement. Loose bolts here are a safety issue.
- Saddle and seat post: Check the saddle has not shifted in position. Salt and sweat corrode seat post collars over time.
- Drivetrain: Look at the chain for stiff links or visible grime build-up. Check the derailleur hanger is straight.
This whole check takes about a minute once it becomes habit. It is the kind of thing experienced riders do almost automatically, and for good reason. Catching a cracked rim or a loose stem bolt before your next ride is far better than discovering it mid-descent.
Step 2 - Wipe Down the Frame, Fork and Contact Points
A quick wipe-down after every ride prevents grime from bonding to paint, clearcoat, and anodised finishes. It also gives you another pass at spotting anything you missed in the visual check. Use a soft microfibre cloth and a mild bike-specific cleaner, or just a damp cloth for light rides.
Pay close attention to contact points: the area around the bottom bracket, the underside of the down tube, and anywhere mud or dust has built up around cables and cable housings. These spots trap moisture and accelerate corrosion. For a more detailed clean after longer or muddier rides, Bicycling Australia's bike cleaning guide walks through the full process including safe product choices for seals and bearings.
Best Cloths and Cleaning Products for Australian Conditions
Microfibre cloths are the standard choice. They are soft enough not to scratch paint or carbon, and they pick up fine dust well. In dusty inland or gravel conditions, rinse the cloth out between passes so you are not dragging abrasive grit across your frame finish.
- Cleaner type: Look for bike-specific spray cleaners or mild biodegradable soap. Avoid household degreasers or strong detergents on rubber seals and painted surfaces.
- High pressure water: Keep it away from bearings, headsets, and bottom brackets. A low-pressure rinse or a bucket is safer for regular use, as per 99 Bikes' bike cleaning advice.
- Carbon frames: Use products that are safe for carbon. Avoid solvent-based cleaners that can break down resin over time.
- Coastal riders: A freshwater rinse after every salt-air ride is worthwhile, even if you did not get wet. Salt deposits are invisible but corrosive.
Step 3 - Check and Clean the Drivetrain
The drivetrain is where most of the money lives on your bike. Chain, cassette, chainrings, and jockey wheels all wear together, and neglecting them is the fastest way to an expensive repair. After dusty rides, grit embeds into the chain lubricant and acts like grinding paste against your sprockets. After wet rides, water washes lubricant away and leaves metal surfaces exposed.
A quick drivetrain check after every ride keeps things in check. A full degrease and re-lube is not needed every time, but keeping an eye on chain condition and topping up lube when needed makes a real difference over a season of riding. For a deeper look at how chain wear affects your drivetrain, Park Tool's technical resource is worth bookmarking.
When to Lube and When to Degrease First
This is one of the most commonly misunderstood points in bike maintenance. Applying fresh lube to a dirty chain does not protect it. It mixes with existing grime and makes an abrasive paste that accelerates wear on every component it touches. As the Sheldon Brown bicycle lubrication guide makes clear, lubricating a dirty chain compounds wear rather than reducing it. The rule is simple: if the chain is dirty, degrease first, then lube.
- After a dry, dusty ride: Wipe the chain with a dry cloth to remove surface dust, then apply a dry or wax-based lube. This suits most Australian inland and summer riding conditions.
- After a wet ride: Dry the chain with a cloth, then apply a wet lube. Wet lubes cling better under moisture but attract more dirt, so degrease more frequently if you are riding wet conditions regularly.
- Full degrease trigger: If the chain looks black and thick with old lube and grime, use a chain degreaser and a brush before applying fresh lube. Do not skip this step.
Apply lube to the inner links of the chain while slowly backpedalling. Let it sit for a minute, then wipe off the excess from the outside of the chain. Excess lube attracts dirt and does nothing useful sitting on the outside of the chain plate.
Step 4 - Inspect Tyres, Brakes and Cables
This section is not just about maintenance. It is about safety. Worn brakes, cracked tyres, and fraying cables are the kind of faults that cause accidents. Catching them at home is infinitely better than discovering them at speed.
Tyres: Run your fingers around the tread and sidewalls to feel for embedded glass, thorns, or cuts. Even small cuts in the sidewall can open up into a blowout on your next ride. Visually check for any bulges, which indicate internal damage. CyclingTips recommends making tyre inspection a standard part of every post-ride check. If you run tubeless, top up sealant every few months or sooner if you have had punctures that self-sealed.
Brakes: Squeeze each lever and feel for firmness and travel. Check the brake pads for wear. Rim brake pads have wear indicator grooves. Disc pads thin out and should be replaced before they reach metal-on-metal. On disc systems, inspect the rotor surface for scoring or contamination. If you have contaminated pads from an oil or lube overspray, replace them. You cannot reliably clean contaminated organic disc brake pads back to full performance.
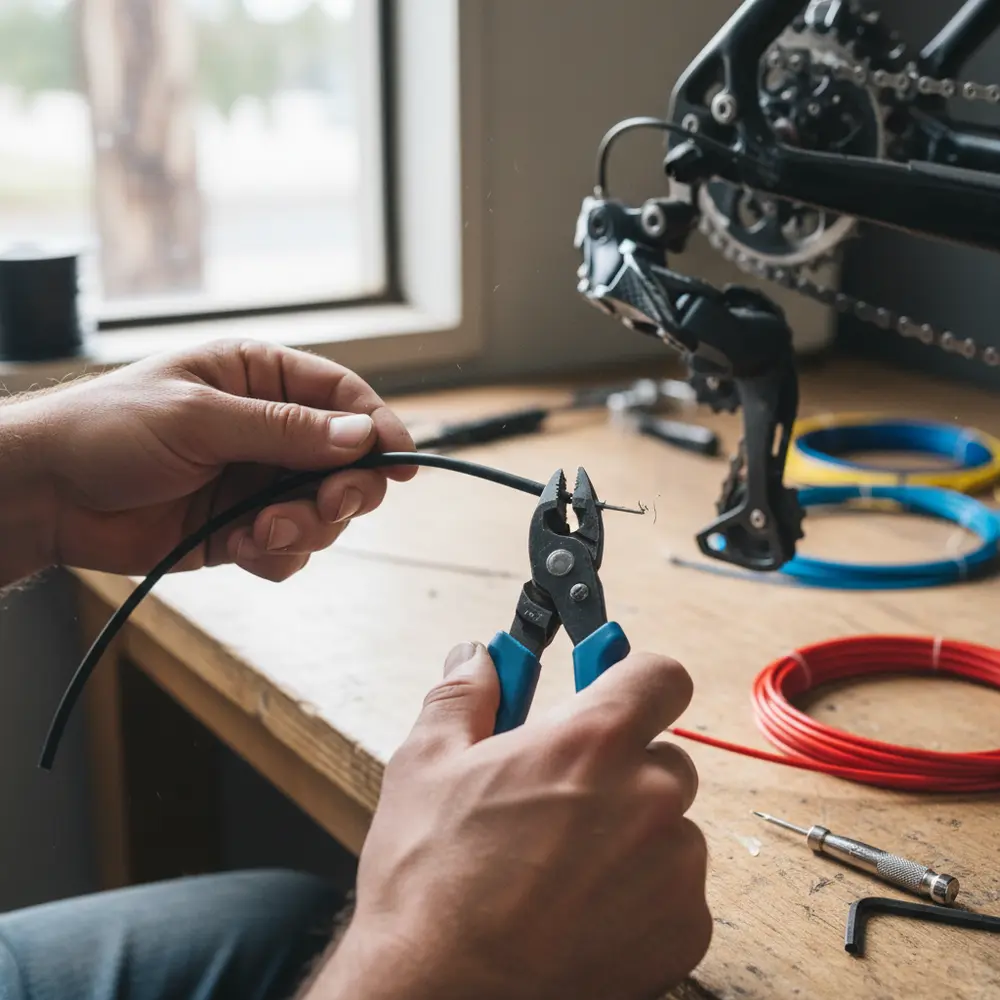
Cables and housing: Look for fraying at the ends of cables, especially at the clamp points. Check housing for cracks or kinks. Cable stretch is normal over time, and brake or gear cable tension may need minor adjustment periodically. If braking or shifting feels vague or inconsistent, the cable system is a good place to start. The Bicycles Network Australia brake maintenance guide covers inspection and adjustment in detail.
Step 5 - Storing Your Bike Properly After Every Ride
Where and how you store your bike matters more in Australia than in many other countries. UV radiation, summer heat in garages, and coastal salt air are real threats to rubber, paint, and metal components. Good storage habits are cheap insurance.
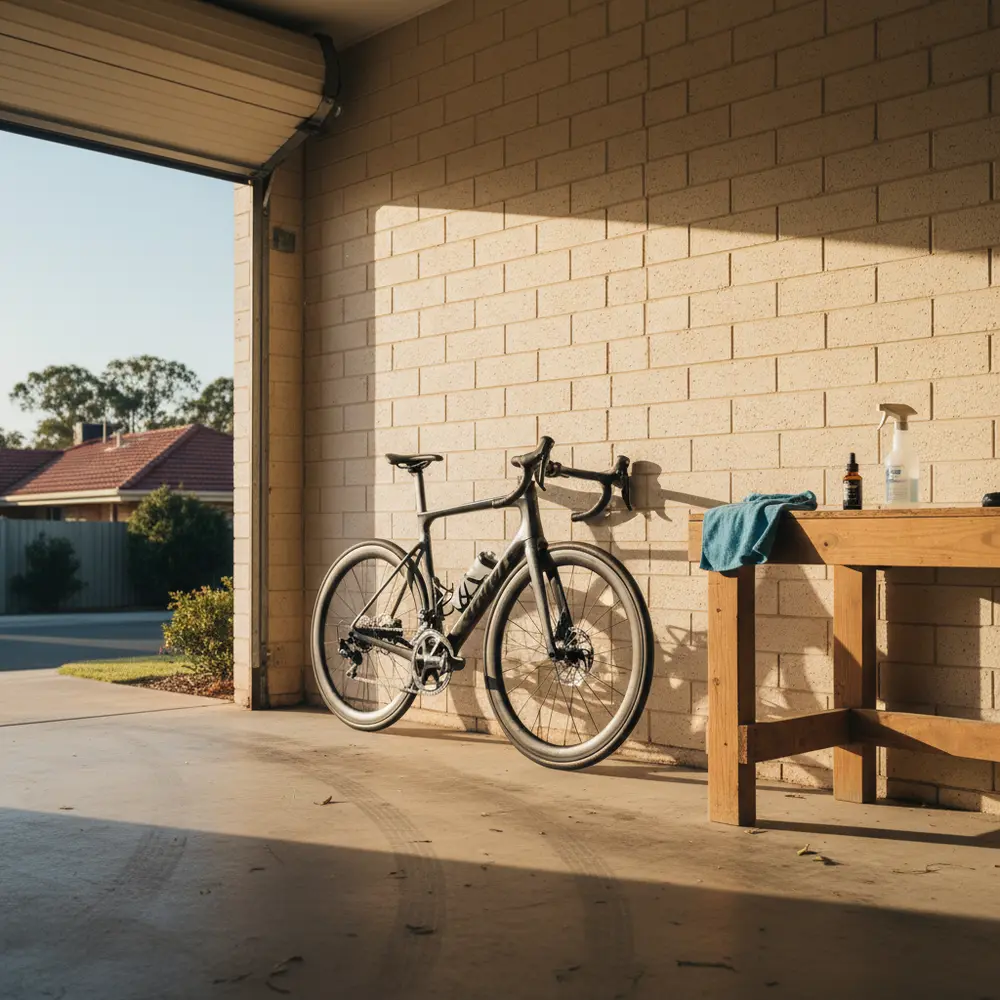
Indoor vs Outdoor Storage in the Australian Climate
Indoor storage is strongly preferred. A garage or shed that stays relatively cool and dry is fine. Direct sunlight, even through a window or gap, will degrade tyre rubber and brake hoods over time. If indoor storage is not possible, a good-quality UV-resistant bike cover is the next best option. For more detail on protecting your bike from Australian conditions, the Bicycle Info Australia storage guide is a useful reference.
- Use a wall mount or a floor stand to keep the bike upright and off the ground.
- Do not lean the bike against a wall on the derailleur side. A knocked derailleur hanger is a surprisingly common and annoying repair.
- In coastal areas, store the bike away from open vents or windows where salt-laden air circulates.
- Avoid storing next to chemicals, solvents, or fertilisers. These can off-gas and degrade rubber over time.
Post-Ride Maintenance Checklist
Use this checklist after every ride. Bookmark it on your phone or print it and stick it in your garage. The "frequency" column tells you whether the task is needed every ride, weekly, or monthly.
| Task | What to do | Frequency |
|---|---|---|
| Visual inspection | Check frame, fork, wheels, and bolts for damage or movement | Every ride |
| Frame wipe-down | Wipe frame, fork, and contact points with a soft cloth | Every ride |
| Drivetrain check | Inspect chain condition, wipe if dirty, lube if dry | Every ride |
| Degrease and re-lube | Full degrease when chain looks black or thick with grime | As needed / weekly in wet season |
| Tyre inspection | Check tread and sidewalls for cuts, embedded debris, or bulges | Every ride |
| Tyre pressure | Check pressure before the next ride | Every ride (before) |
| Tubeless sealant | Top up sealant if punctures have self-sealed or after extended period | Every 2 to 3 months |
| Brake pad inspection | Check pad wear, rotor condition, and brake lever feel | Every few rides |
| Cable check | Look for fraying at clamps and housing for cracks or kinks | Weekly |
| Bolt check | Check stem, bars, saddle clamp, and pedal bolts | Weekly |
| Seat post and collar | Check for corrosion and creaking, apply appropriate grease or carbon paste | Monthly |
| Bike storage | Store indoors, upright, away from UV, heat, and salt air | Every ride |
Building the Habit - Making Your Routine Stick
The hardest part of a post-ride routine is not knowing what to do. It is doing it consistently when you are tired and just want to eat and sit down. The key is making the routine automatic and low-friction. Keep your cloth, lube, and cleaning spray at the door of your garage or storage area so there is no excuse to skip it.
Aim to do the full five-step routine after every ride. Once it becomes habit, the whole thing takes about five to ten minutes for a standard ride, and you will feel the difference when your bike shifts cleanly and your brakes feel solid every single time you head out. For broader tips on building consistent maintenance habits, check out our bike maintenance hub for more guides and resources.
If you want to go deeper on any aspect of your setup, our contact page is the best place to reach us with questions.
Common Mistakes to Avoid
- Lubing a dirty chain: This is one of the most damaging habits in cycling. Clean first, always.
- Using a high-pressure hose on bearings: Forces water past seals and accelerates bearing wear. Use low pressure or a bucket.
- Ignoring small tyre cuts: A cut that looks minor can open up into a blowout. Check it and replace if in doubt.
- Storing the bike leaning on the derailleur side: One knock and you have a bent hanger or a misaligned derailleur.
- Contaminating disc brake pads with lube: Overspray from chain lube can ruin disc pads. Be precise when applying lube, and keep rotors clear.
- Skipping the routine after "easy" rides: Short rides in coastal or dusty conditions do just as much damage as long ones.
If You Are New to Post-Ride Maintenance
- Start with just three habits: wipe the frame, wipe the chain, and check the tyres. Build from there.
- Buy a microfibre cloth and a bottle of quality chain lube before anything else. These two items cover the highest-value tasks.
- Learn to recognise what a clean chain looks and feels like so you can spot when it needs attention.
- Do not be afraid to ask your local bike shop to show you how to check brake pad wear. Five minutes with a mechanic is worth a lot.
- Use our bicycle maintenance checklist as your starting point and tick tasks off as you get comfortable with each one.
If You Have Ridden and Maintained Before
- Review your lube choice against your typical riding conditions. Many experienced riders are using the wrong lube type for Australian summer versus wet-season riding.
- Start using a chain wear indicator tool if you are not already. Replacing a chain at the right time saves your cassette.
- Audit your storage setup. Even experienced riders often overlook UV exposure from skylights or garage vents.
- Add a monthly bolt check to your routine if you have not already. Carbon contact points in particular need torque checked regularly.
- Consider keeping a simple maintenance log. Tracking your last chain lube, tyre pressure check, and brake pad inspection takes thirty seconds and prevents costly oversights.
Frequently asked questions
Do I really need to clean my bike after every ride?
You do not need a full wash every time, but a quick wipe-down and drivetrain check after every ride makes a real difference over time. In Australian dust, heat, or coastal conditions, even a short ride deposits enough grime to cause wear if left unchecked.
What is the difference between wet lube and dry lube, and which should I use in Australia?
Dry or wax-based lubes are better suited to dry, dusty Australian conditions because they attract less grit. Wet lubes are more durable in rain and stay in place under moisture, but they collect more dirt and require more frequent cleaning. Most Australian riders benefit from dry lube in summer and switching to wet lube through wetter months or trail riding seasons.
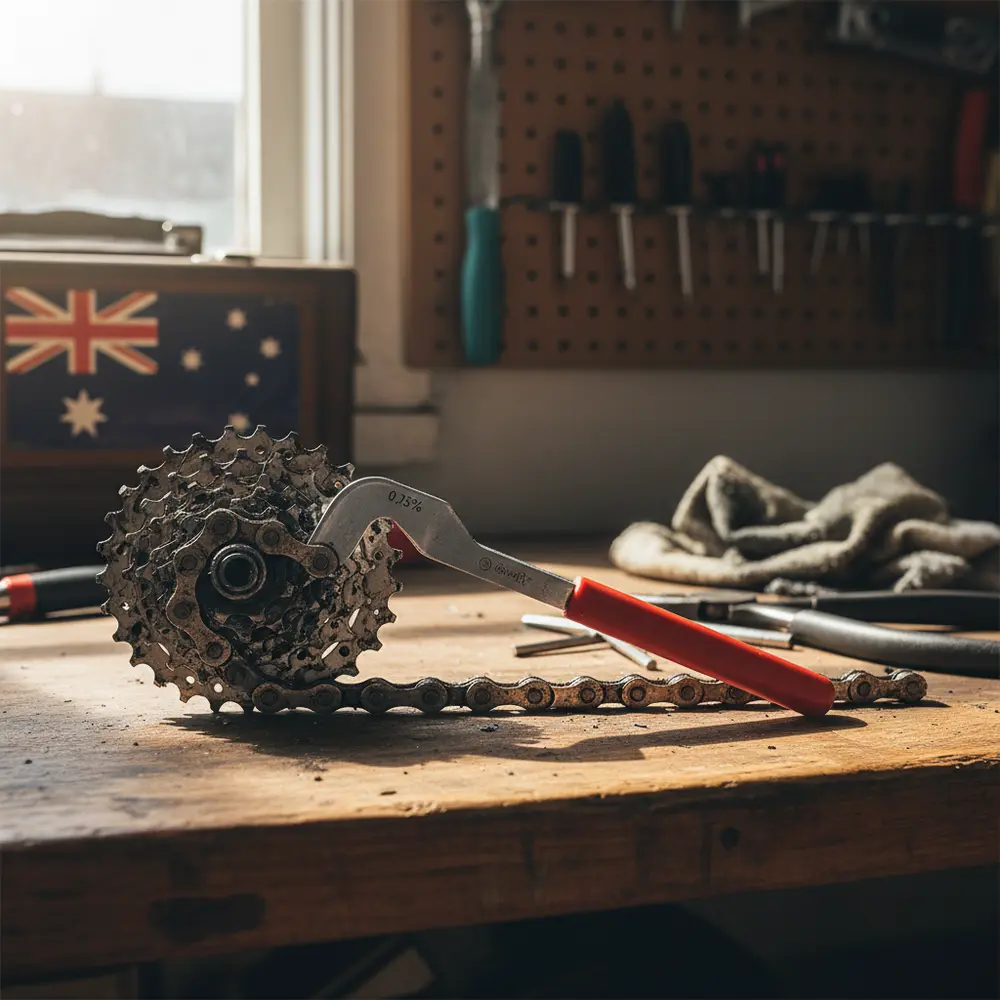
How do I know when my chain needs replacing?
The most reliable method is to use a chain wear indicator tool, which measures elongation in the chain links. Most mechanics recommend replacing a chain at around 0.5 percent wear for high-speed drivetrains to protect the cassette and chainrings. Waiting too long means the worn chain damages the more expensive components it meshes with.
Is it safe to use dish soap to clean my bike frame?
Mild dish soap diluted in water is generally fine for painted steel and aluminium frames for occasional use. However, it is not recommended for regular use on rubber seals, carbon frames, or around bearings because some formulations can strip lubricants and degrade rubber over time. A bike-specific cleaner is a better habit to build.
Does storing my bike indoors really make a difference compared to keeping it in a covered outdoor area?
Yes, meaningfully so in Australian conditions. UV radiation breaks down tyre rubber, brake hoods, and cable housing. Heat cycles in a metal shed or outdoors under a cover can cause more stress on rubber and paint than a stable indoor environment. Coastal salt air accelerates corrosion even on parts that look protected. Indoor storage in a cool, dry space is the best option where it is available.
Quick Summary
- A five-step post-ride routine, covering inspection, wipe-down, drivetrain care, brake and tyre check, and storage, protects your bike and your safety.
- Always clean the chain before lubricating. Lube on a dirty chain accelerates wear.
- Tyre and brake inspections are safety checks, not optional extras.
- Australian conditions including UV, heat, dust, and salt air mean more frequent checks are worthwhile compared to many other riding environments.
- The checklist in this article is your reference tool. Use it after every ride until the routine becomes automatic.
This is educational content, not financial advice.