Getting a flat tyre mid-ride is one of those moments that can turn a great morning into a frustrating one fast, especially if you have never fixed one before. The good news is that with the right kit and a bit of practice, a roadside tyre change is a skill any cyclist can master.
By the end of this guide, you will know exactly what to carry, how to work through a flat repair step by step, and how to get back on the bike with confidence. With practice, the whole job can be done in under ten minutes.
Note for Australian riders:
- Australian roads, especially gravel shoulders and rural routes, can be rough on tyres. Glass, thorns, and flint are common causes of flats here.
- On busy roads or highways, always move well clear of traffic before starting your repair. Check your state road authority for specific rules around cyclists stopped on public roads, such as the cyclist road rules from Transport for NSW.
- In summer, hot bitumen and direct sun make this harder. Keep a rag or glove in your kit to handle a sun-baked rim.
At a glance:
- Always carry a spare inner tube, two tyre levers, and a pump or CO2 inflator on every ride.
- Replace the tube first roadside, patch it later at home.
- Find and remove the cause of the flat before fitting a new tube or you will flat again immediately.
- Practice this at home at least once so the first time is not on the side of a highway.
Key takeaways:
- A roadside flat repair has seven clear steps that any beginner can follow.
- Choosing between a CO2 inflator and a mini pump depends on your ride type and distance.
- Tubeless tyres change the game slightly but are manageable with the right kit.
Why Every Cyclist Should Know How to Fix a Flat
Flats do not care where you are or how far from home you happen to be. Out on a remote rural road in regional Victoria or halfway through a weekend group ride in the Adelaide Hills, a puncture will find you eventually. Knowing how to fix one means you are never fully at the mercy of your phone battery or the kindness of passing motorists.
For beginners, the first flat is usually the most stressful. You are on the side of the road, cars are passing, you are not sure what you are doing, and there is a nagging worry that you will make things worse. Every experienced rider has been there. It is a learnable skill, full stop, and it gets faster every time you do it.
For more on building your on-bike confidence and mechanical knowledge, take a look at our bike maintenance guides here on Segment Club.
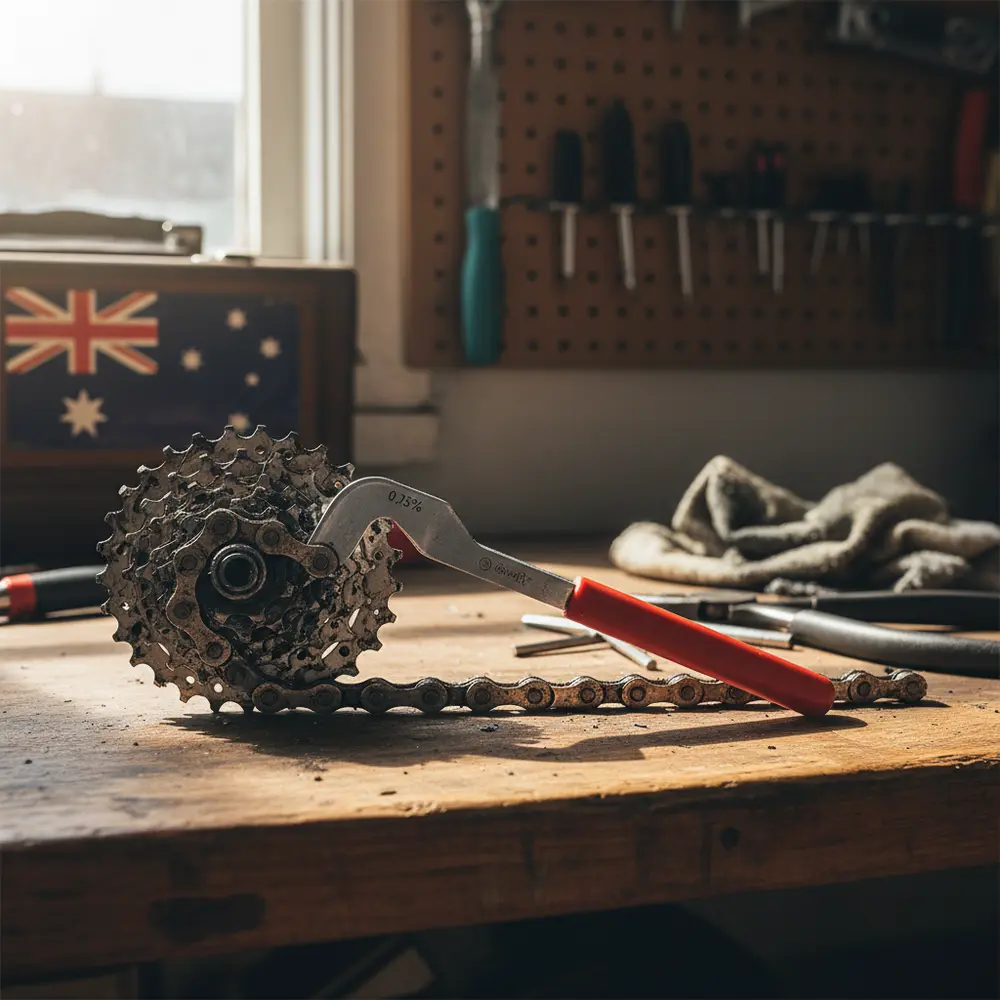
What to Carry on Every Ride - Your Flat Repair Kit
The right kit fits in a small saddle bag and weighs almost nothing. There is no excuse for leaving home without it. Here is what you need as a minimum, according to roadside flat repair essentials from Bicycles Network Australia.
- One spare inner tube matched to your tyre size and valve type
- Two tyre levers, plastic, not metal (metal levers can damage rims)
- A mini pump or CO2 inflator with a head that fits your valve
- A patch kit as a backup, in case you flat twice
- A small rag or nitrile glove, useful in Australian summer heat
- Your phone, charged, with an emergency contact saved
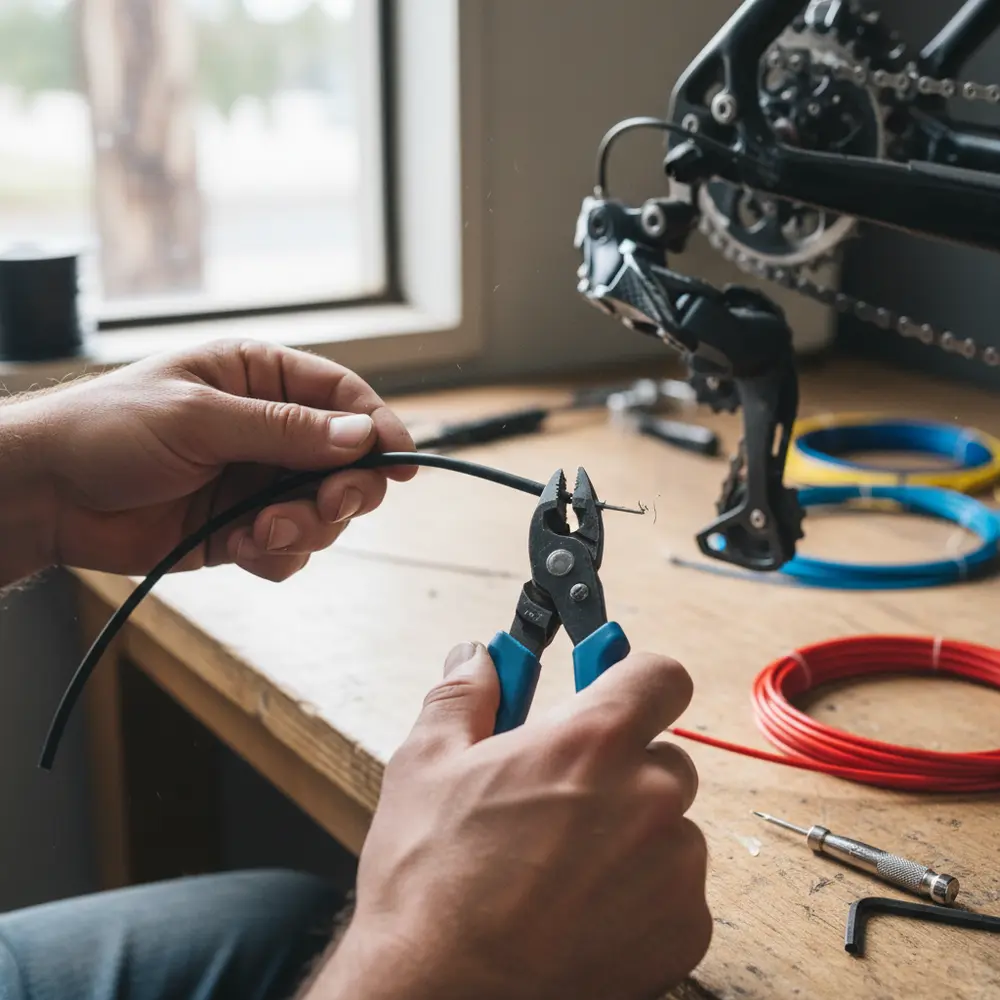
Spare Inner Tube vs Patch Kit - Which Should You Bring
Bring both if you can. On the side of the road, swapping in a fresh tube is faster and more reliable than patching. Save the patch for at home, where you have good light, a flat surface, and no time pressure. The patch kit is your backup if you have already used your spare tube and flat again, which does happen.
When choosing a spare tube, match the size printed on your tyre sidewall and check your valve type. Road bikes in Australia most commonly use Presta valves, the narrow ones with a small locking nut at the tip. Mountain bikes and hybrids often use the wider Schrader valve, the same type as a car tyre. Make sure your pump or inflator head suits whichever valve you have, as covered in detail by Sheldon Brown's guide to causes of bicycle flat tyres.
CO2 Inflator vs Mini Pump - Pros and Cons for Australian Rides
Both have a place in your kit. The choice depends on how you ride and how far you go. Here is a quick comparison.
| Option | Speed | Reliability | Best for | Watch out for |
|---|---|---|---|---|
| CO2 Inflator | Fast, under 30 seconds | Single-use, can fail if mishandled | Road rides, racing, short loops | Runs cold on inflation, single cartridge only |
| Mini Pump | Slower, 3 to 5 minutes | Reusable, always works | Long rides, remote routes, touring | Takes effort, harder to hit high road pressures |
For longer or more remote Australian rides, carrying both is worth it. As this CO2 inflator vs mini pump comparison from Singletracks points out, a CO2 cartridge can fail if it is not threaded on correctly, and if that happens in the middle of nowhere you want a pump as a fallback.
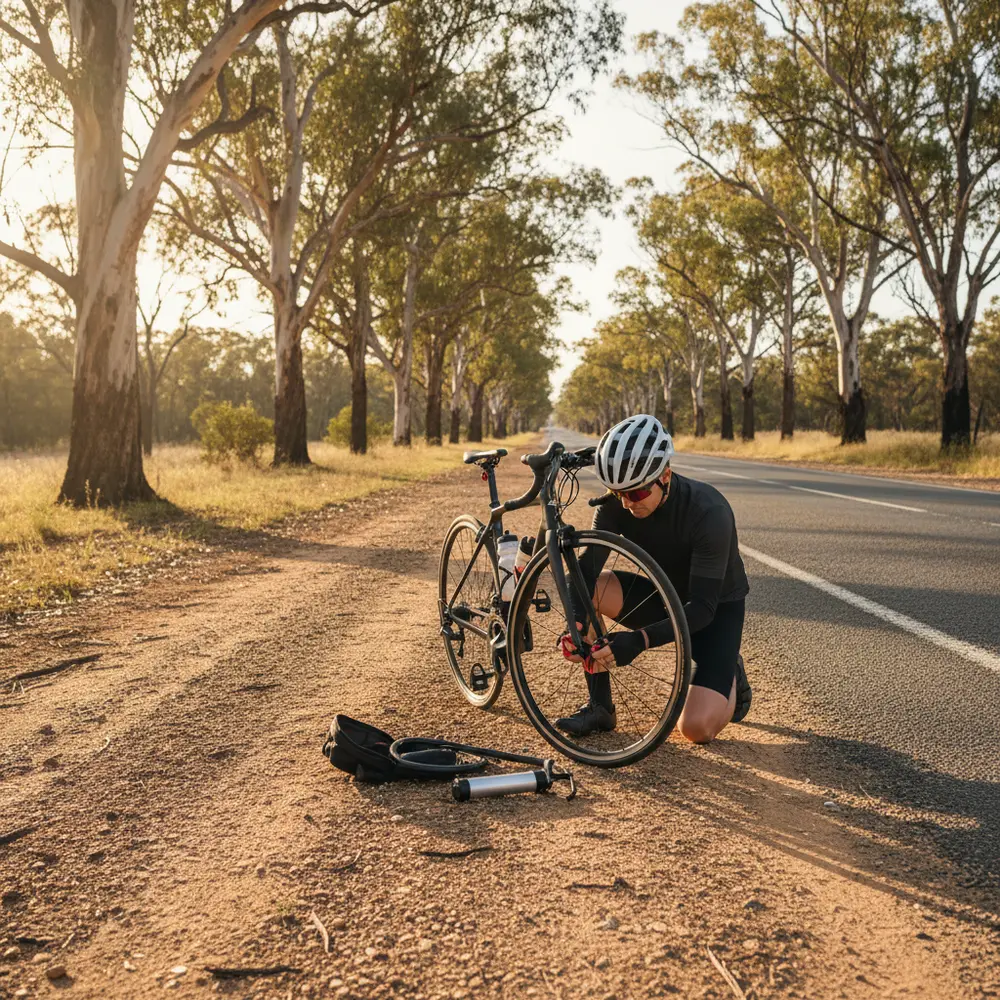
How to Fix a Flat Tyre Roadside - Step by Step
Here is the full process from flat to rolling. Work through it once at home before you need it on the road. Total time for a practised rider is roughly six to ten minutes. Your first attempt might take fifteen to twenty, and that is completely fine.
Quick-reference summary (screenshot this):
- Pull over safely and assess
- Remove the wheel
- Get the tyre off the rim
- Find and remove the cause
- Install the new tube
- Reseat the tyre and inflate
- Reinstall the wheel and ride
Step 1 - Get Safe and Assess the Situation (1 min)
Pull well off the road before you do anything else. If you are on a highway or busy road, get behind a barrier or as far from traffic as the shoulder allows. In Australia, safe roadside behaviour for cyclists is important and often overlooked in generic repair guides. Put on any high-visibility gear you have, and if you are with a group, have one rider act as a lookout. Check which tyre is flat by running your hand lightly over the tread and squeezing the sidewalls.
Step 2 - Remove the Wheel (1 to 2 min)
Shift to the smallest cog at the rear before you stop if you can, it makes reinstalling easier. Open the quick release skewer or loosen the thru-axle according to your wheel type. For the rear wheel, hold the derailleur back to ease the chain off the cassette. Lift the wheel clear and set it flat on your bag rather than on the hot bitumen if you can.
Step 3 - Get the Tyre Off the Rim (1 to 2 min)
Let any remaining air out of the tube by opening the valve fully. Hook one tyre lever under the bead of the tyre, clip it to a spoke, then use a second lever to walk around the rim until one side of the tyre pops free. Plastic levers are strongly recommended for this job. If you have carbon rims, use levers specifically rated as carbon-safe, as metal or sharp plastic levers can chip or crack the rim surface.
Step 4 - Find the Cause and Remove It (1 min)
This step is the one beginners most often skip, and it is the reason for getting a second flat five minutes after fixing the first. Pull the inner tube out and run your fingers slowly around the inside of the tyre, feeling for any sharp object still embedded in the rubber. Check the rim tape too, as a protruding spoke nipple can also cause a flat. Once you find the culprit, remove it completely before moving on.
Step 5 - Install the New Tube (1 to 2 min)
Give the new tube a small puff of air, just enough to hold its shape without being firm. This makes it much easier to seat inside the tyre without folding or pinching. Push the valve through the valve hole in the rim first, then work the tube evenly around the inside of the tyre. Tuck the tube in as you go so it sits flat with no bunching, as described in this step-by-step flat tyre repair guide from Bicycling Magazine.
Step 6 - Reseat the Tyre and Inflate (1 to 2 min)
Push the tyre bead back onto the rim by hand, starting at the valve and working around both sides evenly. Try to avoid using tyre levers for this last step. If you must use one, be careful not to pinch the tube between the lever and the rim, as that is a classic cause of an immediate second flat. Once the tyre is seated all the way around, give it a quick visual check to make sure no tube is peeking out from under the bead, then inflate to a safe running pressure.
Step 7 - Reinstall the Wheel and Get Moving (1 min)
Seat the wheel back in the dropouts, making sure it is centred between the brake pads. Tighten the quick release or thru-axle firmly. For the rear wheel, guide the chain back onto the smallest cog before dropping the wheel in. Spin the wheel to check it is running true, squeeze the brake to confirm it is centred, and you are good to go.
Common Mistakes Beginners Make (and How to Avoid Them)
Most roadside repair problems come down to a few repeated errors. Watch out for these.
- Not finding the cause of the flat. Always check inside the tyre before fitting the new tube.
- Skipping the small puff of air. Installing a completely flat tube leads to folds and pinch flats.
- Using metal tyre levers on carbon rims. Plastic levers only, or carbon-rated levers if specified.
- Over-inflating with a CO2 cartridge. It can happen fast. If your tyre has a max PSI printed on the sidewall, stay below it.
- Not reseating the tyre bead properly. A tube peeking out under the bead will blow out at pressure.
- Rushing the wheel reinstall. A wheel that is not centred properly will rub on your brakes the whole way home.
If You Are New to Fixing Flats
- Buy a spare tube and a set of tyre levers from your local bike shop before your next ride.
- Practice removing and reinstalling your wheel at home in a quiet space, no time pressure.
- Go through the full repair process once at home so the steps feel familiar on the road.
- Watch a few short video guides online to see how the tyre levers and valve work before you try it live.
- Ride with a more experienced friend on your first few longer rides in case you need a hand.
- Keep your questions for our team if you are unsure about your specific bike setup.
If You Have Fixed a Flat Before
- Time yourself on your next practice run at home and aim to get under eight minutes.
- Consider adding a CO2 inflator alongside your mini pump for faster inflation on rides.
- Review your tyre pressure habits. Running too low increases pinch flat risk significantly.
- Check your spare tube every few months. Rubber degrades and an old tube can split on inflation.
- If you ride tubeless, update your roadside kit with a plug tool and a fresh syringe of sealant.
Tubeless Tyres - What Changes at the Roadside
Tubeless setups are increasingly common in Australia, particularly on gravel bikes and mountain bikes. If you are running tubeless, the repair process is a bit different. Many small punctures will self-seal as you ride, thanks to the liquid sealant inside the tyre. For larger holes that do not seal on their own, a tyre plug tool is the fastest roadside fix.
If the damage is too large for a plug, the fallback is to fit a standard inner tube into the tubeless tyre, treating it like a regular tyre for the ride home. Carry a spare tube even if you run tubeless for this reason. A full tubeless tyre roadside repair overview from BikeRadar is worth a read if you are new to the setup.
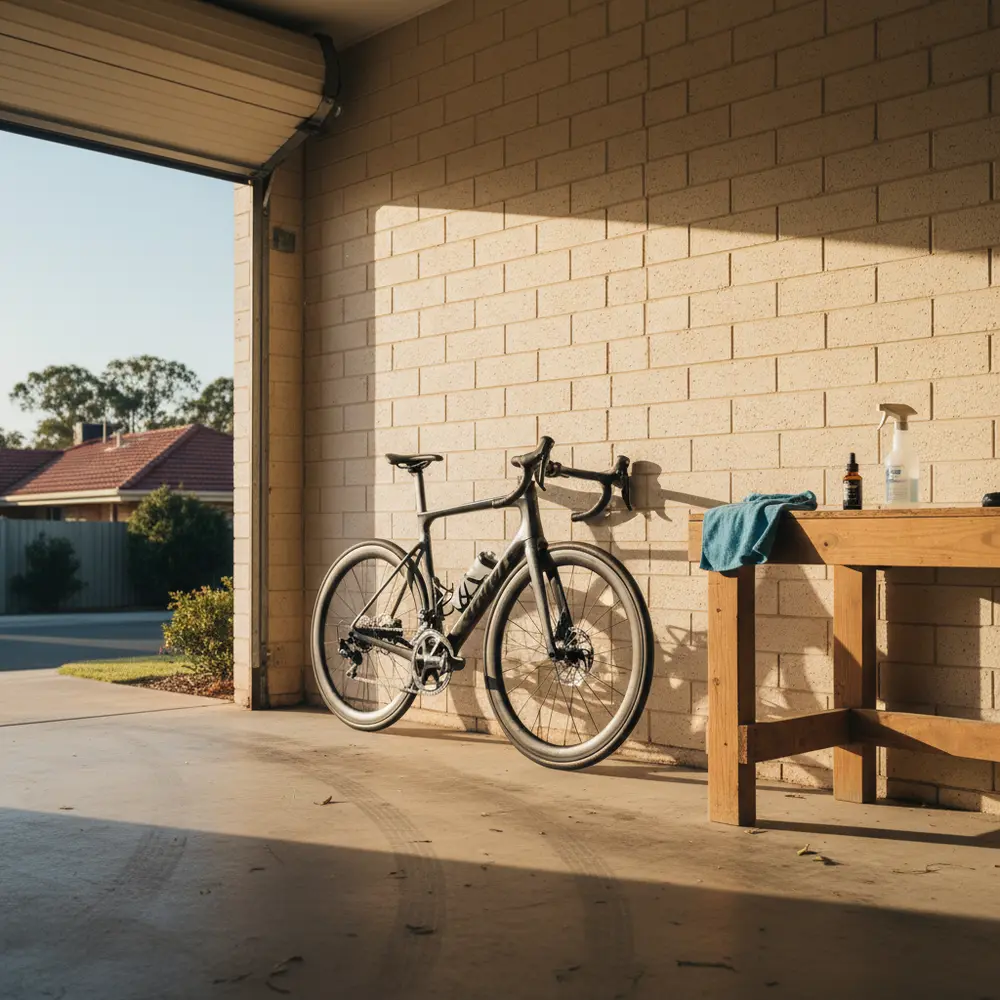
Practice at Home Before You Need It Out on the Road
There is a reason experienced riders can fix a flat in under ten minutes. They have done it before, more than once, in a comfortable setting with no traffic noise or time pressure. Set aside thirty minutes on a weekend afternoon. Take your wheel off, remove the tyre, swap the tube, reseat the tyre, and reinstall the wheel. Do it twice. Then you will know exactly what to expect when it happens for real.
For a broader look at skills worth building before your next big ride, explore our beginner cycling tips here on Segment Club.
Frequently asked questions
How long does it realistically take a beginner to fix a flat tyre?
Your first attempt will likely take fifteen to twenty minutes, and that is completely normal. With one or two practice runs at home, most riders get to under ten minutes. Speed comes with familiarity, not with rushing.
Should I use a CO2 inflator or a mini pump as a beginner?
A mini pump is the safer starting point. CO2 is faster but it is single-use and easy to waste if you misthread the cartridge. Once you are comfortable with the repair process, adding a CO2 inflator as a backup is worth it for faster inflation on rides.
How do I know which inner tube size to buy?
Check the sidewall of your tyre. The size is printed there, usually something like 700x25c for road bikes or 29x2.1 for mountain bikes. Match the tube to that size and make sure the valve type matches your rim holes, Presta or Schrader.
Is it safe to patch a tube roadside instead of replacing it?
Patching is possible roadside if you have no spare tube, but it takes longer and patches can fail if the surface is not properly cleaned and dried first. In most situations, swap in a fresh tube on the road and patch the old one at home at your leisure.
What should I do if I flat twice on the same ride?
Use your patch kit on the first damaged tube if you have no second spare. If you have no patch kit either, call for a ride. This is why carrying a patch kit as a backup alongside your spare tube is good practice, especially on longer or remote rides around Australia.
Wrapping Up
- Always carry a spare tube, two plastic tyre levers, and an inflation tool on every ride.
- Work through all seven steps in order and never skip the debris check inside the tyre.
- Practice at home first so the roadside version feels routine, not stressful.
- Tubeless riders need a plug tool and a spare tube as a fallback in their kit.
- If you want to build more mechanical confidence, check out the full range of bike maintenance articles on Segment Club.
This is educational content, not financial advice.