Australian dust is not like the light grime you pick up on a sealed road. Fine red bulldust from the NT, outback Queensland, or the Gibb River Road in WA is an extremely fine, penetrating powder that works its way into every moving part on your bike and turns your lubricant into an abrasive paste.
By the end of this article you will know exactly how to prep your bike before a dusty ride, which components need the most attention, and how to clean and protect everything when you get back. Whether you ride unsealed country roads every week or you are planning a big trip like the Mawson Trail, this guide has you covered.
Note for Australia:
- Fine bulldust found on outback and regional roads is far more penetrating than regular gravel grit and causes faster component wear.
- Many rural and regional Australian cyclists ride unsealed roads regularly, not just on dedicated adventure trips. This content applies to everyday riding too.
- Remote outback routes like the Mawson Trail, Gibb River Road, and Simpson Desert crossings have no bike shops for hundreds of kilometres. Preparation is not optional.
At a glance:
- Use dry lube, not wet lube, in dusty and dry conditions.
- Over-lubing attracts more grit and accelerates drivetrain wear.
- The drivetrain, bearings, headset, and brakes are the most vulnerable components.
- Clean and re-lube after every dusty ride, not just every few rides.
Key takeaways:
- Dust turns lube into grinding paste. Keep lube light and clean up promptly.
- Sealed cartridge bearings handle dusty conditions better than cup-and-cone.
- Always carry spare lube and basic tools on remote Australian rides.
Why Dust Is a Bigger Problem Than Most Riders Think
Most riders know that mud is bad for a drivetrain. Fewer realise that fine dry dust is just as damaging, sometimes more so. When dust mixes with chain lube it forms a gritty paste that grinds away at chain links, cassette teeth, and chainring teeth with every pedal stroke. The wear happens slowly and silently, and by the time you notice it, the damage is already done.
The cost of replacing a chain, cassette, and chainrings together is significant. The cost of a good cleaning routine and a bottle of dry lube is not. That is the basic maths of dusty riding.
How Fine Grit Gets Into Places You Cannot See
Fine dust does not just sit on the surface. It is drawn into the small gaps between chain links, into bearing seals, into derailleur pivot points, and into cable housing. Regular gravel grit is coarser and easier to brush off. Fine bulldust behaves more like talcum powder and finds its way into places a coarser particle would not reach.
Bearings are especially vulnerable. Even sealed cartridge bearings are not completely impervious to fine dust over time. Cup-and-cone bearings, which rely on careful adjustment and grease packing, are more exposed. Bearings exposed to dust without regular repacking or replacement will develop play and wear prematurely, which leads to a loose, sloppy feel in your wheels, headset, or pedals.
Before You Ride: Prepping Your Bike for Dusty Conditions
A few minutes of prep before you head out on a dusty ride pays back many times over in reduced wear and fewer mechanicals. The key areas to check are your lubrication, your tyre pressure, and any components that might be loose or already worn.
Choosing the Right Lubricant for Dry and Dusty Rides
This is the single most important decision you will make for dusty riding. Dry lube is wax-based and dries on the chain, attracting far less dirt than wet lube in dry conditions. Wet lube stays wet on the chain and acts like a magnet for fine dust, quickly turning into an abrasive slurry.
Use dry lube for any ride on unsealed, dry, or dusty roads. Save wet lube for genuinely wet or muddy conditions. If you are unsure which to grab, pick the dry lube for anything remotely outback or country.
One more thing: applying too much lube is a common beginner mistake. A thin, even coat is all you need. Excess lube sitting on the outside of the chain collects grit faster and does not contribute to lubrication where it counts, which is inside the chain links. Over-lubing is one of the most common causes of accelerated drivetrain wear in dusty conditions.
| Lube Type | Best For | Avoid When | Dusty Outback? |
|---|---|---|---|
| Dry (wax-based) | Dry, dusty, hot conditions | Wet or muddy rides | Yes, this is your go-to |
| Wet lube | Wet weather, muddy trails | Dusty and dry conditions | No, attracts too much grit |
| Ceramic lube | Long-distance, mixed terrain | Budget-conscious riders | Yes, if chain is clean first |
Sealing and Protecting Vulnerable Components
Before a multi-day remote ride, it is worth checking that your cable housing is intact with no cracks or open ends where dust can enter. If you have suspension forks, rubber boots over the lower legs help keep dust off the stanchions. Check that your bearing seals are seated properly and not cracked or missing.
For gravel and adventure bike setups, some riders apply a light coat of frame protector or helicopter tape to areas where cables or bags rub against the frame. This is more about preventing surface abrasion from grit than sealing, but it is worth doing on a bike that will see a lot of remote riding.
The Key Components That Cop the Most Punishment
Not all parts of your bike suffer equally in dusty conditions. These are the ones that need the most attention before, during, and after a dusty ride.
Drivetrain: Chain, Cassette, and Derailleur
The drivetrain is ground zero for dust-related wear. Every gram of fine grit that finds its way into your chain is working against you with every pedal stroke. Grit and dust acting as an abrasive paste inside the chain is the primary cause of drivetrain wear, and the wear rate accelerates sharply in dusty outback conditions compared to sealed road riding.
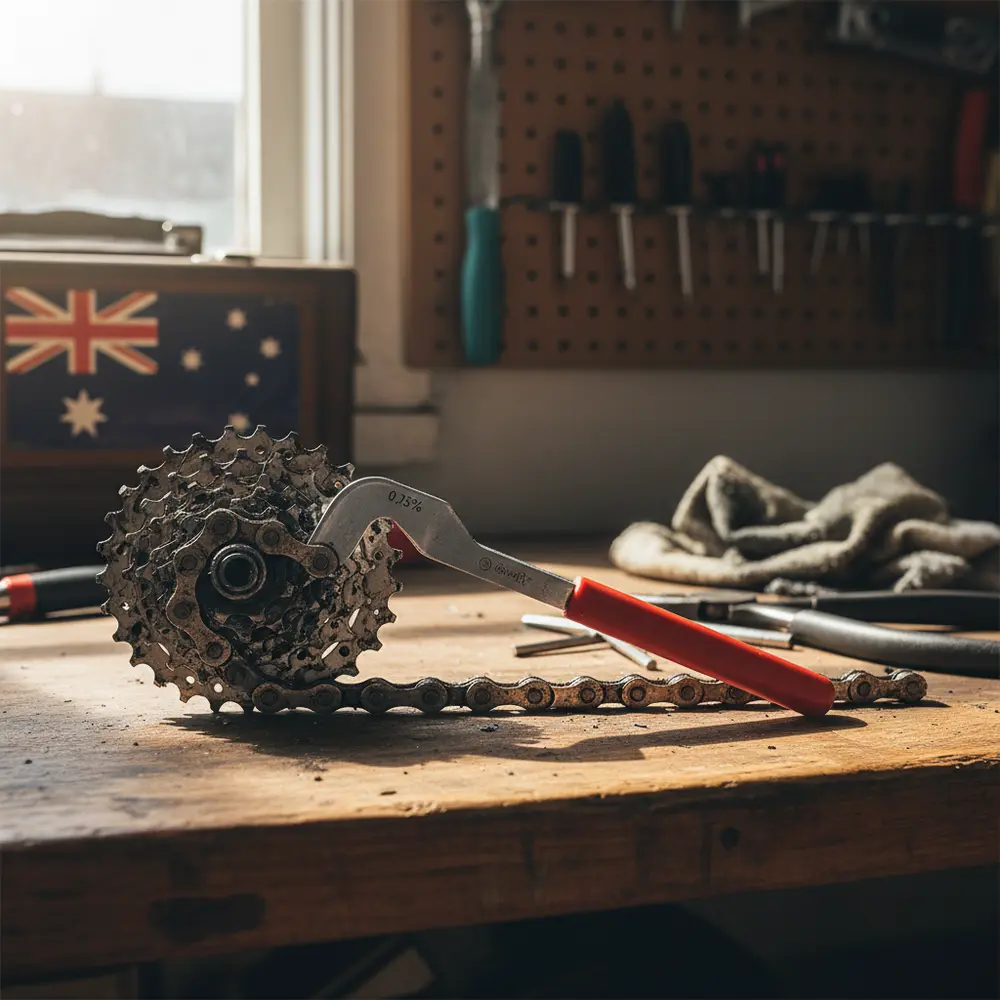
Check your chain for stretch regularly using a chain wear indicator tool. In dusty conditions, check it more often than you would for normal road riding. Replacing a chain before it is fully worn saves your cassette and chainrings, which are considerably more expensive.
The rear derailleur jockey wheels are small and often overlooked. They pick up a lot of grit-laden lube and should be cleaned as part of every post-ride routine.
Bearings, Headset, and Bottom Bracket
These are the hidden victims of dusty riding. You will not feel the damage as it happens. The first signs are usually a creaking bottom bracket, a loose or crunchy headset, or wheel bearings that do not spin as freely as they should. For riders doing multi-day remote trips, check for headset play by squeezing the front brake and rocking the bike forward and back. Any movement or knocking means the headset needs attention.
Sealed cartridge bearings handle dust better than cup-and-cone bearings because the seal is a single unit with no adjustable gaps. They are not invincible, but they hold up better in real-world Australian conditions. This is worth considering if you are speccing or upgrading a bike for remote riding. For more on bike maintenance basics for Australian riders, our maintenance hub has you covered.
Brakes: Rim and Disc
Dust affects both rim and disc brakes, but in different ways. On rim brakes, grit embeds in the brake pads and can score your rims over time. Inspect pads regularly and replace them if they are glazed or full of embedded grit. On disc brakes, fine dust can cause squealing and noticeably reduced braking power. According to Shimano's disc brake care guidance, rotors should be wiped with isopropyl alcohol after dusty rides, and contaminated brake pads should be replaced rather than cleaned.
Never use degreaser on a disc brake rotor. It can contaminate the pad material and ruin braking performance entirely. Keep isopropyl alcohol in your cleaning kit for this job.
On the Ride: Habits That Make a Difference
What you do during the ride also matters. A few simple habits can reduce the amount of dust that gets into your bike.
- Ease off the lube before dusty sections. A lightly lubed chain picks up less grit than an over-lubed one.
- Avoid riding directly behind other riders on dusty roads. Riding off to the side reduces your direct exposure to the dust cloud they kick up.
- Check your chain tension and shifting quality during rest stops on long rides. A grinding or skipping drivetrain is a sign that grit has built up.
- On remote rides, carry a small rag to wipe your chain down at lunch if conditions are particularly dusty. A quick wipe removes surface grit before it works deeper into the links.
- Keep your tyres at an appropriate pressure for the terrain. Slightly lower pressure on loose dirt improves grip and stability, which reduces the chances of a fall that could damage components. Check your tyre manufacturer's guidance for pressure ranges on loose terrain.
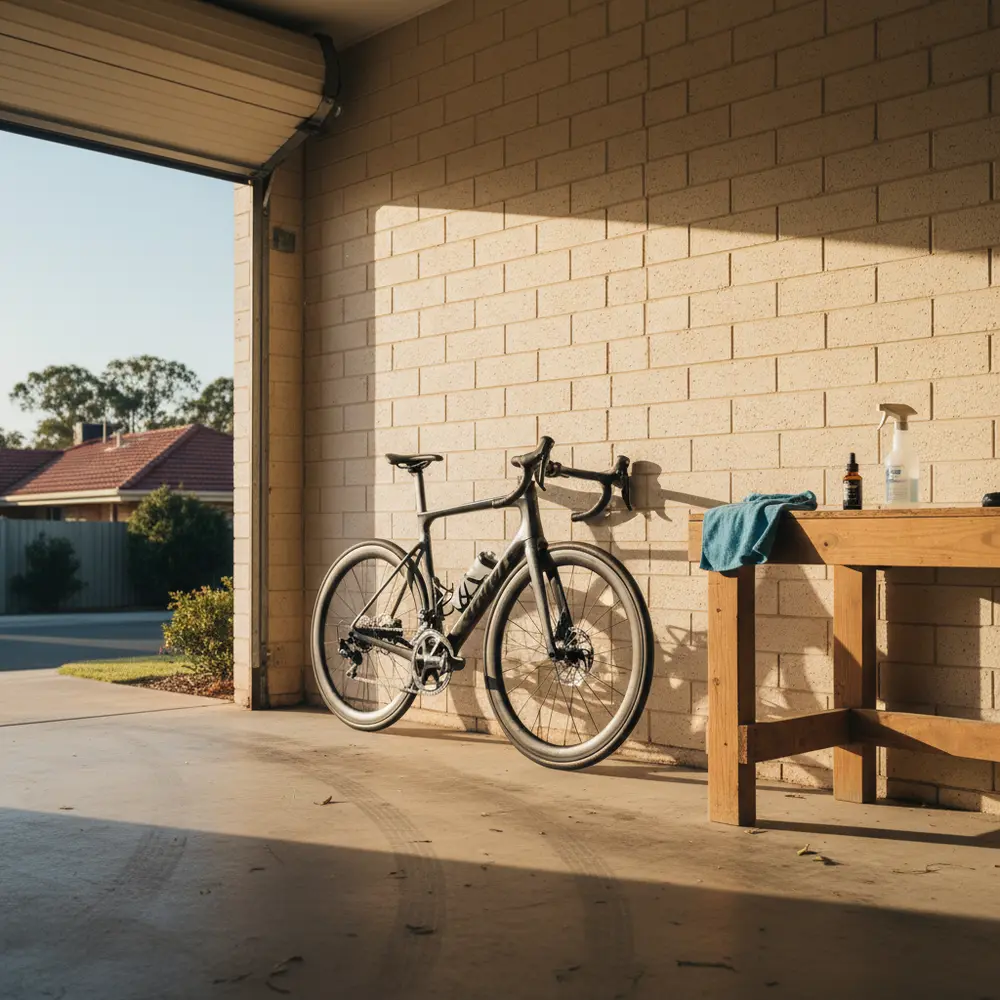
Post-Ride Cleaning Routine for Dusty Conditions
This is where the real maintenance happens. A good post-ride routine after a dusty ride takes around 20 minutes and extends the life of your components significantly. Do not skip it, especially if the ride was in particularly gritty conditions.
Step-by-Step Wash and Re-Lube Process
- Dry brush first. Before you introduce any water, use a soft brush to remove loose dust from the cassette, derailleur jockey wheels, chain, and frame. This stops grit spreading when you wet the bike. A cheap paintbrush works fine for this.
- Degrease the drivetrain. Apply a degreaser to the chain, cassette, and chainrings. Let it sit for a minute or two, then scrub with a brush. A chain cleaning device makes this easier.
- Rinse carefully. Use a gentle flow of water, not a high-pressure hose. Avoid spraying directly into the headset, bottom bracket shell, wheel hubs, or any other bearing-sensitive area. High pressure forces water and remaining grit into seals. A step-by-step bike washing approach that avoids pressure washing bearing points is the safest method for most bikes.
- Wash the frame. A soft sponge with bike wash or mild soap is all you need. Work from top to bottom.
- Dry thoroughly. Use a clean rag to wipe down the frame and components. Spin the wheels to help dry the rims. Do not re-lube until the drivetrain is fully dry. Applying lube to a wet chain traps water and any remaining grit.
- Re-lube the chain. Apply dry lube sparingly to each link. Let it sit for a few minutes, then wipe off the excess with a rag. This is the step most beginners get wrong. More lube is not better.
- Check for wear and play. Spin the cranks, rock the handlebars, and check for any knocking or creaking. A quick inspection now can catch a problem before it becomes a bigger issue on your next ride.
Pre-Ride and Post-Ride Checklists
Use these two checklists before and after every dusty ride. They are short and practical. Tick them off until the habits become second nature.
Pre-ride checklist:
- Check chain lube: dry lube applied, no excess on the outside of the chain.
- Inspect tyre condition and set appropriate pressure for the terrain.
- Check brake pads for wear and embedded grit.
- Check headset and bottom bracket for play or creaking.
- Wipe down the frame and inspect for any loose bolts or fittings.
- Pack spare lube, a chain tool, tyre levers, a multi-tool, and a rag for remote rides.
Post-ride checklist:
- Dry brush dust from drivetrain and frame before adding water.
- Degrease and scrub the chain, cassette, and jockey wheels.
- Rinse gently, avoiding bearing areas.
- Dry the bike fully before re-lubing.
- Apply dry lube sparingly and wipe off excess.
- Check for headset, bottom bracket, and wheel bearing play.
- Inspect brake pads and rotors. Clean disc rotors with isopropyl alcohol if needed.
Gear and Accessories Worth Considering
You do not need to spend a lot to ride well in dusty conditions. A few targeted purchases make a real difference. Most of these are available from Australian retailers like 99 Bikes or Pushys, so you do not need to source anything exotic.
- Chain cleaning device: Makes degreasing the chain much faster and more thorough. Worth the modest cost.
- Dry lube: Have a small bottle in your kit and a spare on the bike for multi-day rides.
- Isopropyl alcohol: For disc rotor cleaning after dusty rides. Small bottle, big difference.
- Soft brushes: A couple of different sizes for the cassette, jockey wheels, and frame.
- Chain wear indicator: Inexpensive and tells you exactly when your chain needs replacing before the cassette suffers.
- Frame protection tape: For high-abrasion areas on bikes used regularly on rough terrain.
If you are heading into remote country, the Mawson Trail bike preparation guide is worth reading for a real-world view of what experienced riders carry and check before heading into the South Australian backcountry. The same principles apply to the Gibb River Road, High Country Victoria, and any other extended ride far from a bike shop.
If You Are New to Dusty Riding
- Start with dry lube. It is the single highest-impact change you can make.
- Do not skip the post-ride clean even if the ride felt short. Fine dust accumulates fast.
- Learn to check for headset and bottom bracket play. It takes thirty seconds and can save you from a nasty surprise mid-ride.
- Buy a chain wear indicator tool. They cost very little and take the guesswork out of knowing when to replace your chain.
- Wipe your chain with a dry rag before re-lubing after a dusty ride, even if you cannot do a full wash.
If You Have Ridden Dusty Conditions Before
- Consider switching to a wax-based chain lube for your most demanding dusty rides. It stays cleaner longer than standard dry lube.
- If you are running cup-and-cone hubs, consider whether sealed cartridge options make sense for your riding style and frequency.
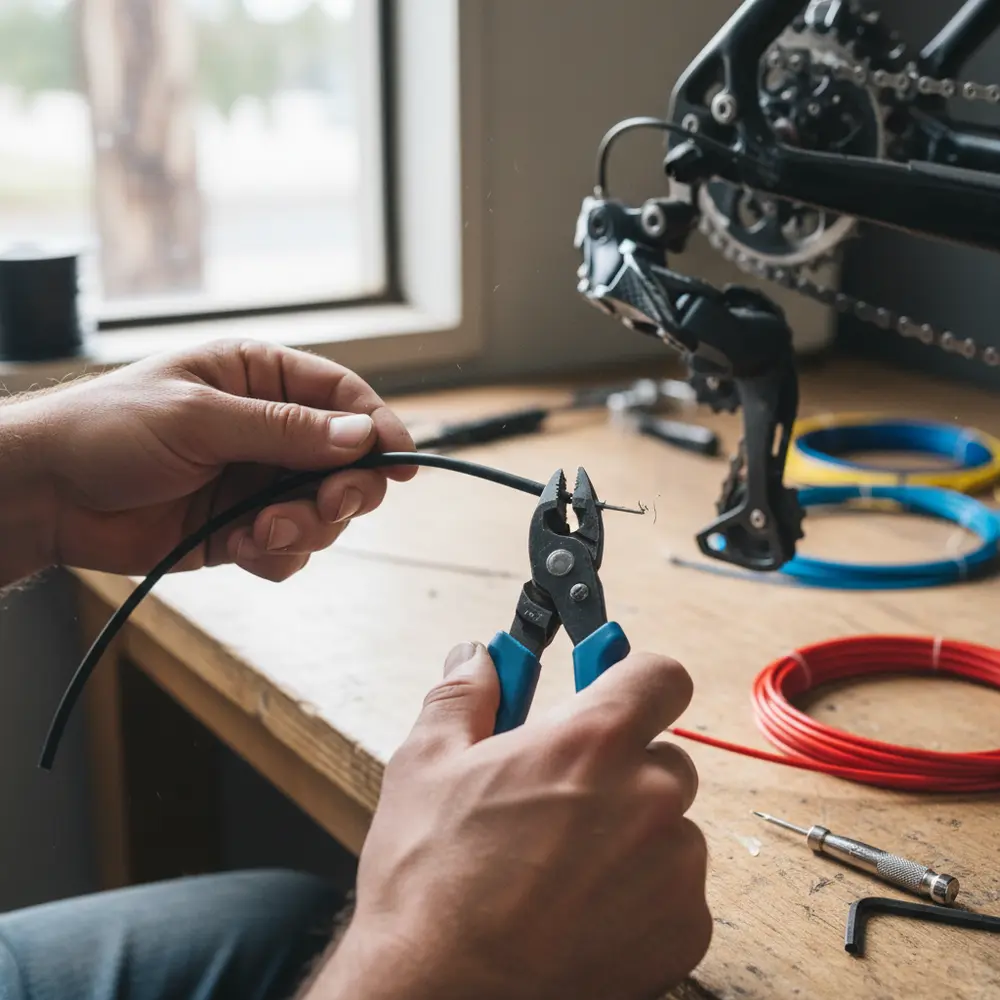
- Check your cable housing ends and bar end plugs. Dust enters anywhere there is an opening.
- For multi-day remote rides, pack enough dry lube to re-lube every day or two. Conditions vary and you may use it faster than expected.
- Inspect jockey wheels and derailleur pivots as part of your regular service. They collect grit-laden lube and are often ignored until shifting becomes sluggish.
Common Mistakes to Avoid
- Using wet lube on a dusty ride. It is the fastest way to turn your drivetrain into a grinding machine.
- Over-lubing the chain. More is not better. Excess lube on the outside of the chain collects grit. Wipe off the excess after applying.
- Skipping the post-ride clean. Leaving grit-laden lube on your drivetrain overnight accelerates wear significantly.
- Using a high-pressure hose on bearing areas. It forces grit and water into seals that are designed to keep it out.
- Applying new lube on top of a dirty chain. The chain must be clean first. Lube applied over grit just embeds the contaminants deeper.
- Not carrying tools or spare lube on remote rides. There are no bike shops in the outback. If something goes wrong, you need to deal with it yourself.
When to Take Your Bike to a Mechanic
There is a lot you can handle yourself with basic tools and a good cleaning routine. But some jobs are worth handing to a professional, especially after heavy outback use. Take your bike to a mechanic if you notice any of the following.
- Persistent creaking from the bottom bracket or headset that does not go away after cleaning and re-tightening.
- Wheel bearings that feel rough, gritty, or have noticeable play even after adjustment.
- Disc brakes that squeal or feel weak after cleaning. Contaminated pads need replacing.
- Chain stretch beyond the wear indicator limit. The cassette may also need checking.
- Any cable or housing that is cracked, kinked, or showing signs of grit ingress. Sluggish shifting on a dusty ride is often a cable housing problem.
For a broader view of bike maintenance routines for Australian riders, our maintenance section has practical guides across skill levels. If you are not sure whether a job is within your skill level, it is always better to ask. You can also get in touch with us and we will point you in the right direction.
Frequently asked questions
Should I use dry lube or wet lube for outback and country riding in Australia?
Use dry lube for dusty and dry conditions. Wet lube stays oily and picks up fine dust easily, which turns into an abrasive paste inside the chain. Dry lube dries on the chain and attracts significantly less grit. Save wet lube for genuinely wet or muddy rides.
How often should I clean my drivetrain if I ride on dusty roads regularly?
After every dusty ride, ideally. Fine Australian bulldust builds up quickly and does not need long to start causing wear. A full clean and re-lube after each dusty outing keeps wear to a minimum. At the very least, wipe the chain down and re-lube if you cannot do a full wash.
Are sealed bearings worth the upgrade for riders doing a lot of outback or gravel riding?
Yes, in most cases. Sealed cartridge bearings are a single sealed unit with no adjustable gaps, which makes them more resistant to fine dust ingress compared to cup-and-cone bearings. They are not indestructible, but they hold up better in demanding Australian conditions and require less frequent servicing.
What should I carry on a remote Australian ride to handle bike issues on the road?
At a minimum, carry a multi-tool, tyre levers, spare tubes or a puncture repair kit, a pump or CO2 inflator, a chain tool, a spare chain link, a small rag, and a bottle of dry lube. For multi-day rides, also carry spare brake and derailleur cable. The further you are from a town, the more self-sufficient you need to be.
Can dust really damage my bike that quickly, or is it more of a long-term concern?
Both. Fine bulldust can cause noticeable wear to a poorly lubed chain within a single long ride in bad conditions. Over weeks and months without proper cleaning, the cumulative damage to a drivetrain, bearings, and headset is significant. Treating each dusty ride as a reason to clean up promptly is the right approach, not just the occasional service.
Quick summary
- Use dry lube for all dusty and dry riding. Keep it light and wipe off any excess.
- Clean your drivetrain after every dusty ride. Do not let grit sit in your chain overnight.
- The drivetrain, bearings, headset, and disc brakes are the most vulnerable components in dusty conditions.
- Carry tools and spare lube on all remote Australian rides. You are your own bike shop out there.
- When in doubt, take the bike to a mechanic. Catching a worn component early is always cheaper than ignoring it.
This is educational content, not financial advice.