A cracked frame that goes unnoticed is one of the most dangerous things in cycling. It does not announce itself until it fails, and when it does, it can happen at 40 km/h on a descent or mid-sprint in a bunch.
This guide will walk you through exactly how to inspect your frame for cracks, fatigue, and structural damage at home. By the end, you will know what to look for on carbon, aluminium, and steel frames, which zones to prioritise, and when to pull the pin and see a professional.
Note for Australian riders:
- Harsh UV in Queensland and Western Australia can degrade unprotected carbon fibre finishes over time, making surface inspection even more important in these regions.
- Gravel roads and corrugated surfaces common across regional Australia place higher cyclic stress on frames than smooth sealed roads, accelerating fatigue in aluminium especially.
- If you are a long way from a quality bike shop, this guide is even more relevant. Knowing what to look for can save you from a very bad day out on a remote trail or road.
At a glance:
- Different frame materials fail in different ways. Carbon is silent, aluminium fatigues at welds, steel rusts from the outside in.
- High-risk zones on any frame include the head tube, bottom bracket shell, chainstays, and dropouts.
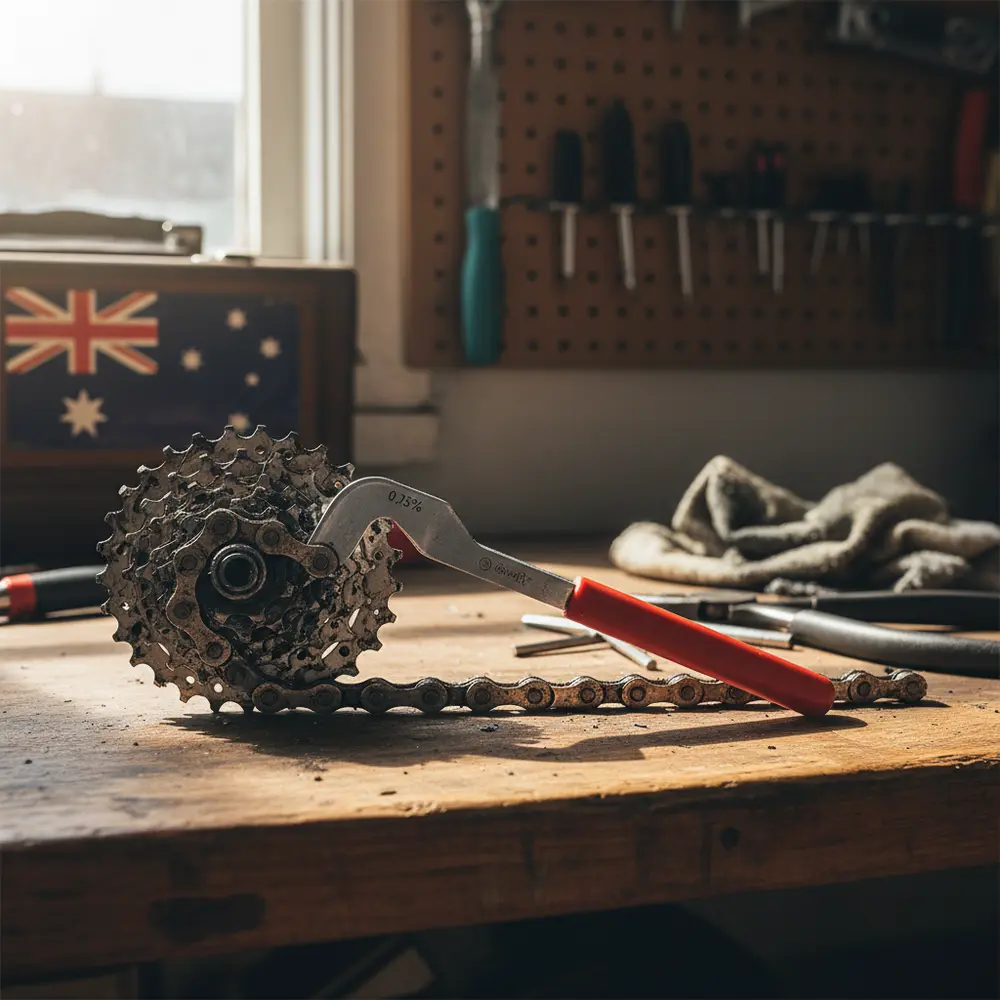
- The tap test is a useful first-pass check for carbon frames, but it has limits.
- If you are unsure after a crash, do not ride the bike. Get it checked by a mechanic first.
Key takeaways:
- Build a monthly frame inspection habit, not just a post-crash reaction.
- Visual and tactile checks at home catch most problems early on metal frames.
- Carbon requires more caution. When in doubt, professional assessment is the right call.
Why Frame Inspections Matter (and What Happens When You Skip Them)
Most riders check their tyres and brakes before a ride. Very few take two minutes to look over their frame. That is understandable. The frame feels solid, it looks fine, and it has never let you down before. But frames accumulate stress with every ride, every pothole, every sprint, and every crash, no matter how small.
A routine bicycle maintenance checklist should always include the frame. Skipping it is not laziness, it is just a habit that has not been built yet. This guide will help you build it.
The Real Cost of a Frame Failure on the Road or Trail
Frame failures are rare, but they are not unheard of. When they happen, the consequences range from a frightening moment to a serious injury. A sudden failure on a descent or in a bunch ride is not something you get a second chance to learn from. The cost of five minutes of inspection is nothing compared to that.
There is also a financial angle. Australian Consumer Law gives you rights if a frame fails prematurely due to a manufacturing defect. Goods must be of acceptable quality, durable, and safe. If a frame cracks under normal use and within a reasonable timeframe, you may be entitled to a repair, replacement, or refund, regardless of what the manufacturer warranty says. Keep your purchase records and document any damage carefully.
Know Your Material: How Different Frames Fail
The material your frame is made from determines how it fails and what you need to look for. There is no universal crack pattern. Understanding this is the foundation of a useful inspection.
| Material | How it fails | Main warning signs | DIY inspection reliability |
|---|---|---|---|
| Carbon fibre | Delamination, internal fracture, sudden failure | White or chalky patches, muffled tap sound, paint bubbling | Moderate. Tap test helps but misses deep damage. |
| Aluminium | Fatigue cracking, especially at welds | Hairline cracks at weld toes, creaking, visible crack lines | Good. Cracks propagate on the surface and are visible. |
| Steel | Rust, denting, weld cracking | Surface rust, rust bubbling under paint, dents near BB or head tube | Good. Most damage is visible with a close look. |
| Titanium | Weld cracking (rare), impact damage | Cracks at weld zones, frame flex in unusual directions | Good. Titanium is corrosion-resistant and failures are uncommon. |
Carbon Fibre: Silent and Sudden
Carbon fibre is the trickiest material to inspect because it does not always show damage on the surface. According to CyclingTips, a frame can have significant internal delamination with no visible crack at all. The fibres fail internally, and the outer surface looks fine until it does not. That is what makes carbon inspection genuinely different from metal.
Australian UV exposure adds another layer of concern. Prolonged exposure to harsh sunlight, particularly in northern and western states, can degrade the resin matrix in unprotected carbon over time. If your carbon frame lives outside or in a hot garage, this is worth thinking about.
According to Bicycles Network Australia, the tap test is a useful first-pass diagnostic for carbon frames. Tap systematically across the frame with your knuckle or a coin and listen carefully. A healthy section produces a sharp, consistent ring. A delaminated section sounds dull and flat, like tapping on soft wood. It takes some practice to hear the difference, but once you know what to listen for, it becomes a reliable habit.
Aluminium: Fatigue Cracks and Stress Points
Aluminium frames are very common in Australia, and they have a specific failure characteristic worth understanding. Unlike steel, aluminium does not have a fatigue limit. As Sheldon Brown's technical reference on bike frame material properties explains, aluminium will eventually crack under repeated loading regardless of how low the stress is. The question is not if, but when.
Cracks in aluminium frames almost always initiate at weld zones, because the heat-affected zone around a weld is the weakest point in the material. The good news is that aluminium cracks tend to propagate on the surface, so visual inspection is genuinely useful. Run your fingers along every weld and look closely at the heat-affected zones around the bottom bracket, head tube, and dropouts.
Steel and Titanium: Rust, Dents, and Weld Inspection
Steel frames are generally tougher to kill than aluminium or carbon. Steel does have a fatigue limit, meaning that under normal loads it can last a very long time. The main threats to a steel frame are rust, impact denting, and weld cracking. Surface rust that has not penetrated the tube wall is primarily a cosmetic issue, but rust that causes paint bubbling or pitting in the metal is a different matter and needs attention.
Titanium is the most durable and corrosion-resistant of the common frame materials. Failures are uncommon but not impossible, particularly at weld zones after significant impacts. If you ride a titanium frame and it has taken a hit, inspect the welds carefully.
Where to Look: High-Risk Zones on Any Frame
Regardless of material, certain areas on every frame are under higher stress and are statistically more likely to show damage first. Focus your inspection time on these zones.
Head Tube, Down Tube, and Bottom Bracket Area
The head tube junction is a primary stress point on any frame. The forces from braking, cornering, and rough roads all converge here. Look closely at the join between the head tube and down tube, and the head tube and top tube. On carbon frames, look for paint cracking, bubbling, or white cloudy patches. On metal frames, run your fingernail along the weld bead and feel for any irregularity.
The bottom bracket shell is another high-priority zone. It takes constant torque loads from pedalling and is often the first place a crack appears on aluminium frames after heavy use. Check the area where the chainstays and down tube meet the BB shell. A creak that developed after a hard ride or a crash in this area is a red flag worth investigating before the next ride.
Seat Tube, Chainstays, and Dropouts
The chainstays are exposed to constant flex and vibration, especially on rough roads. Check along their full length, particularly near the bottom bracket junction and the dropout area. Dropouts take the brunt of any rear impact and are a common crack initiation point on both aluminium and carbon frames.
The seat tube junction with the top tube is worth checking too, especially on bikes that carry a heavy saddle bag or have seen a lot of cobblestone or corrugated road riding. On steel frames, check inside the seat tube for internal rust if the frame has been ridden wet without a draining hole at the bottom.
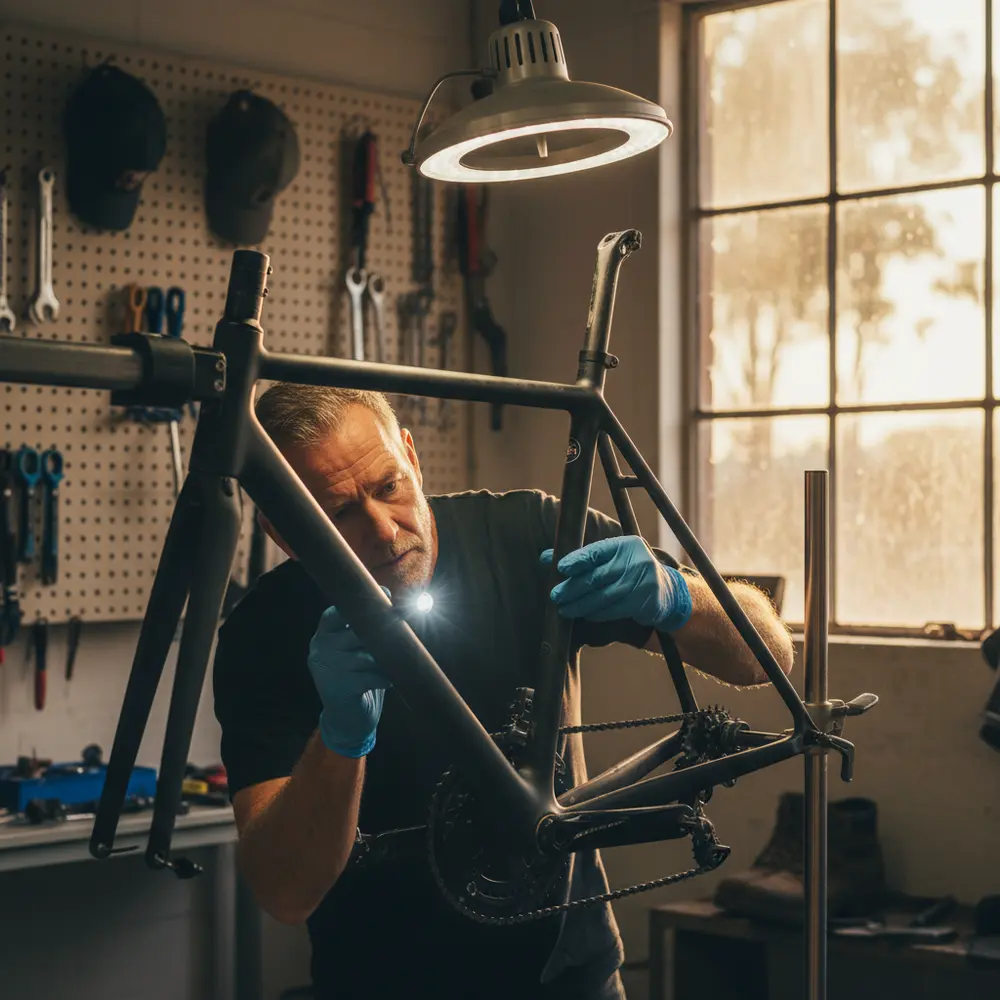
How to Inspect Your Frame Step by Step
Here is a practical inspection routine you can run at home. You need a bright light, a clean rag, and about ten minutes. Do this monthly, and always after a crash, even a minor one.
- Clean the frame first. Mud, grease, and road grime hide cracks. Wipe the frame down completely before you start.
- Start at the head tube. Inspect all joints around the head tube with a torch. Look for paint cracks, bubbling, or raised areas on carbon, and visible crack lines on metal.
- Work down the down tube. Run your fingers along the full length. On carbon, note any soft spots or unusual flex. On metal, check for dents or surface rust.
- Inspect the bottom bracket shell. Look at every weld junction carefully. A crack here is a serious finding. Do not ride if you see one.
- Check the chainstays and seatstays. Run your fingers along every inch. Check both sides. Look especially hard at the dropout area.
- Do the tap test (carbon only). Work systematically from head tube to dropout, tapping every 5 cm. Listen for any dull or flat sound compared to the surrounding area.
- Check the dropouts and axle contact points. Look for cracking, bending, or unusual wear. Dropout damage is common after rear impacts.
- Sight down the frame. Stand behind the bike and sight down the centreline. The frame should look straight. Any obvious lean or curve is worth investigating.
Warning Signs You Should Never Ride Past
Some findings mean the ride is over until a professional has looked at the frame. Do not talk yourself into "it is probably fine." These are the signs that warrant stopping:
- Any visible crack line on a carbon frame, even a hairline.
- White or chalky patches on a carbon frame that were not there before.
- A dull thud in a specific zone during the tap test that was not there on a previous check.
- A crack at any weld junction on an aluminium frame.
- A dent in the down tube, top tube, or chainstay of a carbon or aluminium frame.
- A new creak that you cannot attribute to a loose bolt or component, especially if it appeared after a crash.
- Any frame flex in a direction that does not feel normal when you apply gentle pressure.
Common Mistakes Riders Make During Frame Inspection
Even riders who do inspect their frames regularly can miss things. Here are the most common errors worth avoiding:
- Only inspecting the visible impact point after a crash. Damage often transfers to areas away from the contact zone, particularly in carbon frames.
- Cleaning around the frame but not the frame itself. Cracks hide under grime, especially on dark-coloured frames.
- Confusing clearcoat scratches with structural cracks. A scratch through the clearcoat is cosmetic. A crack in the carbon or metal underneath is structural. They look different under a light.
- Dismissing a creak as a "BB thing" without checking the frame first. Many frame cracks make noise under load.
- Using a DIY carbon repair kit on structural damage. As Bicycling Australia notes on carbon fibre repair, DIY kits are generally suitable for cosmetic damage only. Structural repairs require proper expertise and materials.
If You Are New to Frame Inspection
If this is the first time you have thought about inspecting your frame, here is where to start:
- Do a full clean of the frame first. You cannot inspect what you cannot see.
- Use a torch, even in daylight. The angle of light reveals cracks that are invisible under flat lighting.
- Focus on the five key zones: head tube junction, down tube, bottom bracket shell, chainstays, and dropouts.
- If you are on carbon, take your time with the tap test and compare sounds across different sections.
- If anything looks or feels wrong and you are not sure, take it to your local bike shop. A good mechanic can assess a frame in minutes and give you a clear answer.
If You Have Inspected Frames Before
If you already run a regular inspection, here is what to add or tighten up:
- Add a post-ride tap test to your routine after any rough ride, not just after crashes. Corrugated gravel roads in particular cause cumulative fatigue.
- Keep a simple log. Note the date, conditions, and any findings. A crack that is growing is a very different situation from one that is stable.
- Check your dropouts for alignment after any rear impact. Misaligned dropouts put lateral stress on the frame.
- If you ride a high-mileage aluminium frame, consider a professional inspection annually. Visual inspection is good, but a mechanic with experience in aluminium frame fatigue will know where to look hardest.
- Ask your mechanic about ultrasound or dye penetrant testing if you have a carbon frame that has been in a significant crash and you want genuine certainty.
When to Take It to a Professional (and What They Check)
There are situations where DIY inspection is not enough. A professional mechanic brings tools, experience, and pattern recognition that cannot be replicated at home. Take your frame to a shop if:
- You have had a significant crash at speed and are not certain the frame is undamaged.
- You found something during your inspection that you cannot clearly classify as cosmetic or structural.
- Your carbon frame is older, high-mileage, or has had previous repairs.
- You hear a creak that persists after ruling out all components and contact points.
A professional inspection may include frame alignment checks, a thorough tap test, and in serious cases, ultrasound or dye penetrant testing for carbon frames. Reputable carbon repair services will also load-test or pressure-test any structural repair before returning the frame. If you are ever unsure, feel free to get in touch with us at Segment Club and we can point you toward a trusted mechanic in your area.
How Often Should You Inspect Your Frame: Australian Riding Conditions
The answer depends on how and where you ride. Here is a practical guide based on Australian conditions:
- Monthly. Run a full visual and tactile inspection as part of your regular bicycle maintenance routine. Ten minutes is enough.
- After any crash. Even a low-speed fall warrants a full frame check before riding again. Always.
- After extended gravel or corrugated road riding. Corrugated outback roads in particular create high-frequency vibration that accelerates fatigue in aluminium frames.
- Seasonally. Inspect for UV degradation on carbon frames at the start and end of each Australian summer. Check for rust on steel frames before and after wet winter riding.
- Annually with a mechanic. Especially for high-mileage bikes, older aluminium frames, or any frame that has been in a crash.
Frame Inspection Checklist by Material
Use this checklist as your monthly or post-crash inspection guide. Rate each zone as Pass, Monitor, or Fail.
| Zone | Carbon: what to check | Aluminium: what to check | Steel / Titanium: what to check |
|---|---|---|---|
| Head tube junction | Paint cracks, white patches, tap test | Weld cracks, hairline lines | Rust, weld cracks, paint bubbling |
| Down tube | Visual cracks, tap test, dents | Dents, surface cracks | Dents, rust, surface cracks |
| Bottom bracket shell | Tap test, paint lifting, flex check | Weld cracks, creaking under load | Rust inside shell, weld cracks |
| Chainstays | Tap test, visual cracks, dents | Crack lines, weld zone checks | Rust, dents, weld cracks |
| Dropouts | Cracks, alignment, impact damage | Cracks, alignment | Rust, cracks, alignment |
| Seat tube | Paint cracks, tap test | Weld cracks at junction | Internal rust, paint bubbling |
Rating guide:
- Pass. No signs of damage. Continue normal riding and re-inspect next month.
- Monitor. Minor surface scratches or clearcoat damage only. Document, photograph, and recheck in two to four weeks.
- Fail. Any structural crack, dent, delamination, or finding you cannot classify. Do not ride. Seek professional assessment.
Frequently asked questions
Can I ride a steel frame with surface rust?
Surface rust that has not penetrated the tube wall is mainly cosmetic. Clean it back, treat it with a rust converter, and touch up the paint. If the rust has caused pitting in the metal, paint bubbling, or appears near a weld, have a mechanic look at it before riding. Rust that goes deep can compromise the tube wall over time.
How reliable is the tap test on carbon frames?
The tap test is a useful first-pass check and it is widely used by mechanics. It is good at detecting obvious delamination but it can miss deep internal damage, particularly in thick layup sections. Think of it as a starting point, not a definitive pass. If you find a dull area or are not confident in what you are hearing, have a professional check it with proper tools.
Should I retire my aluminium frame after a crash?
Not automatically, but you should always inspect it carefully before riding again. Look closely at all weld zones and the areas around the impact point. If you find a crack at any weld, retire the frame. If the frame looks clean and the dropout alignment is good, it is generally safe to continue, but keep a closer eye on it going forward.
Are DIY carbon repair kits safe to use?
DIY carbon repair kits are suitable for cosmetic damage only, such as clearcoat scratches or minor gel coat chips. They are not designed to restore structural integrity. If the damage goes through the carbon layers, the repair needs to be done by a professional who can properly assess the damage and use the right materials and processes. Do not ride a structurally repaired frame without a professional sign-off.
What are my rights if my frame cracks under normal use?
Under Australian Consumer Law, goods must be of acceptable quality, which includes being safe, durable, and free from defects. If your frame cracks under normal riding conditions and within a reasonable timeframe, you may be entitled to a repair, replacement, or refund. This applies regardless of the manufacturer warranty. Keep your receipts, take photos of the damage, and contact the retailer first. If they are unhelpful, you can escalate to your state consumer protection agency.
Summary: What to Remember
- Inspect your frame monthly and always after a crash, even a small one.
- Different materials fail differently. Know what to look for on your specific frame.
- Focus on high-risk zones: head tube, BB shell, chainstays, and dropouts.
- If in doubt after a crash or inspection, do not ride. Get a professional assessment.
- You have rights under Australian Consumer Law if a frame fails prematurely. Document everything.
For more on keeping your bike in top shape, check out our bike maintenance articles or contact the Segment Club team if you have questions about your specific setup.
This is educational content, not financial advice.