Worn or poorly adjusted brakes are one of the most common reasons Australian cyclists fall foul of road rules, and one of the most preventable causes of serious accidents. Getting your brakes set up correctly is not complicated, but it does need to be done right.
By the end of this guide, you will be able to check whether your brakes meet the legal requirements for Australian roads, perform a basic brake adjustment on rim or mechanical disc brakes at home, and know when it is time to hand the job over to a professional mechanic.
Note for Australia:
- The Australian Road Rules (ARR) set the national baseline for bicycle equipment, including brakes. All states and territories have adopted these rules, though some have added local variations.
- Riding a bicycle on a public road without a working brake can result in a fine. Always check your local state or territory transport authority for the most current requirements.
- The AS/NZS 1927 bicycle safety standard sets braking performance criteria for bicycles sold in Australia. It is relevant context for understanding what "safe braking" actually means.
At a glance:
- Australian law requires at least one working brake on a bicycle ridden on a public road. Most states require two.
- Fixed-gear riders: resisting the pedals is generally not accepted as a substitute for a mechanical brake under Australian road rules.
- You can adjust rim brakes and mechanical disc brakes at home with basic tools.
- Hydraulic disc brake bleeds are not a beginner DIY task. Send those to a mechanic.
Key takeaways:
- A quick visual check before every ride will catch most brake problems before they become a legal or safety issue.
- Cable tension and pad alignment are the two most common things that drift out of spec on rim brakes.
- Replace brake pads before the wear indicator groove disappears, not after.
Why Brake Compliance Matters on Australian Roads
Brakes are not just a performance feature. On a public road in Australia, they are a legal requirement. Riding without a functioning brake exposes you to a fine, and more importantly, to serious risk.
If you are involved in an incident and your brakes are found to be non-compliant, it can affect your legal standing and potentially your insurance position. This is not legal advice, but it is a practical reason to take brake maintenance seriously and check with your state road authority if you are unsure.
What the Australian Road Rules Say About Bicycle Brakes
Under the Australian Road Rules, Rule 258 covers bicycle equipment requirements. The rule requires that a bicycle being ridden on a road must have at least one effective brake. Most Australian jurisdictions interpret this as requiring two brakes for standard multi-speed bicycles, one on each wheel.
The key word is "effective." A brake that is technically present but too worn or misaligned to stop the bike adequately does not meet the standard. Always check your state or territory transport authority for the exact wording that applies where you ride.
State-by-State Variations Worth Knowing
The ARR provides the national baseline, but each state and territory applies it through local legislation. Minor variations exist. Here is a quick summary based on published guidance from each state authority.
| State / Territory | Brake Requirement Summary | Fixed-Gear Position | Source |
|---|---|---|---|
| NSW | At least one effective brake required. Two recommended for standard bikes. | A mechanical brake is required. Leg resistance alone is not accepted. | Transport for NSW |
| VIC | Bicycle must be fitted with a brake that can stop the bike effectively. | Fixed-gear bikes must have at least one mechanical brake fitted. | VicRoads |
| QLD | At least one working brake required. QLD follows the national ARR closely. | Check TMR Queensland for the current position on fixed-gear compliance. | TMR Queensland |
| Other states | All have adopted the ARR. Check your local transport authority for any additions. | Assume a mechanical brake is required unless confirmed otherwise. | Local state authority |
If you ride a fixed-gear or single-speed bike, do not assume that resisting the pedals counts as a brake under Australian law. In most states, it does not. Fit at least one mechanical brake and check the current rules for your state via the Bicycle Network cycling law guide.
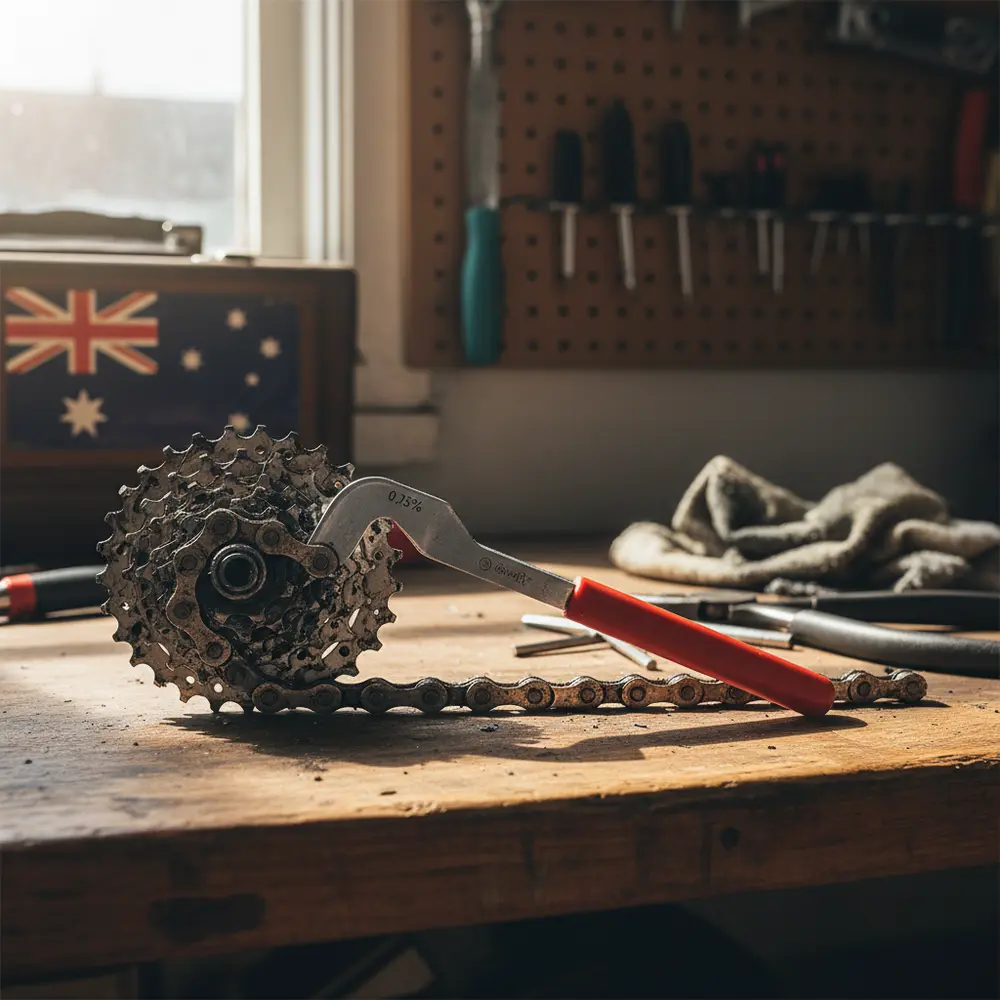
Types of Bicycle Brakes and How They Work
Before you adjust anything, it helps to know what type of brakes you are working with. The adjustment process is different for each type, so follow the right path for your bike.
Rim Brakes (Caliper and V-Brake)
Rim brakes use brake pads that press against the rim of the wheel to slow the bike. Caliper brakes are common on road bikes. V-brakes (also called linear-pull brakes) are common on mountain bikes and commuters. Both use a cable to pull the pads onto the rim when you squeeze the lever.
Rim brakes are simple, light, and easy to adjust at home. The main things that go wrong are cable stretch, pad wear, and pad misalignment.
Disc Brakes (Mechanical and Hydraulic)
Disc brakes use a rotor attached to the wheel hub and a caliper that clamps onto the rotor. Mechanical disc brakes are cable-actuated and can be adjusted at home with basic tools. Hydraulic disc brakes use fluid pressure and are significantly more powerful, but bleeding the system is not a task for a beginner home mechanic.
For mechanical disc brake adjustment, the process is similar in principle to rim brakes. Pad clearance and caliper alignment are the key settings to get right.
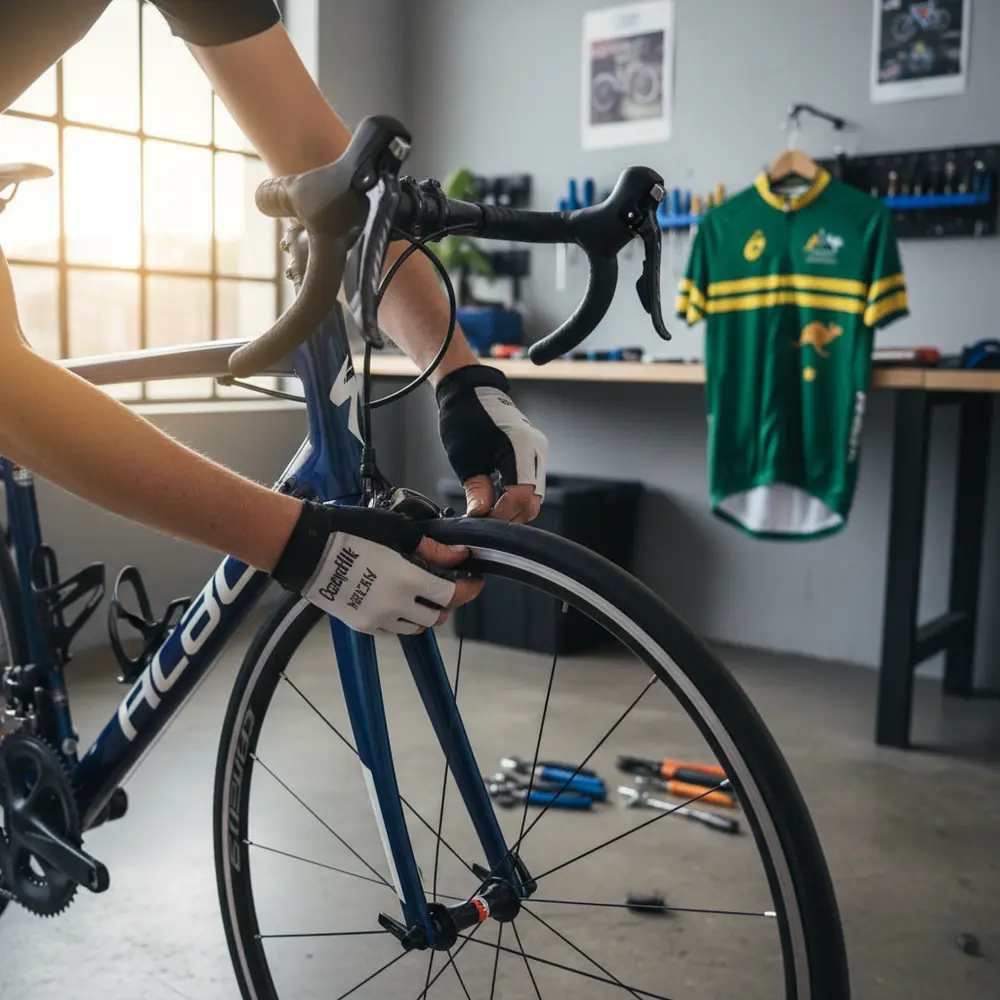
How to Check if Your Brakes Meet the Standard
Before any adjustment, do a quick inspection. This takes two minutes and will tell you whether you have a compliance or safety issue to address.
- Spin each wheel and squeeze the brake lever. The wheel should stop quickly and the lever should not travel more than halfway to the handlebar.
- Look at the brake pads. They should sit square on the rim braking surface (not on the tyre, not on the spokes).
- Check the cables for fraying, kinking, or rust.
- Look at the cable housing for cracks or splits at the ends.
- Check pad wear. Most rim brake pads have a wear indicator groove. When it is gone, replace the pads.
The One-Hand Stop Test and What It Actually Means
You may have heard of the "one-hand stop test." In practice, this refers to the principle that each brake, operated independently with one hand, should be capable of effectively stopping the bicycle. It is a practical test of brake effectiveness rather than a formally codified test with a specific stopping distance in the ARR.
If squeezing one brake lever firmly does not produce a strong, confident braking response, your brakes need attention before you ride on a public road. That is the standard to aim for.
Step-by-Step Brake Adjustment for Road Compliance
Work through these steps in order. Each step builds on the one before. Choose the path that matches your brake type.
Adjusting Cable Tension on Rim Brakes
Cable tension is the most common cause of a soft or sluggish brake lever feel. Here is how to fix it.
- Find the barrel adjuster where the cable housing meets the brake lever or the brake caliper.
- Turn the barrel adjuster anti-clockwise (out) to increase cable tension. Start with half-turn increments.
- Squeeze the lever. The pads should contact the rim before the lever travels halfway to the bar.
- If the barrel adjuster is already wound fully out, you need to reset the cable at the anchor bolt. Loosen the anchor bolt, pull the cable through by hand to remove slack, then re-tighten.
- Check lever feel again. Repeat until the response is firm and confident.
For a detailed walkthrough of rim brake pad adjustment, Park Tool's guide is the best free reference available.
Aligning Brake Pads Correctly
Pad alignment affects both braking performance and rim wear. Misaligned pads can also rub on your tyre, which is dangerous.
- Loosen the pad fixing bolt just enough to allow movement.
- Squeeze the brake lever gently to hold the pad against the rim.
- Position the pad so it sits flat on the braking surface of the rim. The top edge of the pad should be just below the tyre. The bottom edge should not hang below the rim.
- For a slight toe-in (front of pad contacts rim first), angle the front of the pad about 1 mm closer to the rim than the rear. This can reduce brake squeal on some rim and pad combinations.
- Hold the pad in position and tighten the fixing bolt. Check alignment again once tightened.
Centring the Caliper
A caliper that is off-centre will cause one pad to rub the rim constantly, slowing you down and wearing the pad unevenly.
- Loosen the central mounting bolt slightly.
- Squeeze the brake lever firmly to centre the caliper against the rim.
- While holding the lever, re-tighten the mounting bolt.
- Release the lever and spin the wheel. Both pads should clear the rim evenly.
- Many modern road calipers also have a small centring adjustment screw. Use this for fine-tuning if needed.
Adjusting Mechanical Disc Brakes
Mechanical disc brakes follow a similar logic to rim brakes but the tolerances are tighter because the rotor is much narrower than a rim.
- Check that the rotor is running true (not bent or wobbling). A wobbling rotor will cause rubbing no matter how well you align the caliper.
- Loosen the caliper mounting bolts slightly.
- Squeeze the lever to centre the caliper over the rotor, then re-tighten the mounting bolts.
- Use the barrel adjuster on the lever or caliper to set cable tension. The lever should feel firm before it reaches the halfway point.
- Check pad clearance on both sides of the rotor. Most mechanical disc calipers have a separate adjustment dial or screw for the fixed pad. Set it so the pad is close to the rotor without touching.
- Bed in the new pad position by doing a series of firm stops from moderate speed in a safe area before riding in traffic.
For more detail on disc brake setup, Park Tool's mechanical disc brake guide covers every adjustment point clearly.
When to Replace Brake Pads and Cables
Knowing when to replace rather than adjust is just as important as knowing how to adjust. Worn pads or frayed cables cannot be adjusted back into compliance.
- Rim brake pads: Replace when the wear indicator groove is no longer visible, or when the pad surface is glazed (shiny and hard). Do not wait until metal is touching rim.
- Disc brake pads: Replace when the friction material is visibly thin. A good rule of thumb is to replace when the pad material is around 1 mm thick, but check your specific manufacturer's recommendation.
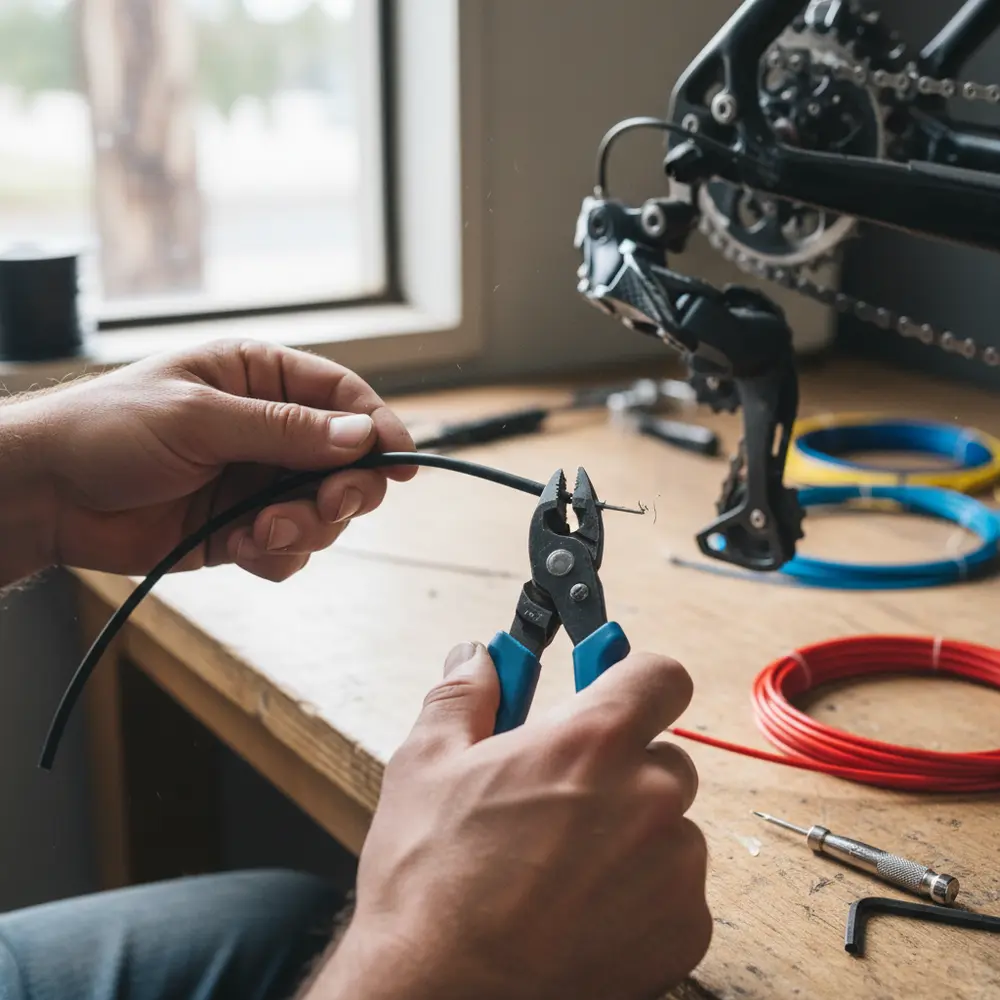
- Brake cables: Replace if you see fraying, kinking, rust, or broken strands. Do not attempt to tension a frayed cable.
- Cable housing: Replace if the housing is cracked, kinked, or the end caps have fallen off. Old or damaged housing causes inconsistent brake feel.
For manufacturer-specific guidance on Shimano brake systems, the Shimano Australia brake maintenance guide is a useful reference for Shimano component owners.
Common Brake Problems and How to Fix Them
Most brake issues fall into one of a few categories. Here is what to look for and what to do.
- Spongy or soft lever feel: Usually cable stretch or air in a hydraulic system. For cables, use the barrel adjuster. For hydraulic systems, book a bleed with a mechanic.
- Brake squeal: Often caused by glazed pads, contaminated pads, or pads that need toe-in. Clean the rim with isopropyl alcohol first. If the squeal persists, try a slight toe-in or replace the pads.
- Lever touches the bar: Cable is too slack or pads are too worn. Increase cable tension first, then check pad wear.
- One pad rubbing the rim: Caliper is off-centre. Follow the centring steps above.
- Brake feels grabby or inconsistent: Contaminated pads or rim. Clean both surfaces. If contamination is oil-based (especially on disc pads), replace the pads, as oil contamination is very hard to remove fully.
Common Mistakes to Avoid
- Tightening the pad fixing bolt before fully positioning the pad. Always position first, then tighten.
- Winding the barrel adjuster all the way out without resetting the cable anchor. This leaves you with no adjustment range left.
- Ignoring cable housing condition and only replacing the inner cable. Damaged housing undermines the new cable immediately.
- Contaminating disc brake pads with spray lubricants or chain lube. Keep all lubricants away from rotors and pads.
- Assuming hydraulic discs can be adjusted the same way as mechanical discs. They cannot. If in doubt, take it to a mechanic.
- Skipping the post-adjustment road test. Always check brake feel under load before riding in traffic.
Tools You Need for a Basic Brake Service at Home
You do not need a full workshop to handle basic brake maintenance. The following tools will cover the vast majority of home brake jobs.
For rim brakes:
- Allen key set (4 mm and 5 mm cover most brake bolts)
- Cable cutters (a sharp pair, not household scissors)
- Third hand tool or strong rubber band to hold pads against rim during alignment
- Isopropyl alcohol and a clean rag for cleaning rims
For mechanical disc brakes:
- Allen key set (4 mm, 5 mm, and T25 Torx for some rotors)
- Cable cutters
- A business card or thin piece of cardboard to set pad clearance
- Isopropyl alcohol for cleaning rotors (never use degreaser on rotors)
If you are new to bike maintenance, start with rim brakes. They are more forgiving, easier to see what you are doing, and quicker to learn on.
If You Are New to Brake Adjustment
- Start with a visual inspection before touching any bolts. Identify what type of brakes you have first.
- Only adjust one thing at a time and test after each change. This way you know what worked.
- Use the barrel adjuster before touching the cable anchor bolt. It is easier and reversible.
- Watch one good video of someone doing the exact adjustment you need before you start. Park Tool's YouTube channel is excellent for this.
- If your lever still feels wrong after cable tension adjustment, get a second opinion before riding on the road.
If You Have Adjusted Brakes Before
- Check cable housing condition every time you replace cables. Old housing is the hidden cause of many returning brake issues.
- Consider upgrading to ferrule-ended cable housing if your bike does not already have it. It improves cable feel noticeably.
- On disc bikes, check rotor trueness with every pad replacement. A slightly bent rotor is easy to miss until the new pads start rubbing.
- Bed in new pads properly before hard riding. Unbedded disc pads in particular can feel weak and inconsistent under load.
- Use a torque wrench for caliper mounting bolts on disc bikes. Over-tightening can warp the caliper or damage the frame mount.
When to Take Your Bike to a Professional Mechanic
Home mechanics can handle most brake jobs, but there are clear situations where a professional is the right call. Do not guess with brakes. They are the one system where failure has immediate consequences.
- Hydraulic disc brake bleeding. This requires the correct fluid, bleed kit, and knowledge of the specific system.
- Bent or damaged brake levers. These affect cable routing and lever travel and need assessment before riding.
- Cracked cable housing that runs internally through the frame. This is a workshop job.
- Any brake system where the lever bottoms out and you cannot identify why after going through the standard checks.
- Post-crash inspections. Always have your brakes checked by a mechanic after a crash, even if they feel fine.
If you are not sure whether your brakes are compliant or safe, reach out and get in touch with us or take the bike to your local bike shop for a safety check.
Frequently asked questions
Do I legally need two brakes on my bike in Australia?
The national Australian Road Rules require at least one effective brake. However, most states and territories require two brakes for standard bicycles. Check the rules for your specific state via your local transport authority, as the local legislation is what applies where you ride.
Can I ride a fixed-gear bike without a mechanical brake in Australia?
In most Australian states, no. Resisting the pedals on a fixed-gear bike is generally not accepted as a substitute for a mechanical brake under current road rules. At minimum, you should fit a front mechanical brake and confirm the requirements for your state. The Bicycle Network cycling law guide is a good starting point for understanding your obligations.
How do I know if my brake pads need replacing?
For rim brake pads, look for the wear indicator groove. When it is no longer visible, replace the pads. For disc pads, the friction material should not be worn down to approximately 1 mm or less. If the pads look thin, glazed, or contaminated, replace them. Refer to your manufacturer's guidance for model-specific thresholds.
Is toe-in still recommended for modern rim brake pads?
Toe-in (angling the front of the pad slightly closer to the rim than the rear) can reduce brake squeal on some rim and pad combinations. It is not universally required for modern pad compounds and some setups perform better with pads set flat. Start flat and only add toe-in if squeal is an issue.
Can I bleed hydraulic disc brakes myself at home?
Technically yes, but it is not recommended for beginners. A hydraulic bleed requires the correct fluid type for your specific system, a proper bleed kit, and a solid understanding of the procedure. Getting it wrong can result in no brakes at all. If you are not confident, take it to a qualified bike mechanic.
Summary
- Check your brakes before every ride, not just when you notice a problem.
- Cable tension and pad alignment fix the majority of rim brake issues at home.
- Know the brake rules for your state. Fixed-gear riders especially need to confirm compliance.
- Replace worn pads and frayed cables. Adjustment cannot compensate for worn components.
- For hydraulic disc brake issues and post-crash inspections, use a professional mechanic.
For more guides on keeping your bike in safe working order, visit our bike maintenance section or check out our pre-ride safety checklist to build a solid routine before every ride.
This is educational content, not legal advice.