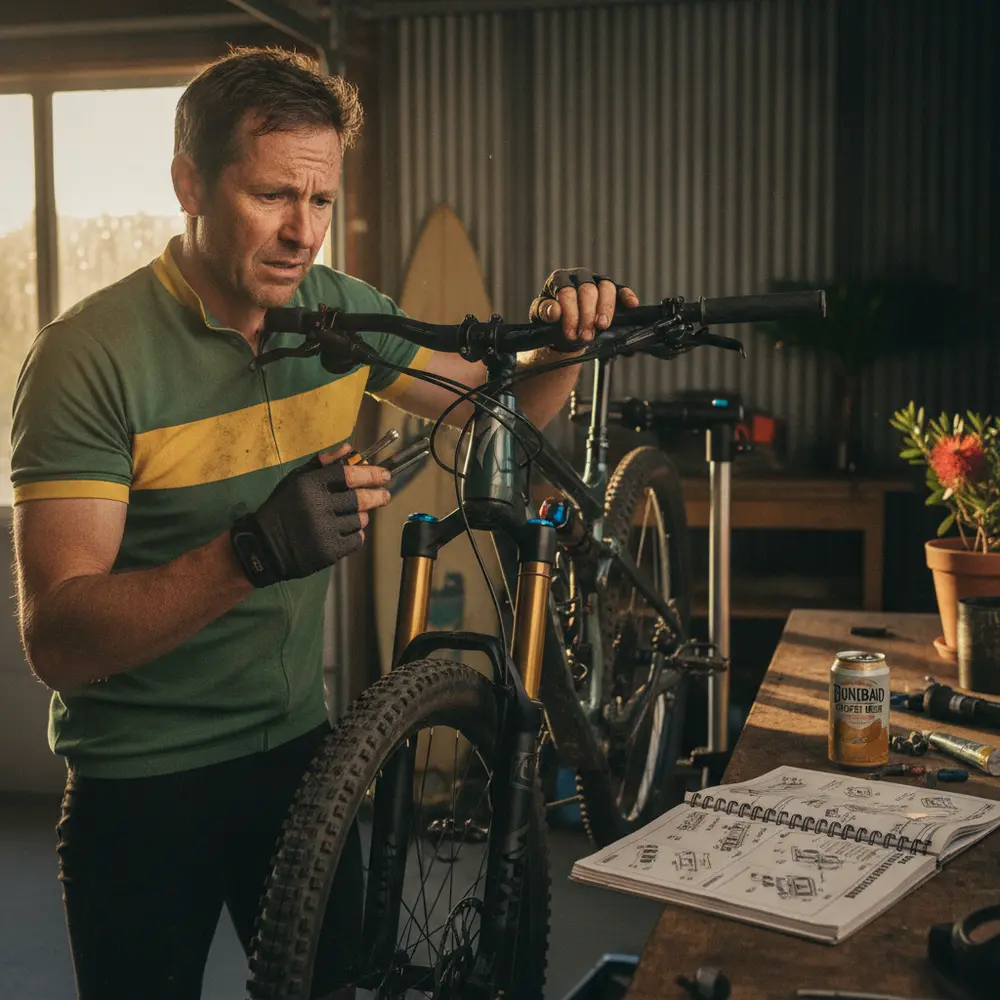
A worn chain and cassette is one of the most common and most ignored drivetrain problems in Australian cycling, and leaving it too long almost always costs you more in the end. Whether you ride to work through Melbourne traffic, grind fire trails in the Dandenongs, or roll along the coast on weekends, your drivetrain is wearing out every time you pedal.
By the end of this article, you will know how to spot a worn chain and cassette, understand your realistic options for getting the job done, and have a clear answer to the big question: is it worth paying a cycling mechanic, or can you handle this one at home?
Note for Australian riders:
- Dusty trails, red dirt roads, coastal salt air, and wet commuter conditions all accelerate chain wear faster than the general averages you will read about online.
- Australian bike shop labour rates vary between independent local shops and larger retail chains, so always ask for a quote upfront and get a breakdown of parts versus labour.
- Most mid-range tools needed for this job are available from Australian bike shops or online retailers, so you are not locked out of the DIY option if you want to go that way.
At a glance:
- A worn chain left too long will chew through your cassette and cost you significantly more to fix.
- Chain wear can be measured at home with an inexpensive chain checker tool.
- A beginner can realistically replace a chain at home, but cassette replacement adds complexity.
- A cycling mechanic is worth the cost for high-end groupsets, worn cassettes, or if you lack the tools.
Key takeaways:
- Check your chain regularly, not just when something feels wrong.
- Replacing chain and cassette together is often the smarter move once wear is significant.
- Good lubrication habits are the cheapest form of drivetrain protection you have.
Why Your Chain and Cassette Matter More Than You Think
What Does the Chain and Cassette Actually Do?
The chain is the mechanical link between your legs and your rear wheel. Every pedal stroke sends force through it, across your cassette teeth, and into forward motion. The cassette is the cluster of sprockets on your rear wheel that the chain meshes with to give you your gears.
Together, they form the core of your drivetrain. When both are in good shape, shifting is crisp and pedalling is efficient. When they are worn, you will feel it as skipping under load, sluggish shifting, and eventually the kind of grinding that tells you something expensive is about to happen.
The relationship between chain and cassette wear matters because they wear together. A worn chain starts to sit poorly on cassette teeth, which then wear to match the chain. Once the cassette teeth have worn to a hooked or shark-fin shape, fitting a new chain alone will not fix the problem and may actually cause skipping immediately.
How to Tell When Your Chain or Cassette Is Worn Out
The most reliable way to check chain wear is with a chain wear indicator tool. These are inexpensive and widely available at Australian bike shops. You simply slot the tool into the chain and check whether the pin drops into the links at the 0.5 or 0.75 mark.
As a general guide, when to replace a bicycle chain depends on your drivetrain speed. For 11-speed and higher drivetrains, replace at 0.5 percent wear. For older 8, 9, and 10-speed setups, 0.75 is the commonly accepted threshold before damage to the cassette becomes a real concern.
Using a Chain Wear Checker Tool
A chain wear checker is the simplest tool you can add to your home kit. Here is how to use one:
- Shift into your middle or large chainring and the small rear sprocket so the chain is reasonably taut.
- Insert the tool into the chain at any point along the lower run.
- Check which pin, 0.5 or 0.75, drops cleanly into the gap between rollers.
- If 0.5 drops in, replace the chain soon. If 0.75 drops in, the chain is overdue and the cassette may be compromised.
- If neither drops in, the chain still has life left but check it again in a few weeks.
You can also check for signs your bike chain needs replacing by looking for rust, stiff links, or any visible side-to-side movement in the chain that is worse than usual.
Visual Signs of a Worn Cassette
Once you have checked the chain, spin the rear wheel and look at the cassette teeth. Healthy teeth are symmetrical and roughly rectangular at the tip. Worn teeth look pointed, hooked, or angled to one side, a shape often called shark-finning.
Check the sprockets you use most often, typically the middle ones, as they wear fastest. If those teeth are visibly hooked, the cassette needs replacing along with the chain. Fitting a new chain to a heavily worn cassette will result in skipping and poor shifting from day one.
What Happens If You Ignore a Worn Chain
A worn chain does not fail suddenly. It degrades gradually while doing extra damage to every component it touches. The longer you leave it, the more expensive the repair becomes.
Here is the chain reaction (no pun intended):
- A worn chain sits poorly on cassette teeth and accelerates their wear.
- Cassette teeth develop a hooked shape that a new chain will skip on.
- Chainrings wear to match the chain, adding more cost to the repair.
- In the worst cases, the chain can skip under heavy load, which is a safety issue on climbs or in traffic.
- What could have been a chain-only replacement becomes a chain, cassette, and sometimes chainring job.
According to Bicycling Australia, typical chain life in Australian conditions ranges from around 1,500 to 3,000 km depending on how and where you ride. Dusty trails and wet commutes sit at the short end of that range. Dry road riding with regular cleaning sits closer to the top.
DIY Replacement vs. Paying a Cycling Mechanic: Honest Breakdown
This is the practical question most riders want answered. The honest answer is that it depends on your situation, not on what sounds impressive. Here is a straight comparison to help you decide.
| Situation | DIY at Home | Book a Cycling Mechanic |
|---|---|---|
| First time replacing a chain only | Realistic for most beginners with a chain tool and checker. | Fine option if you want it done right the first time. |
| Chain and cassette both worn | Doable but requires more tools and confidence. | Recommended if you are unsure about cassette removal. |
| High-end groupset (11 or 12-speed) | Lower margin for error. Check compatibility carefully. | Worth paying for, especially for SRAM AXS or Di2. |
| No tools at home | Tool cost may approach or exceed mechanic labour cost. | More economical for a one-off job. |
| Confident with basic mechanics | A satisfying job you can repeat whenever needed. | Not needed unless the groupset is complex. |
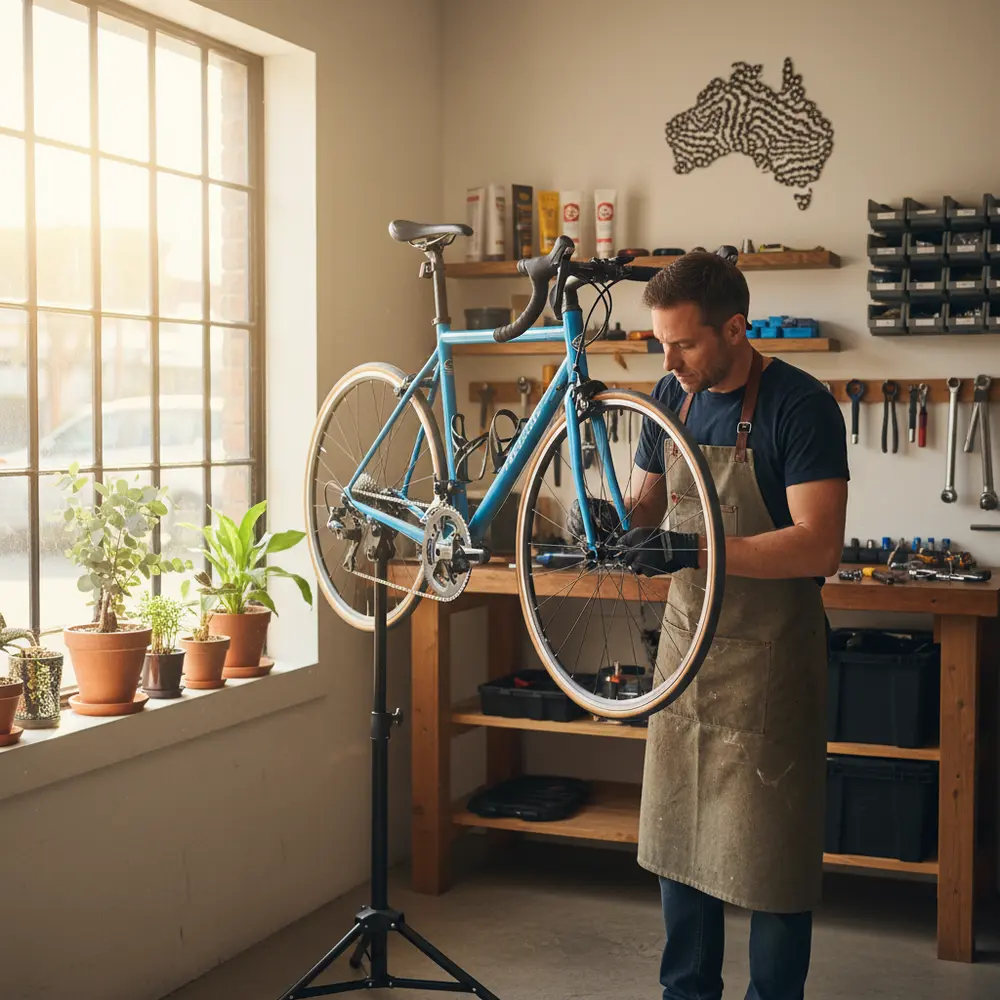
What Skills and Tools Do You Actually Need?
Replacing a chain alone is one of the more beginner-friendly workshop jobs. Replacing the cassette at the same time adds a few steps but is still within reach for most people willing to take their time.
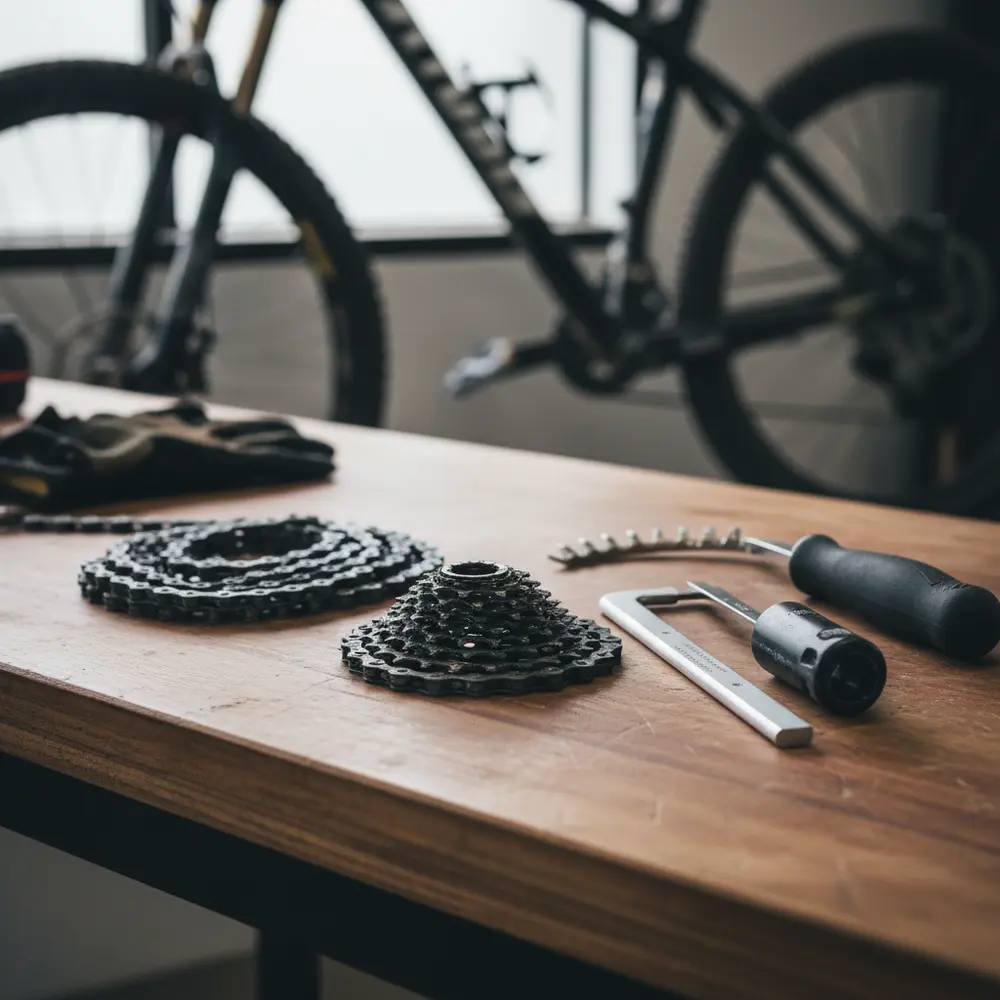
Minimum tools for a chain replacement:
- Chain wear checker (to confirm the chain actually needs replacing)
- Chain tool or master link pliers (depending on your chain type)
- New chain matched to your drivetrain speed
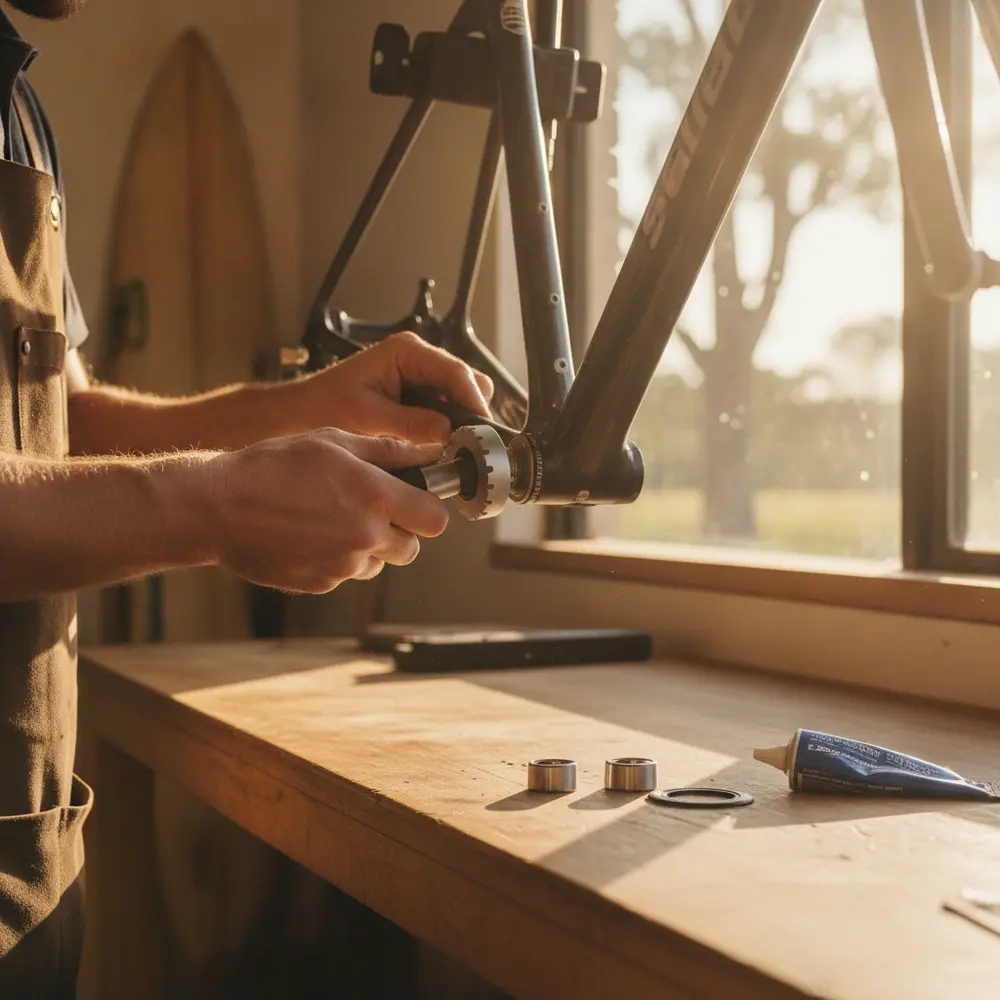
Additional tools needed for cassette replacement:
- Cassette lockring tool (fits your freehub standard, check before buying)
- Chain whip (to hold the cassette while loosening the lockring)
- Adjustable spanner or socket set
- Torque wrench (recommended, especially for higher-end groupsets)
A good step-by-step walkthrough of how to replace a bike cassette covers each of these steps in plain language and is worth reading before you start.
How Much Does a Cycling Mechanic Charge in Australia?
Labour and parts costs vary between shops and cities, so treat these as ballpark figures. According to BikeExchange's Australian bike shop pricing guide, the total cost for a chain and cassette replacement including parts and labour at an Australian bike shop typically falls somewhere in the range of $80 to $200 or more, depending on the components used and the shop.
It is always worth ringing ahead, describing your bike and groupset, and asking for a quote. Most shops are happy to give you a rough estimate over the phone. Ask separately for parts and labour so you know what you are paying for.
When It Is Definitely Worth Paying a Cycling Mechanic
There is no shame in booking it into the shop. Here are the situations where paying a professional is clearly the right call:
- You have an 11 or 12-speed groupset and have not done this job before.
- Your cassette is worn and you are not confident with a chain whip and lockring tool.
- You ride a bike with electronic shifting (Shimano Di2 or SRAM eTap), where drivetrain compatibility matters more.
- You have no access to the tools and buying them would cost as much as the service.
- The bike is new to you and you are not sure of its service history.
- Something else is not quite right, such as shifting that is already off, and you want the mechanic to check the full drivetrain while they are in there.
For beginner-friendly guidance on when to get professional help, the Bicycle Network bike maintenance guide is a solid Australian resource worth bookmarking.
Should I DIY or See a Cycling Mechanic? (Decision Tree)
Work through these questions in order. Each answer leads you to the right path.
- Have you replaced a chain before? - If no, a chain-only replacement is still manageable with a guide. If the cassette is also worn, consider the shop for your first time.
- Do you own a chain tool and chain checker? - If no, factor in the cost of tools. For a one-off job, the shop may cost the same or less.
- Is the cassette also worn (shark-fin teeth, 0.75 reading on the checker)? - If yes, you need to replace both. This adds tools and steps. Are you confident doing that?
- Is the bike a high-end groupset such as Shimano Ultegra, 105 Di2, or SRAM Red? - If yes, compatibility matters more and errors are costlier. Lean toward the shop.
- Are you confident removing the rear wheel and working with the rear derailleur area? - If no, start with our beginner maintenance resources or book a mechanic.
If you answered yes to most of these, give it a go with a solid workshop guide like this chain and cassette replacement guide from Bicycles Network Australia. If you are not confident, book it into your local bike shop.
Common Mistakes to Avoid
- Fitting a new chain to a worn cassette without checking the cassette first. This causes immediate skipping and you will need to start again.
- Buying the wrong chain for your drivetrain speed. An 11-speed chain on a 12-speed setup will not shift properly.
- Skipping the torque spec on the cassette lockring. Too loose and the cassette can move under load, which is dangerous.
- Over-lubricating the new chain. Excess lube attracts grit and accelerates wear, especially in dusty Australian conditions.
- Forgetting to check the chain direction. Some chains are directional and must be fitted the correct way.
- Not resetting the rear derailleur limit screws or barrel adjuster after a cassette swap if the gear range has changed.
If You Are New to This
Start here before you touch anything on the bike:
- Read a full step-by-step guide before buying any tools, so you know exactly what you are getting into.
- Check your drivetrain speed (count the sprockets on your cassette) before buying a replacement chain or cassette.
- Watch a video walkthrough of the specific job for your groupset. Visual learning makes a real difference here.
- Pick up a chain wear checker from your local shop. They are cheap and will save you money over time.
- Start with a chain-only replacement if the cassette is still in good shape. It is a good first job before tackling the full cassette swap.
If You Have Done a Chain Replacement Before
You are ready to take on the full job. A few things to keep in mind:
- Upgrade to a quality chain checker if you are still using a basic one. Better tools give more reliable readings.
- Learn to spot cassette wear visually so you can assess the job before pulling the wheel off.
- Consider a torque wrench for the lockring if you do not already own one. It removes the guesswork.
- Keep a note of how many kilometres are on each chain so you can build a rough replacement schedule over time.
- If you ride in dusty or wet conditions, check our bike maintenance tips for lube selection and cleaning frequency that suits Australian conditions.
Build the Habit, Not Just the Fix
The best thing you can do for your drivetrain is not replacing parts. It is maintaining what you have so replacement becomes less frequent. Regular cleaning and the right lube for your conditions are the two biggest levers.
If you ride in dusty trail conditions, a dry lube applied after each clean is generally better than a wet lube, which will pick up grit and grind your chain from the inside. For wet commuters or riders who regularly get caught in rain, a wet lube is more appropriate but you need to clean the chain more regularly to stop build-up.
Good maintenance habits can meaningfully extend the life of your chain and cassette. When it is time to learn more, explore our drivetrain maintenance guides for practical next steps.
Frequently asked questions
Can I fit a new chain to my old cassette without replacing both?
It depends on how worn the cassette is. If the chain checker reads below 0.75 and the cassette teeth still look symmetrical, fitting a new chain alone is fine. If the cassette is visibly worn with hooked teeth, fitting a new chain will likely cause skipping straight away and you will need to replace both.
How often should I replace my chain in Australia?
A rough guide is 1,500 to 3,000 km, but that range is wide for a reason. Dusty trail riding, wet commuting, and infrequent cleaning all push the number toward the lower end. Regular cleaning and correct lubrication can extend chain life considerably. Use a chain checker regularly rather than relying on a fixed kilometre figure.
Is "chain stretch" the right term for what happens to a worn chain?
Not technically. What people call chain stretch is actually internal wear on the chain pins and rollers, which causes the chain to measure longer than it should. The metal is not stretching. The term is widely used in the cycling industry but is technically a misnomer. The practical outcome is the same either way: the chain needs replacing.
What is a realistic cost for chain and cassette replacement at an Australian bike shop?
Costs vary depending on the components and the shop, but as a general range you can expect to pay somewhere between $80 and $200 or more when you factor in parts and labour. Higher-end groupsets with more expensive chains and cassettes will sit at the upper end or beyond. Always ask for a quote upfront and request a breakdown of parts versus labour.
Do I need to replace the cassette every time I replace the chain?
Not necessarily. If you replace the chain at the right time, before the cassette wears significantly, you can often fit multiple chains to the same cassette over its life. The key is catching chain wear early with a checker. If you leave it too long, you will be replacing both at the same time, which costs more. Have more questions? Feel free to get in touch with us and we are happy to point you in the right direction.
Quick summary
- Check chain wear regularly with a chain checker tool, before something goes wrong.
- A worn cassette must be replaced with the chain, not after. Fitting a new chain to worn teeth causes immediate problems.
- A beginner can realistically replace a chain at home. Cassette replacement is manageable but requires more tools and a bit more confidence.
- Paying a cycling mechanic is the right call for high-end groupsets, worn cassettes, or if you do not have the tools and only plan to do it once.
- Good lubrication and cleaning habits are the most cost-effective thing you can do to extend drivetrain life in Australian conditions.
This is educational content, not financial advice.