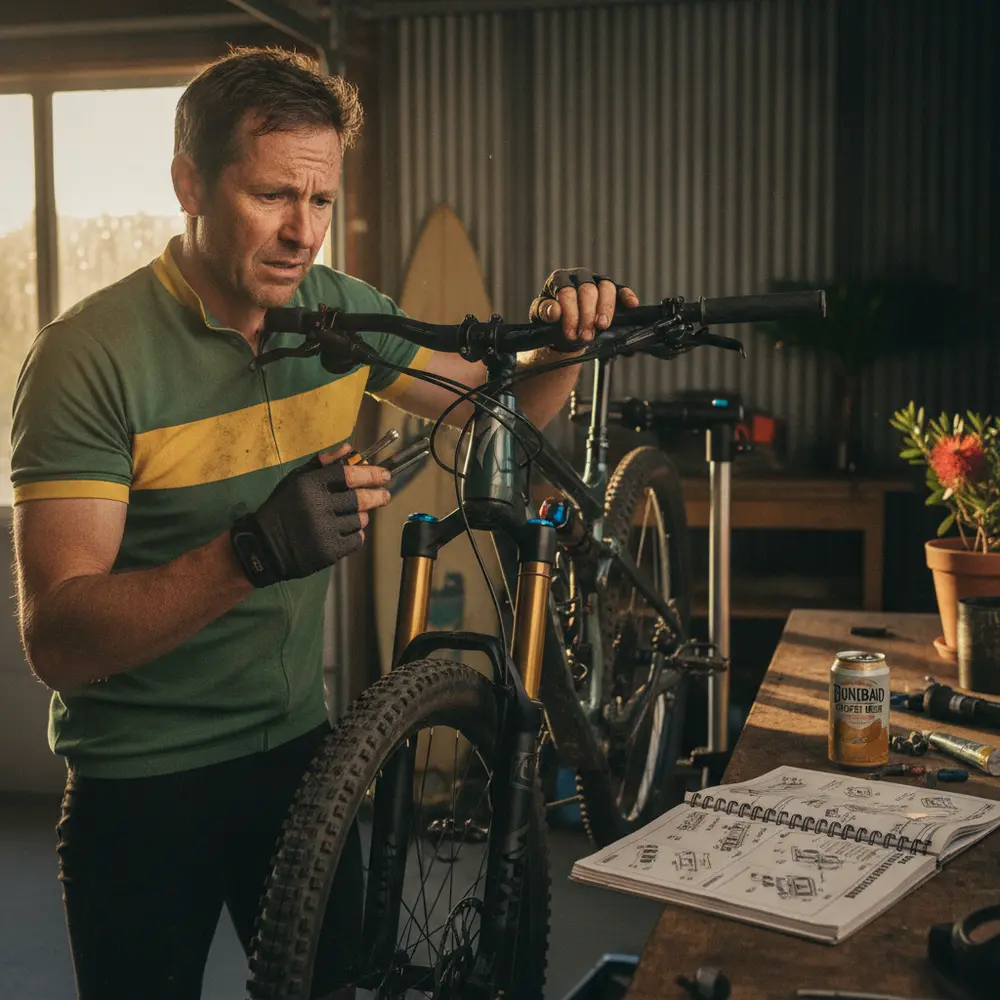
Squealing brakes are one of the most common things that sends new riders into a spin, and in most cases the fix is simpler than you think. That said, brakes are a safety-critical component, so knowing the difference between a quick DIY job and a trip to your local cycling mechanic matters.
By the end of this article you will be able to identify the most likely cause of your brake noise, work through a simple troubleshooting flow, and make a clear call on whether to fix it yourself or book it in at your local bike shop.
Note for Australian riders:
- Australian conditions, including dusty gravel roads, summer heat, coastal humidity and sandy MTB trails, accelerate brake pad wear and increase the chance of contamination-related noise.
- Spray chain lube is one of the most common causes of disc brake contamination seen by Australian mechanics, particularly on commuter and trail bikes.
- Wet creek crossings and muddy winter trails common on Australian MTB networks introduce water and grit directly into brake systems, so regular checks matter here more than in dry climates.
At a glance:
- Most rim brake squeal can be fixed at home with cleaning and a simple pad alignment adjustment.
- Disc brake squeal caused by contamination usually means new pads, not just a clean.
- Persistent squeal after basic checks is your cue to see a cycling mechanic.
- Hydraulic disc brake issues, including spongy feel or fluid leaks, are always a job for a professional.
Key takeaways:
- Start with the simple stuff: clean the braking surface and check pad alignment before spending anything.
- Contaminated disc brake pads are generally not recoverable. Replace them.
- Your local bike shop mechanic is a resource, not a last resort. Build that relationship early.
Why Are My Bike Brakes Squealing?
Brake squeal is caused by vibration between the brake pad and the braking surface. When that contact creates resonance at the right frequency, you get noise. As Park Tool explains in their brake squeal and chatter guide, this vibration is influenced by pad compound, surface condition, alignment, and the overall stiffness of the brake system.
The good news is that most causes of brake squeal are identifiable and many are fixable without tools beyond what most riders already have at home.
The Most Common Causes at a Glance
- Contamination - oil, chain lube spray or grease on the pad or rotor surface
- Glazing - a hardened, smooth layer on the pad face from heat or uneven break-in
- Misalignment - the pad is not contacting the braking surface evenly
- Worn pads - pads worn past their effective depth, sometimes to metal
- New pads not bedded in - fresh pads need a short break-in period before they run quietly
- Dirty braking surface - grime, trail dust or rim oxidation on the contact zone
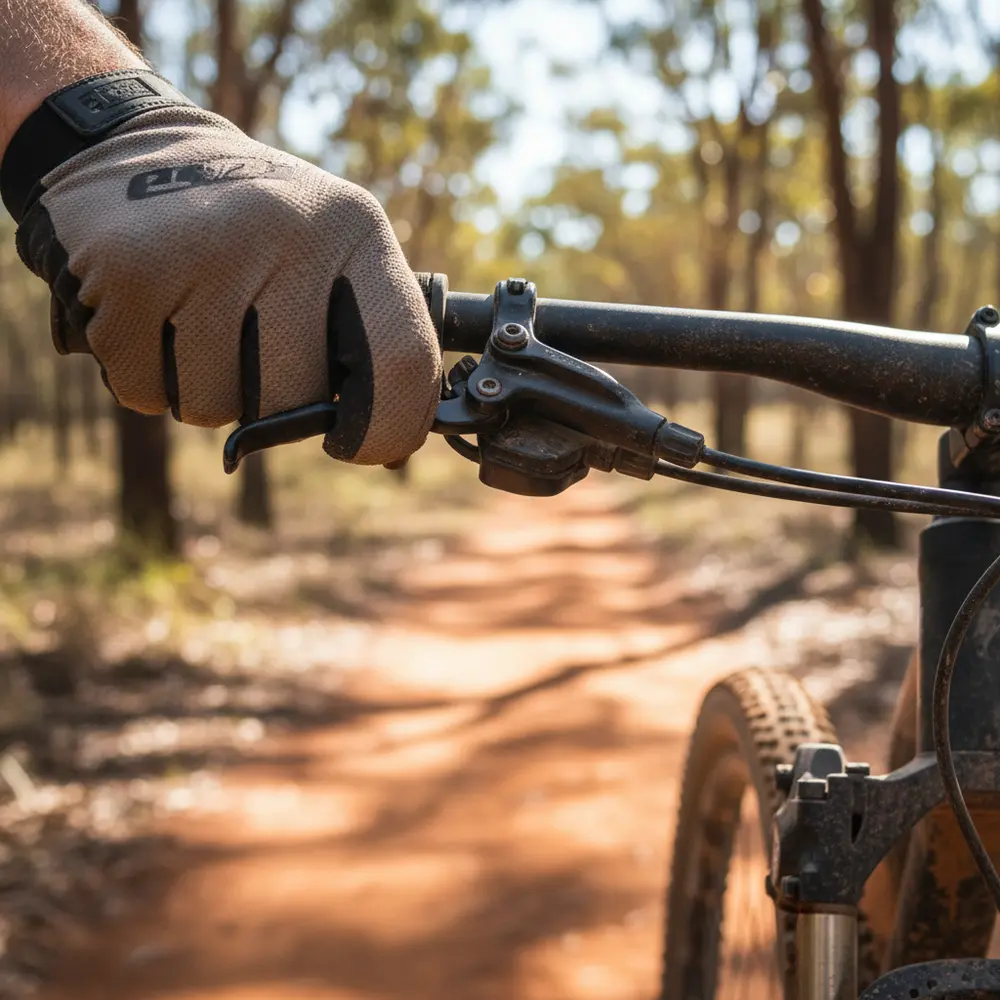
Rim Brakes vs Disc Brakes - Does It Change the Diagnosis?
Yes, it does. The causes of squeal overlap but the fixes and the stakes are quite different between the two systems. Rim brakes are more forgiving for DIY work. Disc brakes, particularly hydraulic systems, have less margin for error.
| Factor | Rim Brakes | Disc Brakes |
|---|---|---|
| Main squeal cause | Glazed pads, dirty rim, misalignment | Contamination, caliper misalignment, glazed rotor |
| DIY-friendly? | Yes, for most causes | Partly. Contamination and bleeding require care |
| Contamination recovery | Often cleanable with isopropyl alcohol | Pads usually need replacement |
| Pad wear indicator | Visual groove or wear line on pad | Visual thickness check, check manufacturer spec |
| When to see a mechanic | Persistent squeal after cleaning and alignment | Contamination, spongy lever, fluid leaks, warped rotor |
According to Bicycles Network Australia's brake squealing causes and fixes resource, Australian riding conditions including dust and heat can accelerate both pad wear and noise issues across both brake types. Worth keeping in mind if you ride year-round.
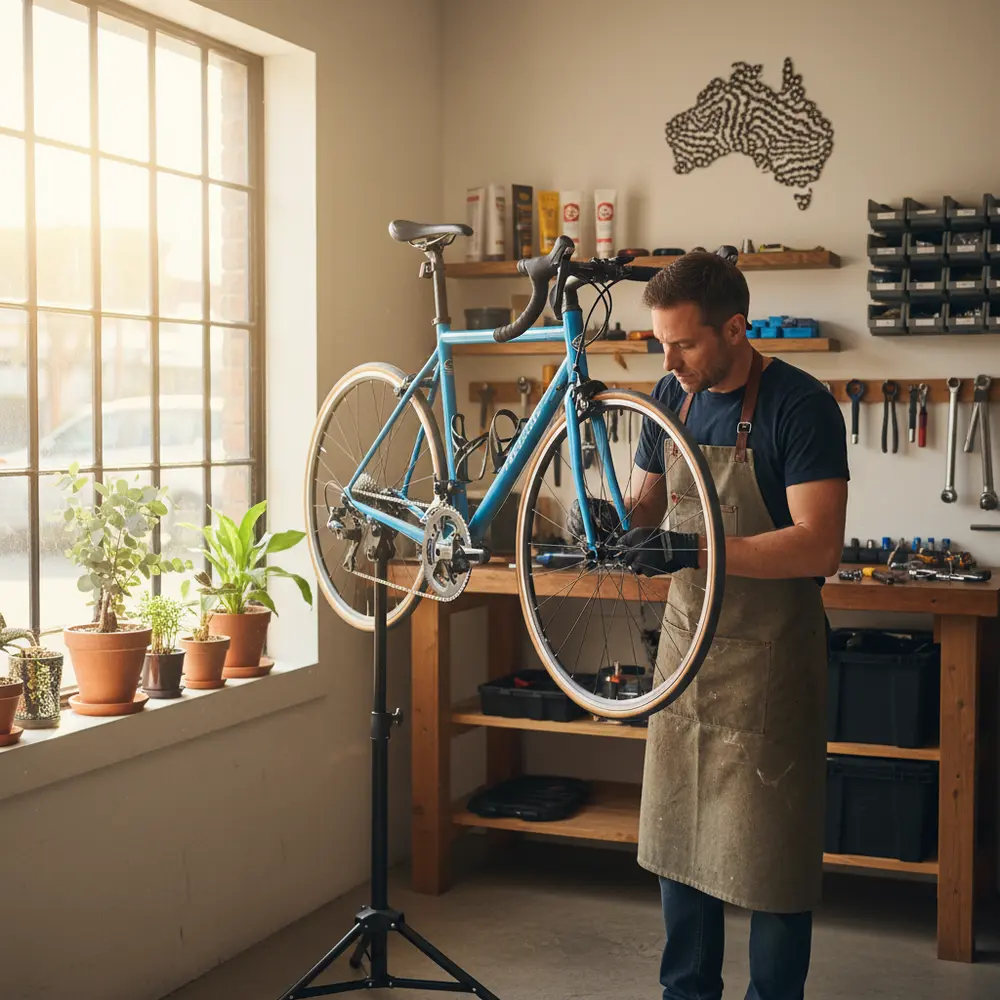
Quick Checks You Can Do Yourself Before Spending a Dollar
Before you book a service or order parts, run through these checks. Most take less than five minutes and they will either solve the problem or tell you exactly what you are dealing with.
Cleaning, Alignment and Toe-In - The DIY Starting Points
- Clean the braking surface. For rim brakes, wipe the rim sidewall with a clean rag and a small amount of isopropyl alcohol. For disc brakes, do the same to the rotor. Do not use oily sprays or household cleaners near your brakes.
- Inspect the pads. Look at the pad face. Is there a shiny, glassy appearance? That is glazing. Is there a groove or wear indicator missing? That means the pads are worn. Are there dark oily streaks? That points to contamination.
- Check alignment on rim brakes. Squeeze the brake lever slowly and watch where the pad hits the rim. It should contact the rim squarely within the braking track, not the tyre, not the spoke area.
- Adjust toe-in on rim brakes. Toe-in means the front edge of the pad contacts the rim very slightly before the rear edge. This reduces vibration and is one of the most reliable fixes for rim brake squeal. Sheldon Brown's brake adjustment reference explains the geometry clearly if you want the technical detail.
- Check caliper alignment on disc brakes. Look through the caliper at the rotor. The rotor should sit evenly in the gap between both pads with no rubbing. If one pad is dragging, loosen the caliper mounting bolts slightly, squeeze the lever to centre it, and re-tighten.
If any of those steps resolve the squeal, you are done. If not, keep reading.
Signs the Squeal Is Telling You Something More Serious
Not all brake noise is a minor inconvenience. Some squealing is the system telling you something has gone wrong and riding on is not the smart move. Take these signals seriously.
Contaminated Brake Pads or Rotors - What It Looks Like and What It Means
Contamination is the most common serious cause of disc brake squeal and one of the most frustrating because it is usually avoidable. The culprit is almost always spray chain lube applied too close to the rotor, or a muddy ride where oily water gets into the caliper. Even a very small amount of oil on a disc brake pad can make it unusable.
Signs of contamination include a loud, high-pitched squeal that does not go away after cleaning, reduced braking power, and a greasy film visible on the rotor surface. As outlined in BikeExchange Australia's guide to fixing squeaky bike brakes, contaminated disc pads should generally be replaced rather than cleaned. Isopropyl alcohol on the rotor can help, but once a pad has absorbed oil, cleaning rarely restores full performance.
Worn Pads, Glazed Rotors and Metal-on-Metal Contact
Worn pads are an easy miss, especially for newer riders. On rim brake pads, look for the wear indicator groove. When it is gone, the pad is done. On disc brake pads, the friction material should have visible thickness. If it looks paper-thin or you can see metal backing close to the rotor surface, replace the pads immediately.
Glazed rotors, where the rotor surface has developed a smooth, hardened film from heat or contamination, can sometimes be lightly scuffed with fine wet-and-dry sandpaper. However, CyclingTips notes in their disc brake squeal guide that replacement is often the more reliable outcome. A rotor that is visibly warped, very thin, or deeply scored needs replacing, not cleaning.
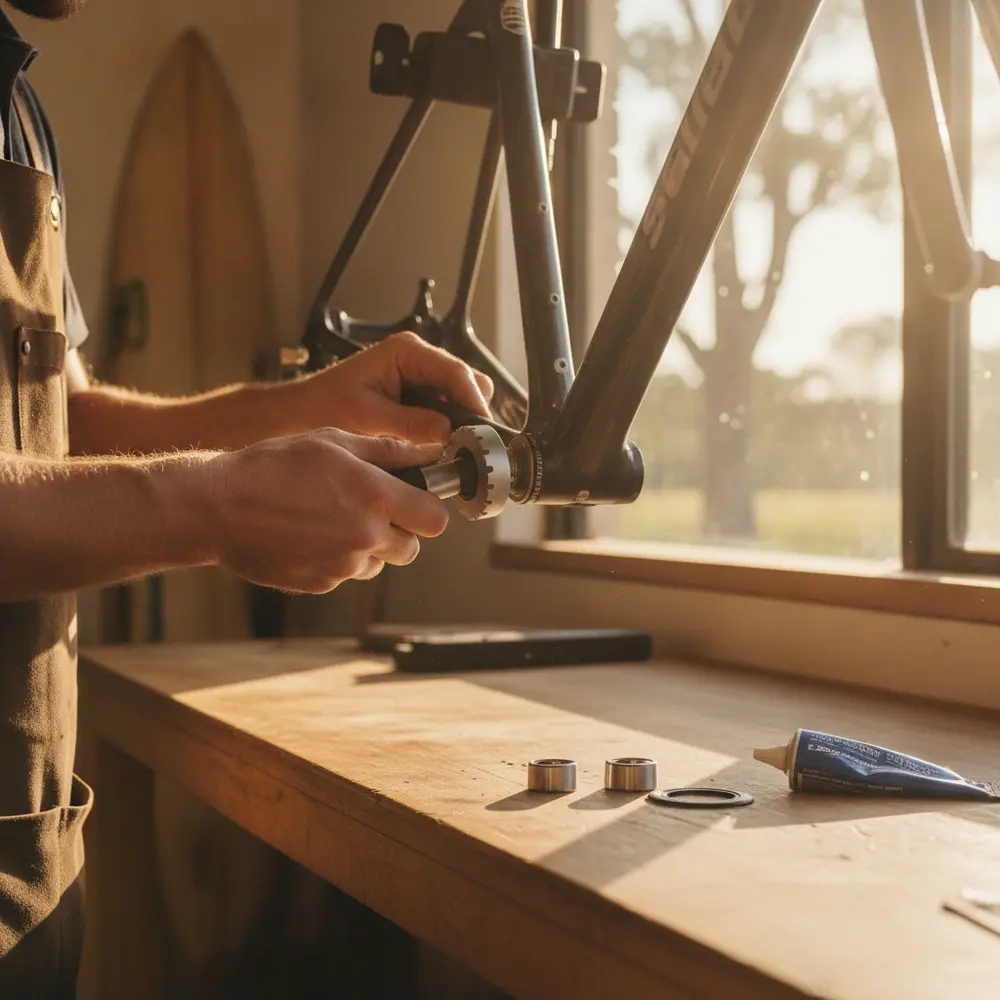
The DIY Fix - Step-by-Step for Common Squealing Causes
If your checks point to glazing, minor misalignment or a dirty braking surface, here is how to handle it at home. You will need isopropyl alcohol, a clean rag, and possibly a hex key set for caliper adjustment.
- Clean the rotor or rim with isopropyl alcohol on a clean cloth. Wipe in one direction, not back and forth.
- For glazed rim brake pads, lightly scuff the pad face on a piece of fine sandpaper placed flat on a hard surface. A few passes is enough. Clean off any residue before reinstalling.
- For disc brake caliper misalignment, loosen the two caliper mounting bolts by half a turn, pull the brake lever firmly to centre the caliper over the rotor, then hold it and tighten the bolts evenly.
- For rim brake toe-in, use your hex key to adjust the pad angle so the front edge contacts the rim just before the rear edge. A small piece of folded card held at the rear of the pad as a spacer during adjustment is a common workshop trick.
- Test the brakes through ten firm stops from a slow speed before riding normally. This helps seat the pads and confirms whether the fix has held.
If you have done this before:
- Check rotor run-out with a dial gauge if squeal persists after alignment and cleaning.
- Consider whether the pad compound suits your riding. Resin pads are quieter but wear faster. Sintered pads handle heat and wet better but can be noisier when new or in dry dusty conditions.
- On hydraulic systems, check the lever feel at the same time. A firm fix combined with a spongy lever is a sign the system needs bleeding.
If you are new to this:
- Start with cleaning only. It solves more problems than you expect.
- Do not apply any spray lubricant near the brake rotor or caliper. Ever.
- If you are unsure what brake type you have, take a photo and ask at your local bike shop. They will not mind.
- Isopropyl alcohol is safe for cleaning brake surfaces. Most hardware stores and chemists stock it.
- If anything feels uncertain after your DIY attempt, get it checked before your next ride.
Troubleshooting Flow - Mechanic or DIY?
Work through this flow to get a quick answer. Answer each question in order and follow the path.
- Do you have rim brakes or disc brakes? If rim brakes, go to step 2. If disc brakes, go to step 4.
- Rim brakes: Is the pad visibly worn, glazed or contaminated? If worn, replace the pads. If glazed, lightly scuff with sandpaper and clean. If contaminated with oil, replace the pads.
- Rim brakes: Does squeal persist after cleaning and toe-in adjustment? If no, you are done. If yes, visit your cycling mechanic.
- Disc brakes: Is there visible contamination, an oily sheen on the rotor, or a strong chemical smell when braking? If yes, replace the pads and clean the rotor. If the squeal continues or braking power is reduced, see a cycling mechanic.
- Disc brakes: Does the lever feel spongy or return slowly? If yes, this is a hydraulic issue. Book it in with a cycling mechanic. Do not attempt a bleed as a first-timer without proper guidance.
- Disc brakes: Does squeal persist after cleaning and caliper alignment? If yes, the rotor may be warped, glazed or past its minimum thickness. A cycling mechanic can measure and advise.
Common mistakes to avoid:
- Spraying any lubricant near a disc brake rotor or caliper
- Riding on pads that are worn to the metal backing
- Assuming new pads will squeal forever without bedding them in properly
- Using household cleaners on brake surfaces instead of isopropyl alcohol
- Ignoring a spongy lever and only treating the noise
- Delaying a brake check because the bike "still stops okay"
When You Should Stop Wrenching and See a Cycling Mechanic
There is a clear line between a DIY job and one that needs a professional. Crossing it without the right knowledge or tools can compromise your brakes and your safety.
Book your bike in with a cycling mechanic if any of these apply:
- Squeal persists after cleaning, alignment and pad replacement
- The brake lever feels spongy, soft or pulls closer to the bar than usual
- You can see fluid around the lever, hose or caliper
- The rotor is visibly warped, deeply scored or looks very thin
- You have replaced pads and contamination keeps returning
- You are not confident identifying the problem or the fix
Is it safe to ride to the shop? In most cases of simple squeal with full braking power, yes, a short careful ride to your local bike shop is fine. If braking power is noticeably reduced or the lever is spongy, do not ride. Get the bike transported or ask the shop for advice over the phone first.
For more on knowing when professional help is the right call, see our guide on when to seek bike mechanic help.
Finding a Reliable Bike Mechanic in Australia
Your local bike shop (LBS) mechanic is genuinely one of the best resources you have as a newer rider. They have seen every variation of brake squeal, they know the local trail conditions, and a good one will explain what went wrong and how to prevent it next time.
If you do not already have a local shop, Bicycles Network Australia's bike shop finder covers shops across all states and territories and is a solid starting point. Supporting your local shop also means you build a relationship with someone who gets to know your bike over time. That is worth more than the cheapest online parts price.
For a general brake service, pad replacement and a safety check, expect to pay somewhere in a reasonable range at most Australian LBS locations. Prices vary by shop, bike type and the parts needed, so call ahead for a quote. Most shops are upfront about costs before they start work.
You can also reach out to us directly if you have questions about finding the right support. Visit our contact page and we are happy to point you in the right direction.
Keeping Your Brakes Quiet - Ongoing Maintenance Tips
The best fix is the one you never need. A few consistent habits will keep your brakes working cleanly and quietly for a lot longer.
- Inspect your brake pads visually every few months or after any sustained riding in wet, muddy or dusty conditions
- Clean your rims or rotors with isopropyl alcohol after rides in dirty conditions, before the grime dries and bakes in
- Apply chain lube carefully and away from the rotor. Wipe off any excess before riding
- When fitting new disc brake pads, bed them in properly with a series of firm stops from moderate speed before pushing hard
- Check caliper alignment after any knock, crash or long transport period
- Familiarise yourself with your specific brake system. A quick read of your component manual goes a long way
For a broader look at keeping your whole bike in shape, check out our bike maintenance guides for Australian cyclists.
Frequently asked questions
Can I ride my bike if the brakes are squealing?
In most cases of simple squeal where braking power is normal, a short careful ride to your local bike shop is acceptable. If stopping power is reduced, the lever feels spongy, or you can see visible wear or contamination, do not ride. Get advice from your mechanic first.
Will new brake pads always squeal at first?
New disc brake pads often squeal during the bedding-in period, which is normal and temporary. Running through a series of firm, controlled stops from moderate speed will transfer material between pad and rotor and usually resolves the noise. Rim brake pads are generally quiet from the start if aligned correctly.
Can I clean contaminated disc brake pads with isopropyl alcohol?
You can clean the rotor with isopropyl alcohol and it is a good first step. However, once disc brake pad material has absorbed oil or grease, cleaning rarely restores reliable performance. In most cases, contaminated disc brake pads should be replaced. This is the guidance from both Shimano and most professional mechanics.
What is the difference between resin and sintered disc brake pads?
Resin (organic) pads are quieter and gentler on rotors but wear faster, particularly in wet or gritty conditions common across many Australian trails. Sintered (metallic) pads are more durable and handle heat better, making them suited to longer descents and heavy use, but they can be noisier when new or in dry and dusty conditions. Check what your bike came with before replacing, and ask your LBS mechanic if you are unsure what suits your riding.
How often should I have my brakes professionally serviced?
A visual inspection at home every few months is a good baseline habit. A professional service, including pad check, alignment, and a hydraulic bleed if needed, is a sound idea at least once a year for regular riders, or any time performance or noise changes. Australian mechanics commonly see riders who push their brakes well past the point of a simple service into a full pad and rotor replacement, so getting ahead of it saves money.
Wrapping up
- Most brake squeal has a simple cause. Start with cleaning and alignment before reaching for your wallet.
- Disc brake contamination is serious. Replace the pads and do not try to ride through it.
- Know the line between a DIY job and a mechanic job. Spongy levers, fluid leaks and persistent noise after basic fixes all belong to the mechanic.
- Your local Australian bike shop mechanic is a resource, not just a service counter. Build that relationship.
- Regular quick checks are far cheaper and easier than the repairs they prevent.
For more beginner-friendly guidance on looking after your bike, visit our beginner cycling tips section on Segment Club.
This is educational content, not financial advice.